Archived Ideas for ‘Traditions’

IDEA 38: MAKE A GINGERBREAD FAMILY TREE

Gingerbread_Family_Tree

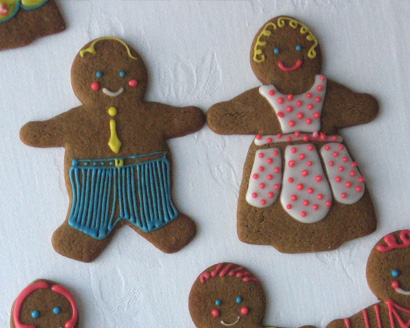
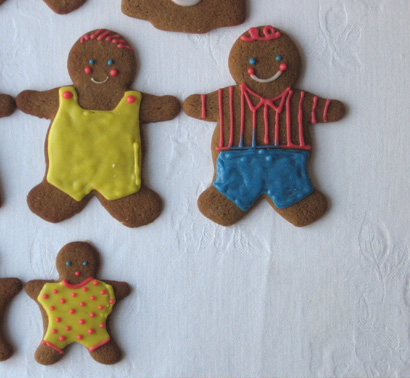
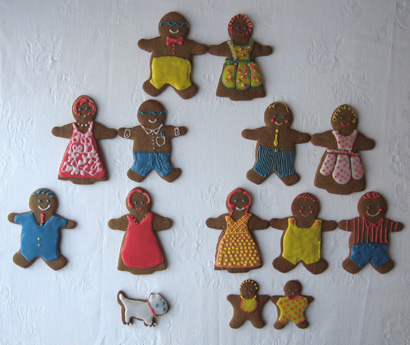
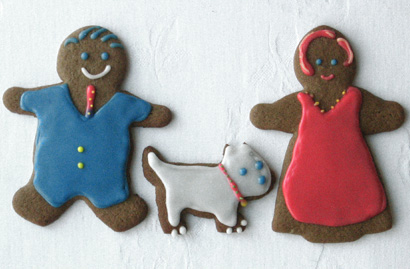
This holiday season you can be with your loved ones, even if no one is able to travel. This very sweet and inexpensive idea was inspired by my daughter who, during our holiday cookie bake this year, decided to represent each family member in gingerbread form. The resulting “Family Tree” (captured on our FaceBook page here) was such a hit that we’ve decided to give you some more details. And, as if that weren’t enough, the project was showcased on Twin Cities Live, a local Minnesota television program. Because of the show, our “Family Tree” includes the hosts, Elizabeth Ries, and John Hanson as well as Elizabeth’s Westie, Henry!
ElizJohnHenry_Gingerbread

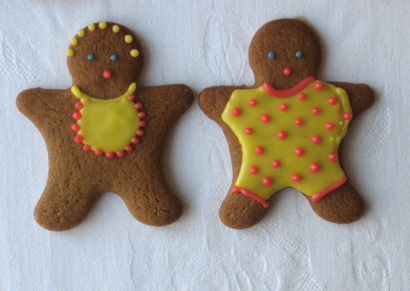
You really could complete this project with only one cookie cutter, the gingerbread man. But since we happened to have a gingerbread girl and a mini cutter, we added dresses and babies to our group. Our little dog was hand cut-out, but if you have a dog-bone shaped cutter, that is another way to include the family pooches in the mix. Of course if you want to include the cat, fish, hamster or whatever, we encourage you to do so!

We used the gingerbread cookie recipe from a Williams-Sonoma cook book. Here’s a link to the recipe on-line. The trick with the cookie dough was to divide it into smallish hunks and chill before trying to roll out. You really need to move quickly and get the cut-out cookies onto the baking sheet before they have a chance to warm up. Bake lots of extras, then let the cookies cool completely.

As I’m sure you have realized there are lots of squeezable cookie frosting products available. And although I truly believe that you should do what works for you, I’m here to tell you that I still think the best option is to make your own. It’s much less expensive and gives you so many more color options. But also, in my not-at-all-official trial of a few of those products, I never found one as easy to control as my own. If for no other reason than, if you make your own you can vary the thickness until it’s right.

Frosting ingredients:

Powdered Sugar

milk

vanilla (optional)

food coloring

For each color, measure one cup of powdered sugar. Add about four teaspoons of milk (and 1/4 teaspoon vanilla if you like). Mix with a spoon to get a glossy-smooth mixture. Now add drops of food color. Here are the quantities we added to one cup of sugar to get our colors:

Poppy Red: 10 drops red

Goldenrod: 4 drops yellow

Blue: 8 drops blue

If your frosting gets too thin, add a little more powder. If it’s too think, add about 1/4 teaspoon milk at a time. For the large area background colors we found a little thinner frosting worked better. The frosting lines would “melt” into each other and form a smooth, even surface. When we made dots or other small designs we found having the frosting slightly thicker worked better.

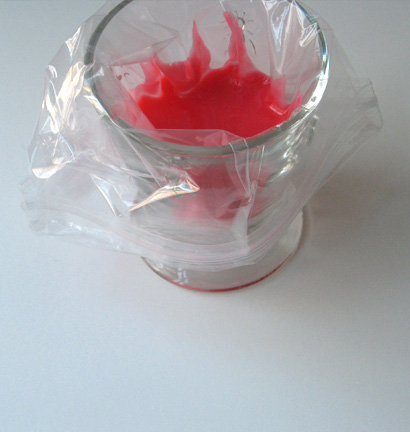
Once you get all your colors mixed in individual cereal-sized bowls, it time to make your decorating tools. Each color will require a small freezer “zip” bag. Zip open the bag and place one corner of it in a short glass. Now turn the top edges out and down, draping over the glass rim on the outside. Pour the icing as close to the corner of the bag as you can.
Frosting_fill

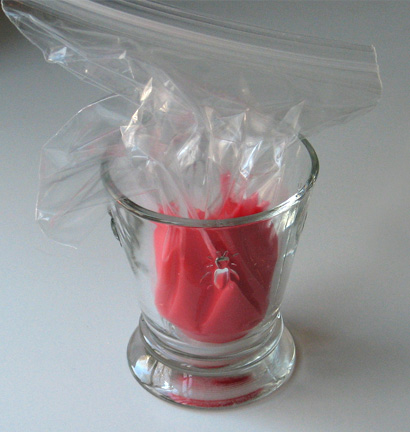
Zip the bag closed, but keep each bag in it’s own glass. This will help keep the mess to a minimum, once you’ve cut them open and need a place to set them down.
Frosting_baggie

To decorate, snip the tiny corner off the bag. Grip the closed bag ‘behind’ the icing and gently force the icing out the hole. Of course the larger the hole, the thicker your line will be. If you find you’ve made the hole too big, put a new bag in the glass, cut a good inch off the too-big corner and use that nice big hole to squeeze the whole mess into the new bag. Then you can try again.

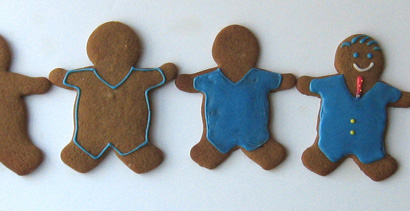
Now, pick a background color, for example John’s blue suit, and outline the shape of the suit. Now it is as easy a pie to fill in the area just like a coloring book. We found it easiest to fill in with repeated concentric shapes, starting just inside the outline and repeating the shape until they got smaller and smaller and eventually filled in. If you have mixed the icing to a glossy, viscous consistency, you will end up with a nice smooth solid shape. Wait until the background color dries completely, then add the details. This sequence shows the process.
John_process

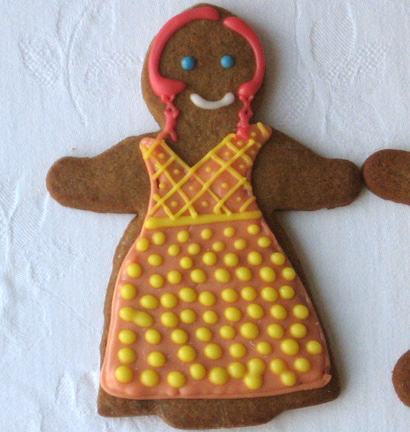
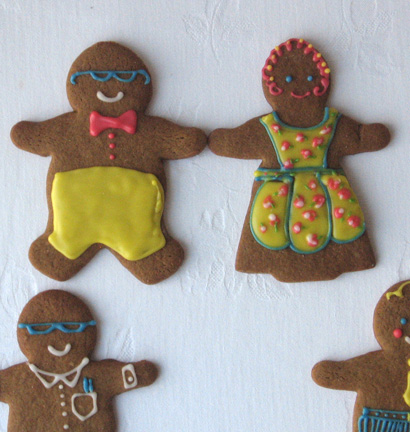
Make your family members any way you want. Here are some of ours, in case you need ideas.
Gingerbread_Grandparents

Gingerbread_Parents

Gingerbread_In-Laws

Gingerbread_Brothers

Gingerbread_sister

Gingerbread_Babies

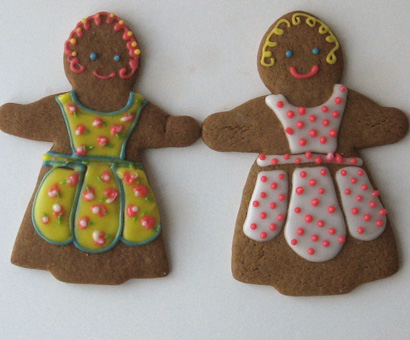
Of course I have to point out the ladies (my mom and I) in our BellaPamella aprons! My mom is wearing the Eunice in Kitchen Fruit and I’m sporting the Nora in Ruby Dot!
Gingerbread_aprons

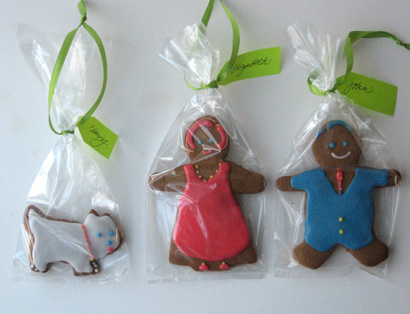
Once your gingerbread family tree is finished you can display it on a platter, or bag each one up and tie it with a ribbon to hang on your tree, or theirs. Make a small paper tag with the name on it, slip the ribbon through, and you have a very special handmade gift to give. By the way, if you arrived here from the Twin Cities Live site and wish to see all the projects highlighted on that show, either click on the Twin Cities Live category to the right, or click here.
TCL_bagged_cookies

Happy Holidays! And don’t forget to have fun with your family, gingerbread and otherwise!
IDEA 37: SHOW YOUR THANKS

Thanks_writing_Cait

Whether you are hosting a big dinner, or preparing to head out of town, if there’s a Thanksgiving meal in your near future, you know how lucky you are. Thanksgiving is often one of the few times of the year most of the family is together.

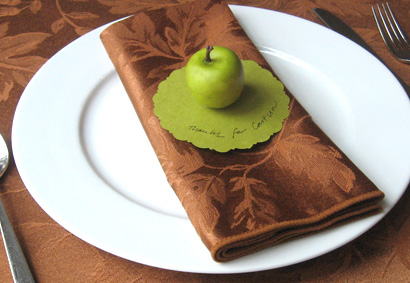
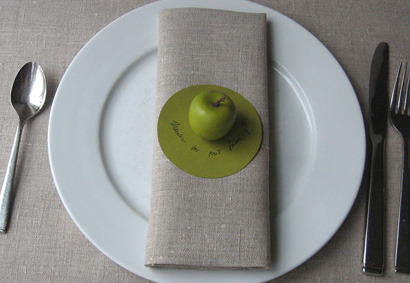
For this year’s table, why not make sweet little name place cards that do a little more than just point out where someone should sit? This simple idea combines a few things I love about Thanksgiving. It’ll make the table even more special, it’s an easy project, and doing it allows me to dwell on all the things I’m thankful for.

Thanks_Brn_setting

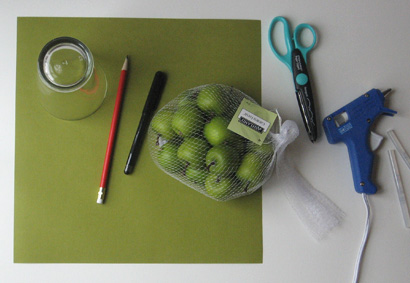
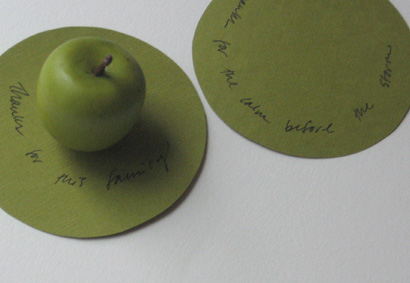
For the project you’ll need some pretty paper and tiny faux green apples from the craft store, a hot glue gun, a pencil, a black fine point pen, something about 3 1/2″ round to trace around, like a glass, and either plain or fancy scissors.

Thanks_tools

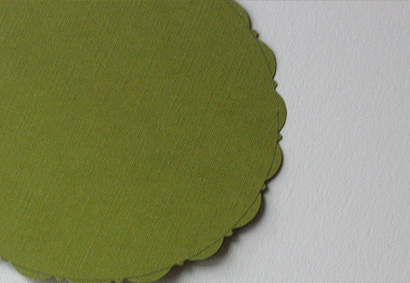
Use the glass and pencil to make 3 1/2″ circles on the pretty paper. You’ll need one per person. If there is a right and wrong side, make the circles on the wrong side. If you are using the fancy scissors, cut along the outside of the circle, so you will still see the drawn circle when it’s cut out.

Thanks_fancy_edge

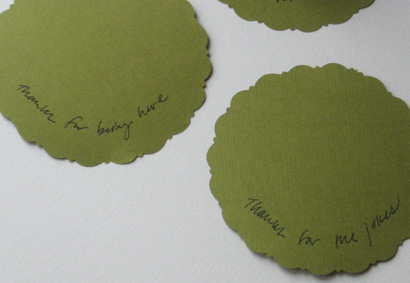
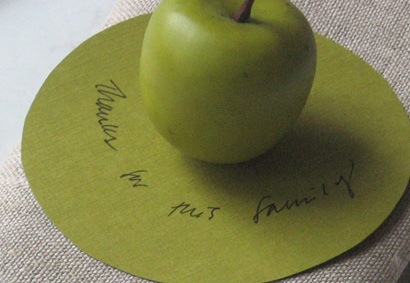
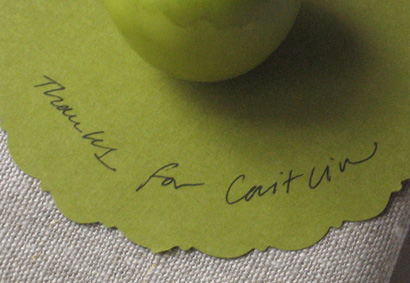
Once you’ve cut all the circles, on the top side, you may put a very light pencil line in an arc about 5/8 ” or so from the edge. (This is optional). Then, with the pen, along an arc shape, hand write “Thanks for [NAME]” for each person that will be at the table. The last step is to hot glue a tiny faux apple to the center of the circle.

If you don’t want to tell people where to sit, another idea is to name things you are thankful for. Then, like “stem gems” people can pick whatever sentiment they like! Some thoughts could be:

Thanks for being here.

or

Thanks for the happy.

Thanks for the warm.

Thanks for the calm before the storm!

Thanks for this family.

Thanks for this meal.

Thanks for the jokes.

Thanks for how I feel.

Okay, I couldn’t resist a little rhyme! Here are a few more pictures. I almost can’t decide if I like the plain or fancy cut. Do what works for your decor and make your thankful table as plain or fancy as you like! And Thanks for reading!

Thanks_fancy

Thanks_plain

Thanks_setting_family

Thanks_ECU_family

IDEA 31: DO SUMMER LIKE A KID

Summer_kids

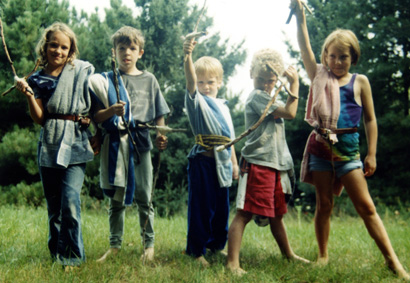
The combination between the end of school and summer’s warm weather provide the perfect opportunity for an annual family trip. Here in the mid-west, countless families head “North to the Cabin”, and I’m not the first to notice how time slows down these hazy lazy days.

We take the annual summer vacation to the family farm in northern Michigan. And since our children were born, it has become the time and place that, once a year, they bond with their cousins.

Northern Michigan cherry orchards, sand dunes, and lakes have been the backdrop for relationships that have been playing out two weeks a year for the duration of their young lives. And as a parent, it’s one of my favorite things. It has not only cemented the relationships of the children, but of myself, my siblings, parents, and in-laws.

Jacqueline M. deMontravel, editor of Romantic Homes Magazine, in her letter from the editor, expressed what I consider a near perfect reflection on summer. I had to share it with you. Here is Jacqueline’s letter, with a title that could have been the title of today’s idea. May everyone reading this take a moment to breathe in and quietly savor summer, whether you choose to travel to the woods, or just the back yard.

Let It Go

July follows the loose, relaxed style of a past-season sundress. Fully entrenched in summer, stray towels, flip-flops and all the necessities brought back from beach day can wait an hour, or day, to be tidied up.

July is the coffee break of the calendar year. Urgent matters become less urgent. Casual conversation lingers into the evening. The style of the summer follows these tenets. You are less likely to succumb to modern conveniences, opting for the entertainment provided by the season. There are many: falling asleep outdoors, losing a day to the garden and listening to the sounds of night.

At home you cook more. Meals are made with fewer ingredients but fresher foods. People come over frequently. There is more of a desire to entertain when you are so relaxed, feel less strained and have no qualms if a guest may spot a basket of laundry.

It is a forgiving season. It is also fleeting, which is what July is about.

IDEA 26: HAPPY EASTER BASKETS

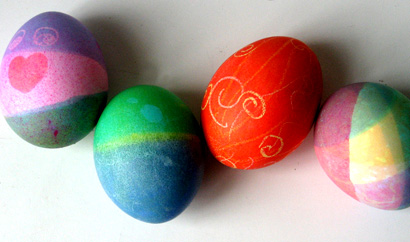
Easter_eggs

When I was a kid I just loved Easter morning, which ranked way up there, somewhere between Christmas and Halloween. My mom is a practical soul and it became pretty obvious she did not believe in investing in a new brightly colored, plastic grass-filled Easter basket every year for each of four kids, that would eventually find its way to the basement (or worse).  So, on Easter morning the hunt would begin, but we never knew exactly what we would find. In the name of practicality, my Easter surprise would be housed in something that was already around the house. My mom is a potter, so often, those sweet chocolate eggs would be nestled in a hand thrown bowl.

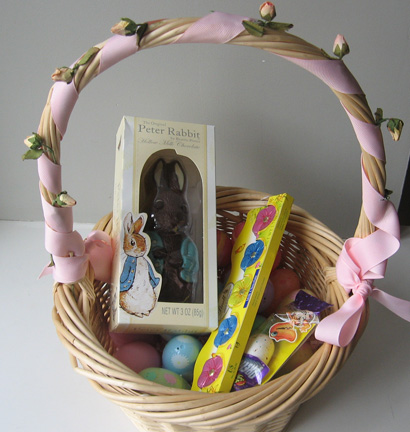
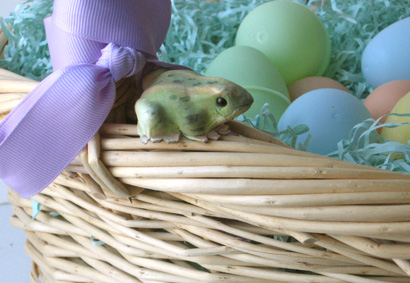
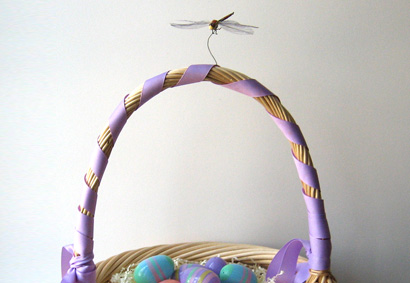
I didn’t inherit my mom’s talent for ceramics, but I do think I adopted her penchant for practicality. When it came to my kids, rather than fall for the “temporary” Easter baskets that line the shelves every spring, I chose a special basket for each child. I wrapped the handle in grosgrain ribbon and attached findings from the craft store floral isle. My eldest son got a dragon fly that will forever hover one-and-a-half inches over the handle via a wire. My second son got a frog at each point where the handle attaches to the basket, and my little daughter got a row of paper rosebuds tucked into the ribbon that wrapped her handle. The baskets were thus decorated, and then christened as each child’s permanent basket.

Easter_basket

Basket_frog

Basket_Dfly

Much like their Christmas stockings, the children learned to recognize their familiar basket, alleviating any pressure to designate whose basket was whose.  And the plastic eggs and even the pastel shredded paper “grass” have gotten reused countless times.

In the off-season they reside in a big bin in the attic where I can get a glimpse of Easter any time I need it. So, maybe it’s not the most earth-shattering idea. But I do think my mom’s thinking was way before her time. And that she taught a lesson that was “green” before people even knew what that was.

IDEA 19: SANTA MANTEL


Santa_mantel

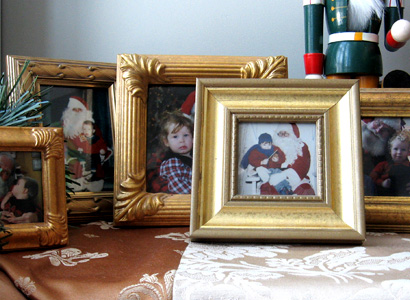
If you have been taking and saving photos of your child with Santa, you may have been looking, like I was, for a way to use them. (And if you haven’t been, maybe this will inspire you to do so!) This little idea seems so perfect you might wonder, why didn’t I think of that?

While you are perusing discount and craft stores, start collecting interesting gold (or silver) frames. I would buy one when it was on sale, or caught my eye. Size can vary from tiny to about 5”x 7”. Then, each year when you photograph your child with Santa, frame it in one of the frames. Make sure to write the year on the back side. These treasures are packed in a box all year, but at Christmas time, they come out to fill the fireplace mantel.

This will be a holiday tradition you will treasure long after your kids have moved away.

IDEA 18: BEDROOM WREATHS

Door_Wreath_1

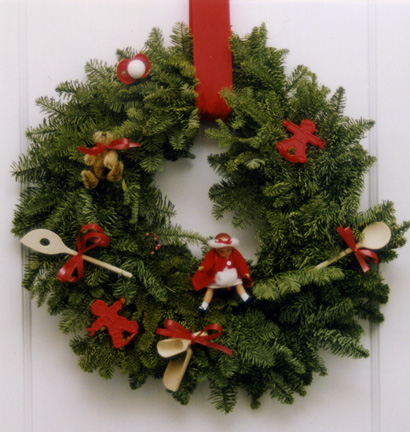
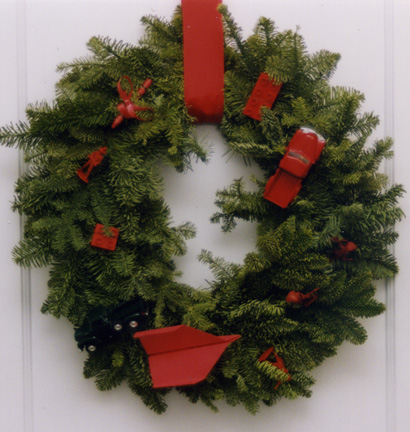
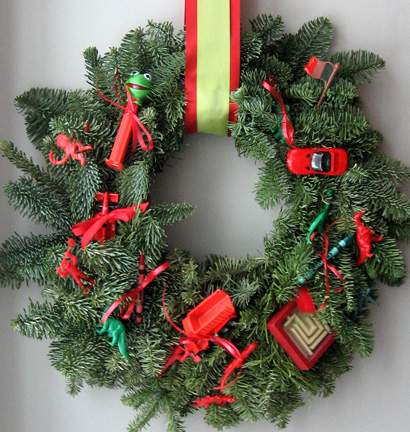
A simple and beautiful tradition to add to your holiday ready-making is the bedroom wreath. We do one for each child’s door. You’ll need a plain evergreen wreath, (you can use artificial wreaths if you prefer), about a yard and a half of 3” wide grosgrain ribbon per wreath, and some smaller, 1/4 inch wide red grosgrain or curling ribbon.

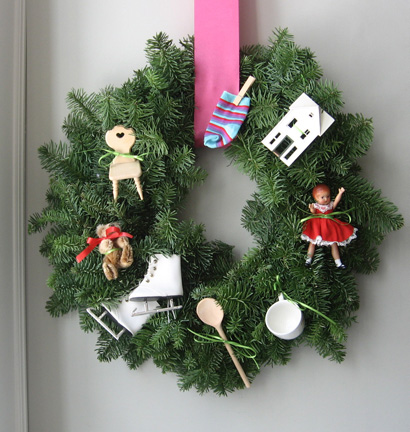
Gather a collection of small toys from each child’s stuff. From my son’s room I collected all red things: A building block, a red crayon, a truck, and red plastic army men. I even made a small red paper airplane. From my daughter’s room I collected tiny wooden spoons and a rolling pin, a small doll, a tiny bear, red plastic toys, even a red pacifier.

Using the narrow ribbon, tie the objects onto the wreaths. Loop the 3” wide ribbon through the center and line up the two raw ends. Thumbtack through both layers to the top edge (horizontal surface) of the door. Use very flat tacks so the door can open and close freely. If you like, embellish with a bow.

If you happened to have installed a hook as suggested in Idea #5 “Saving Private Places,” forgo the wide ribbon. Just hang the wreath right on the hook!

Door_Wreath_2

On December 7, I demonstrated this idea on Twin Cities Live, a local Minnesota show. The wreaths we did on the show are shown below.

Bedroom_Wreath_girl

Bedroom_Wreath_boy

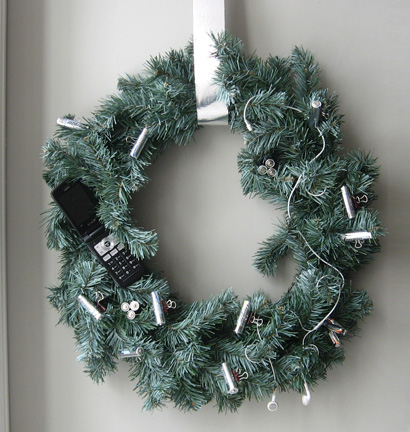
And one we didn’t get to is the “teen” wreath. I used old batteries, an old pair of “ear buds” and my son’s cell phone that went through the wash! Instead of ribbon it’s hung with silver duct tape.

Bedroom_Wreath_teen


IDEA 10: SCARECROWS

Scarecrow_1

Autumn pulls you outside with such beautiful clear days it almost makes your eyes hurt. The annual activities of leaf-raking, piling and jumping-in, as well as general yard maintenance remain a top-notch family tradition.

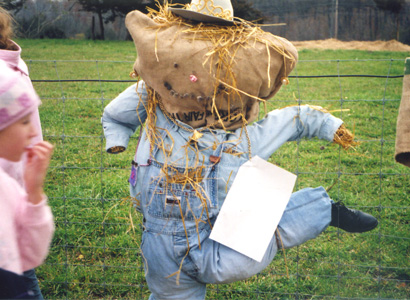
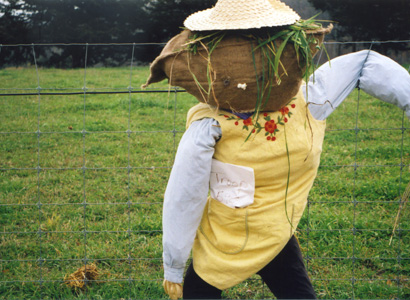
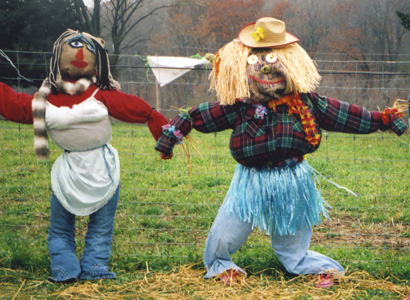
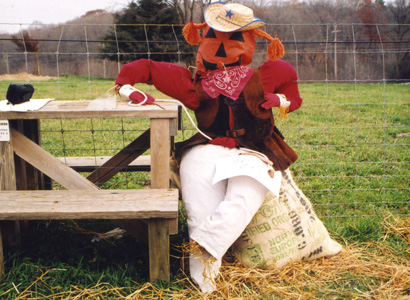
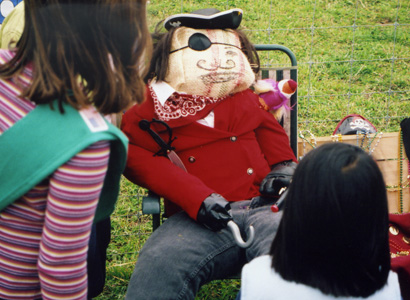
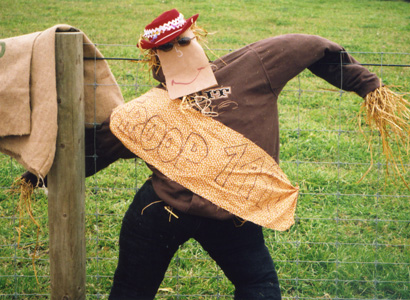
It is not a new idea to create a fall scarecrow from some of the fallen leaves. But recently my eyes were opened anew to this long standing autumnal routine. It had seemed to me, since Autumn ushers in Halloween, scarecrows had taken on a bit of a maudlin nature. OK, a lot of them are downright creepy. But my daughter’s scout troop participated in some autumn fun and games, and one of the activities involved making a scarecrow. I’m not biased, but leave it to nine year old girls to find a way to make scarecrows, well, anything but scary! I submit these beautiful examples of autumnal souls for inspiration in the hope that your family may adopt this sweet fall tradition. And maybe in the process you’ll also get some yard work done!

Scarecrow_3Scarecrow_4Scarecrow_5Scarecrow_6Scarecrow_2


IDEA 9: ANNUAL PHOTO

Annual_photo_d

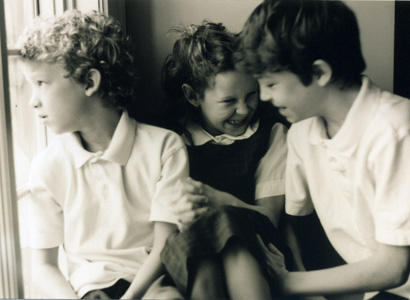
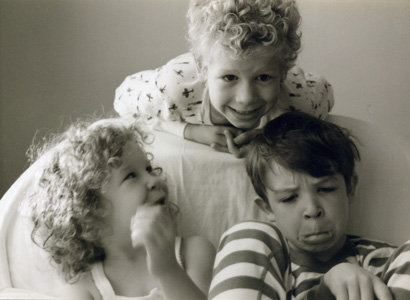
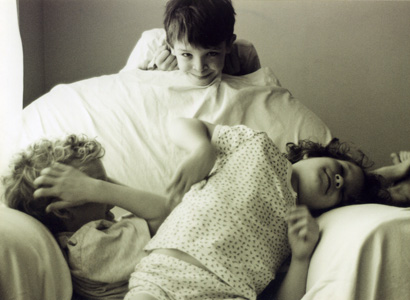
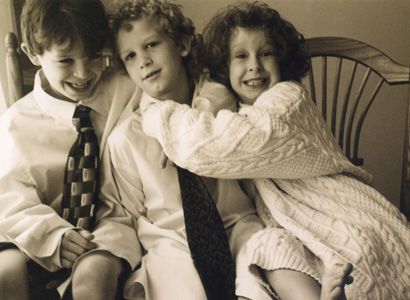
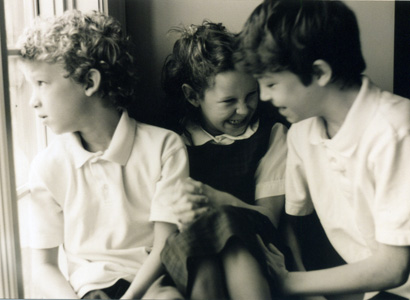
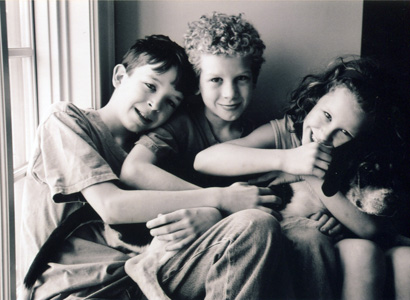
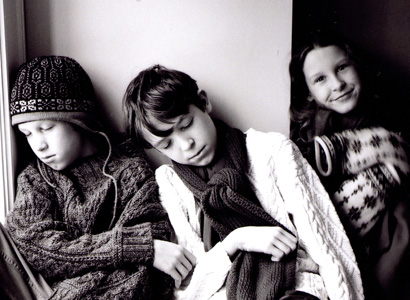
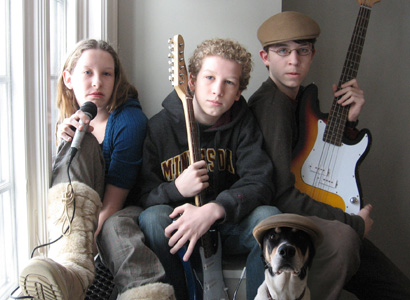
One of the best ideas I ever had was taking an annual photo of the kids. I always do it Thanksgiving week. Then it’s perfect timing to turn into a holiday card. But any time of year that makes sense to you will work. The trick is to pick a time that is convenient and you can remember year to year.

Find a spot in your house that has a window. Arrange the kids so that the window light is lighting their faces from the side. (You don’t have to see the window in the photo). Ideally you will figure out which window and time of day is best. We use a window that faces west and shoot in the morning, so instead of a harsh light streaming in, we get a soft glow. Once you have figured out the spot and time, remember it. And do the picture there every year. If the setting stays the same, the variety will be in how your kids are changing. If you like, you can always use the same chair. I prefer putting a white tablecloth over the chair to make it less important.

Turn off your camera’s flash. Now, before they are completely ready, start snapping away. Of course it’s nice to get cooperation, but as long as the kids are being themselves, it’s a neat picture.

You don’t have to decide whether you want to shoot in color or black and white. I love the black and white but you can shoot the pictures in color even if you decide to print them in black and white. Take a look at these shots of my own kids. Over the years it is fun to see the goofy stages as well as the adolescent ones and even grumpy ones. If you don’t worry about making a “proper” picture, and just record the era, you will find you’ve created a real treasure. And don’t forget to celebrate each and every quirky phase!

Annual_photo_aAnnual_photo_bAnnual_photo_cAnnual_photo_dAnnual_photo_eAnnual_photo_eeAnnual_photo_f

IDEA 7: MONDAY BREAKFAST

Monday_breakfast


This is one my kids taught me. One Sunday night my daughter was mourning the end of the weekend. She just wanted something to look forward to. “Can you make us ‘special breakfast’?” she asked me. When I told her I could, it helped her put a close to the day. She went to bed happy that Monday morning we would have “special breakfast”.

The key here was something speedy yet impressive. (Save the pancakes or waffles for the weekends when you don’t mind monitoring a pan for an eternity). In order to have time I only set my alarm about 15 minutes earlier than usual. The smell of the bacon got the kids up lickety-split. And they were delighted and thrilled to have a special breakfast all set out for them. It wasn’t a big deal: Orange juice, scrambled eggs (which really takes nano-seconds) and toast, and bacon. And a place all set for them with a place-mat and napkin.

Thus was born Monday Breakfast. We don’t do it every Monday, in fact it’s about once a month. On all the other school days we are making lunches and grabbing toast or cereal or a bagel and yogurt. But about one Monday a month my kids get off to school with a belly full. And the benefit lasts all month.