Archived Ideas for ‘09 September’

IDEA 88: SCARF SKIRT

Scarf_Skirt_Model_2

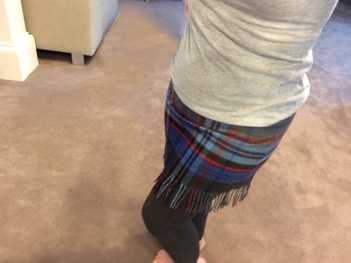
This may just be the best use of clearance merch ever! Last spring I picked up these sweet scarves at Target at a deep discount, for $5.98 each. I loved the fringe and thought they would make a super cute skirt. But it took me until I felt a slight chill on the wind to decide it was time to give it a try.

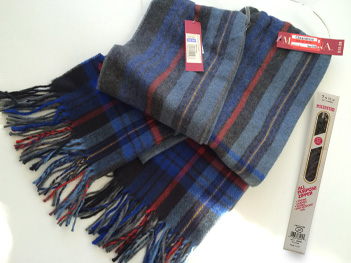
Materials were pretty simple: two identical men’s scarves (these were about 12″ x 46″ without the fringe), a 7″ skirt zipper, thread, scissors or a rotary cutter, pinking shears or a pinking rotary cutter and a sewing machine.
Scarf_Skirt_Materials

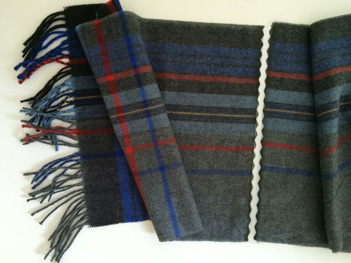
I decided if I pinked the top edge I wouldn’t have to make a waistband. So I measured on my body where I wanted the skirt to fall and cut four identical pieces from the ends of the scarves (so all pieces had a fringe). My pieces were 15 1/2 ” from the cut to the top of the fringe. I cut mine with a ruler and a ruffled rotary cutter to create a straight pinked edge.
Scarf_Skirt_pinked_cut

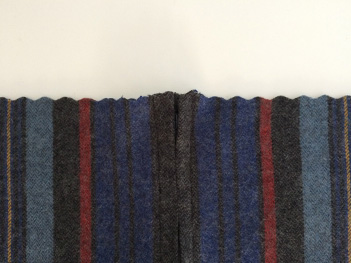
Next step was to install the zipper in the middle of two of the scarf pieces.

Scarf_Skirt_Zipper_CUScarf_Skirt_Pink

Once I had the zipper installed I went ahead and machine basted the other three vertical seams. I was essentially making a tube with a fringe at the bottom.

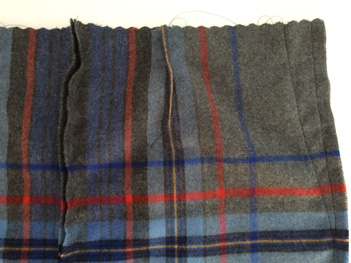
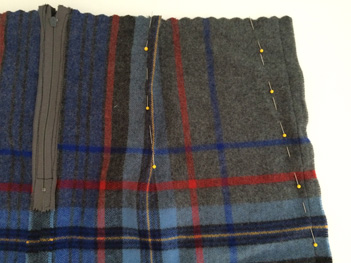
Then, with the whole thing inside-out, I tried it on. If you’ve gotten this far, you can now see how your body is not actually a perfect cylinder. And at this point you may need a helper, although I did manage on my own. Start to pull out and pin the excess fabric so the shape begins to fit your curves. You’ll take the most from the side seams, so start there, pinning the most excess on those sides. You want to take enough from the sides to create more of a skirt shape, but not so it’s tight yet. Then you want to pin in four darts, one on each side in the front and one on each side in the back. Your helper needs to make sure the darts are an even distance from the zipper in the back, and from the center seam in the front. In my case, I used the different colored stripes in the plaid to guide me.

This should get the whole thing fitting you just like a glove. Carefully unzip it and get it off without sticking yourself with all those pins!
Scarf_Skirt_Pin

Sew everything you pinned.

Scarf_Skirt_Sew

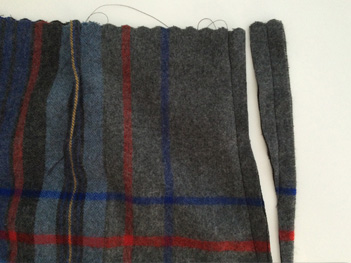
Once everything is sewn, it’s not a bad idea to try the whole thing on, still inside-out, and check it for fit. If all’s well, trim the seams to an even amount outside your stitching.
Scarf_Skirt_Trim

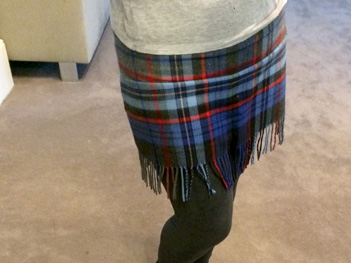
Get all the pesky threads trimmed, and press the seams open and the darts pointing away from the center. And that’s it!
Scarf_Skirt_Model_3

Now I’m looking  forward to brisk winds and boot days, and only you and I will know the secret behind my super swingy, $11.96 fringe skirt!

IDEA 55: COMMUNICATE

Birthday_invite

Birthday parties with small children in the house can be amazing events. Kid parties are, at best, a fulfilling creative outlet, and at the very least a heartfelt celebration of life. If you have children, you are probably compelled to do something special for each and every birthday.

And then one day you look around and see that all those kids have grown up. And they have different ideas of how one should celebrate a birthday. In a busy family, it’s easy to find that you’ve allowed life to drift away from some of your old traditions. Kids that once had a hard time falling asleep the night before a holiday now may seem not to really care too much about it. And as a mom you do your best to morph, to go with the flow. And that’s really just fine and no one should spend a single second worrying about it.

But even if you don’t feel like the ringleader you once were, guess what. You still are one. And you may be surprised that although a few of the rules have changed, these people are still your family and they really do respect your wises to make things happen.

This was evidenced to me when my middle son was turning 19. Our dinner table, once used to hosting our family of five almost every evening of the week, is now lucky to see three. With the kids’ jobs, school, activities and friends, most nights we are missing one or two. My son turning 19 was not going to be home for dinner on his birthday and I was resigned to lose this last vestige of childhood birthdays, the family birthday dinner. I was busy, and maybe a little bit of me was afraid if I pushed it, I would be disappointed to realize no one really cared. By letting the busy-ness be the culprit, I’d be able to avoid feeling silly, or let down.

What I wasn’t prepared for was how bad letting it go would make me feel. And in poignant contrast to all the emphasis I put on communicating, I couldn’t think of a way to bring it up to my family.

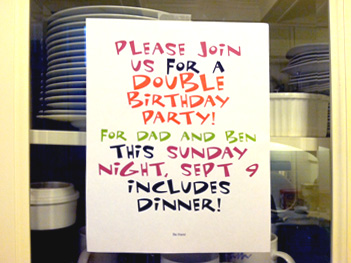
So, I surreptitiously asked around to find a night when everyone would be available. And when I found one, I decided not to leave it up to chance. I created a sign inviting everyone to the birthday dinner on that night, and posted it where I was sure everyone would see it.

Then I made a cake. My daughter made a cake. My other son and his girlfriend made two pies. And we had our party. It wasn’t such a big deal, (although we did have enough desserts for a week). But it was just exactly right.

And here’s the best part. That 19 year old really had a great time. We opened cards and small gifts and stayed at the table long into the night. And I see now that I wouldn’t have been the only one who would have felt a loss if we had decided we had simply outgrown the family birthday dinner.

Birthday_boy

IDEA 34: CHANGING SEASONS BASKETS

Bin_tag

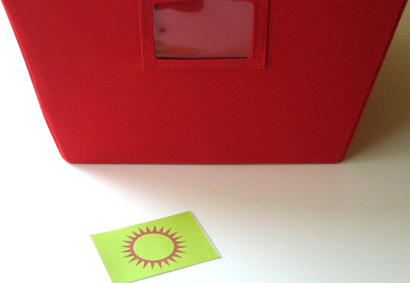
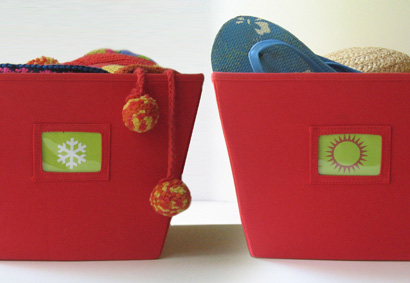
This is a pretty simple idea inspired by those nifty bins with the place to put a label in a holder on the front. I was using them for off-season gear in our closet, but the contents (of course) kept changing with the seasons. My solution: For each bin I made up two tags, one for summer, one for winter. Voila, a solution for summer, (both bins use the winter tags) a solution for winter, (switch out the tags and both bins house the summer stuff) and, in a season like this, where only half the summer stuff is put away, use one of each. (Store the extra one behind).

Changing_Seasons_bins

You can download and print these cute, visual, seasonal bin markers on card-stock, if you like. There’s extra background, so cut them to any size that works for your needs. Happy organizing!

IDEA 33: COLOR ME ORGANIZED

Marker_Organize_2

It’s September. Which means you very well have replenished the stock of colored markers, pens, and pencils. Let’s face it. When you have an organized environment it really does inspire use.

This simple and sweet idea comes from my friend Anne who, like me and probably you, is thrilled to figure out a clever way to keep kid-stuff organized. Anne’s boys had a jumble of colored markers, pencils, crayons and pens. The supplies were a big hit when they were first purchased, but soon became spread all over the house, buried in various drawers, lost in the general chaos of life at home.

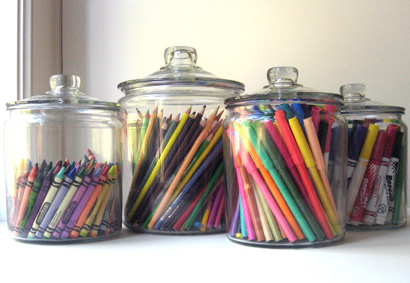
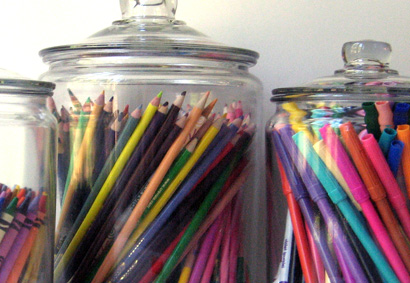
Then Anne got the idea to purchase clear glass jars from the kitchen department of a local big box store. The jars came in two sizes, so she chose a selection to house the various supplies. All the crayons went in one, the colored markers in another, and so on.

Marker_Organize_4

The resulting jars now inspire her boys to create. They bring a jar to their room, and when they’re done, they bring it back to the shelf in an open cupboard in their sunny front room where the display looks as great as it is functional. (How many kid-stuff solutions can you think of that not only clean things up, but add to your decor as well)!

I don’t know about you, but now I’m inspired to go out and buy all new pens just to do this.

Marker_Organizer_1

IDEA 10: SCARECROWS

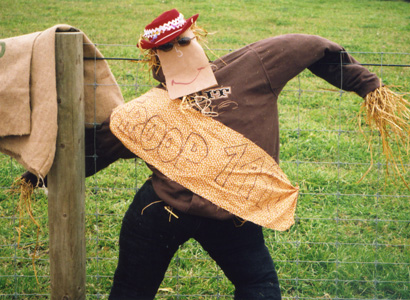
Scarecrow_1

Autumn pulls you outside with such beautiful clear days it almost makes your eyes hurt. The annual activities of leaf-raking, piling and jumping-in, as well as general yard maintenance remain a top-notch family tradition.

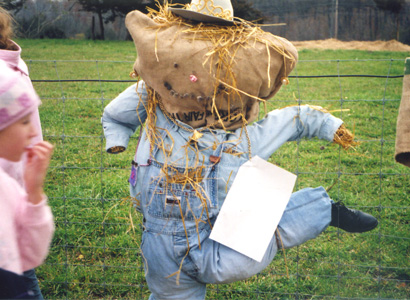
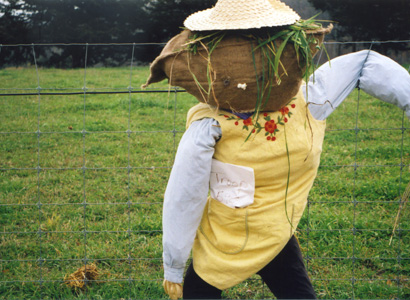
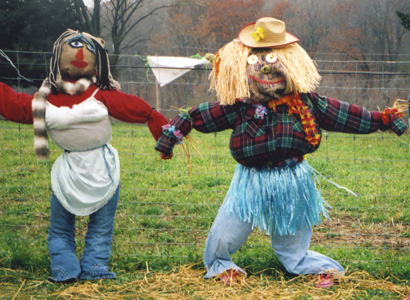
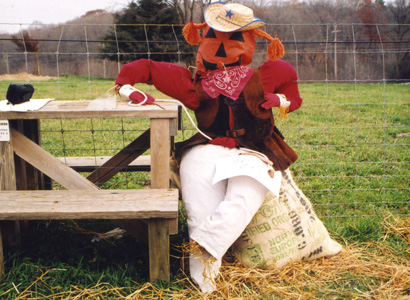
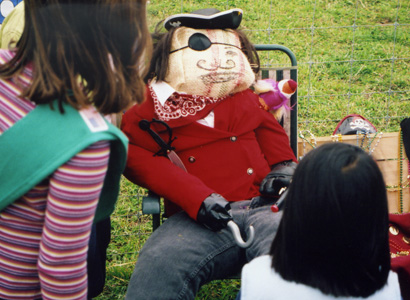
It is not a new idea to create a fall scarecrow from some of the fallen leaves. But recently my eyes were opened anew to this long standing autumnal routine. It had seemed to me, since Autumn ushers in Halloween, scarecrows had taken on a bit of a maudlin nature. OK, a lot of them are downright creepy. But my daughter’s scout troop participated in some autumn fun and games, and one of the activities involved making a scarecrow. I’m not biased, but leave it to nine year old girls to find a way to make scarecrows, well, anything but scary! I submit these beautiful examples of autumnal souls for inspiration in the hope that your family may adopt this sweet fall tradition. And maybe in the process you’ll also get some yard work done!

Scarecrow_3Scarecrow_4Scarecrow_5Scarecrow_6Scarecrow_2


IDEA 9: ANNUAL PHOTO

Annual_photo_d

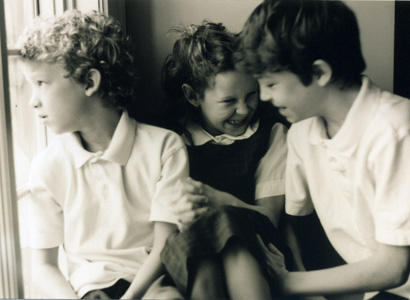
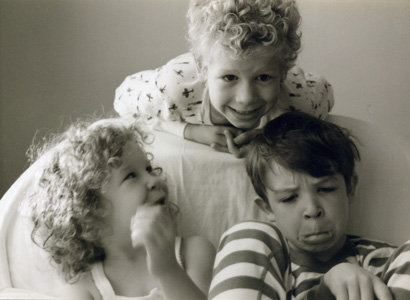
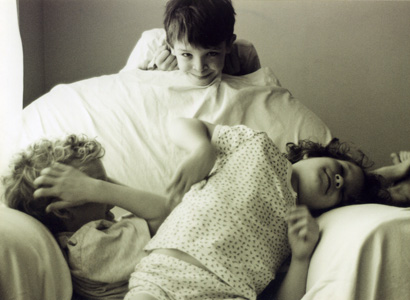
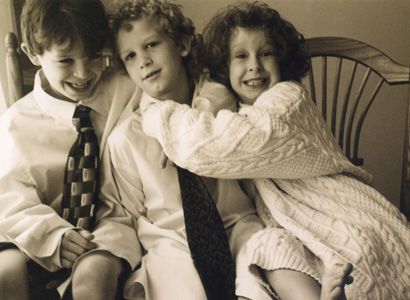
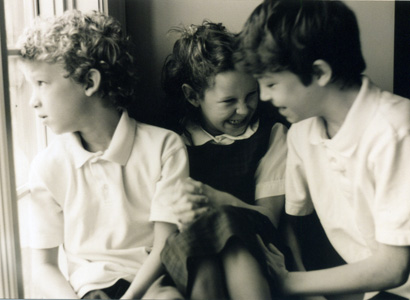
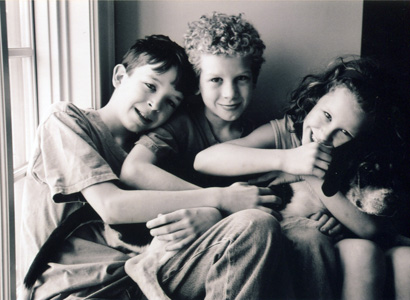
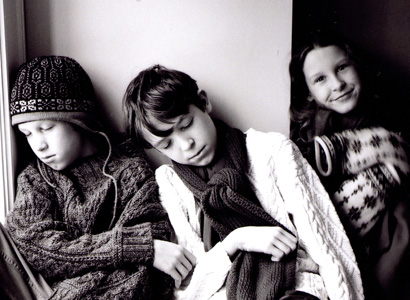
One of the best ideas I ever had was taking an annual photo of the kids. I always do it Thanksgiving week. Then it’s perfect timing to turn into a holiday card. But any time of year that makes sense to you will work. The trick is to pick a time that is convenient and you can remember year to year.

Find a spot in your house that has a window. Arrange the kids so that the window light is lighting their faces from the side. (You don’t have to see the window in the photo). Ideally you will figure out which window and time of day is best. We use a window that faces west and shoot in the morning, so instead of a harsh light streaming in, we get a soft glow. Once you have figured out the spot and time, remember it. And do the picture there every year. If the setting stays the same, the variety will be in how your kids are changing. If you like, you can always use the same chair. I prefer putting a white tablecloth over the chair to make it less important.

Turn off your camera’s flash. Now, before they are completely ready, start snapping away. Of course it’s nice to get cooperation, but as long as the kids are being themselves, it’s a neat picture.

You don’t have to decide whether you want to shoot in color or black and white. I love the black and white but you can shoot the pictures in color even if you decide to print them in black and white. Take a look at these shots of my own kids. Over the years it is fun to see the goofy stages as well as the adolescent ones and even grumpy ones. If you don’t worry about making a “proper” picture, and just record the era, you will find you’ve created a real treasure. And don’t forget to celebrate each and every quirky phase!

Annual_photo_aAnnual_photo_bAnnual_photo_cAnnual_photo_dAnnual_photo_eAnnual_photo_eeAnnual_photo_f

IDEA 8: TO DO LIST

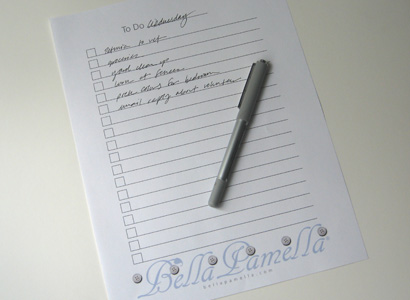
ToDoList

You may wonder why you need a To Do list if you already have a great day planner or calendar. But if you are like me, you have found that you really do need something more. I found that I had so many lists going on in my head and it seemed there was just no perfect way to organize them, so I designed my own solution. What I wanted was to have at my fingertips the ability to begin a variety of lists. There were things that needed to be done today, and then more things that needed to be done eventually. In between, there were things, not for today but by Friday, etc, you get the picture.

So I designed a nice, clean “To DO” list and now I’m sharing it with you so you can print out as many as makes you happy. At the top it says To Do: and a blank. You can print out seven of these and fill the blank with each day of the week. Or you can print out one that says today’s name at the top and one that says “By the weekend”. For your more lofty ideas you can put “Eventually” in the blank, or even “Before I die”. You can also use the heading of an event, like “Party” or “Thanksgiving”.

I’m giving you a choice of two sizes. One is a full page [Large To Do List] and the other is half size which will be printed two to a page, and can be cut apart [Small To Do List]. It’s my gift to you, print as many as you like. List to your heart’s content. And hopefully it will make you the organized Domestic Goddess you have always known you could be!

By the way, because technology is mysterious, and computers and printers vary, there is a chance that the above documents aren’t centered when printed. Try printing the Small To Do List above. If the center cut line is NOT in the center of the page, here are two more for you to try: [Large To Do List Alt] and [Small To Do List Alt]. Happy listing, and let me know how they came out!


IDEA 7: MONDAY BREAKFAST

Monday_breakfast


This is one my kids taught me. One Sunday night my daughter was mourning the end of the weekend. She just wanted something to look forward to. “Can you make us ‘special breakfast’?” she asked me. When I told her I could, it helped her put a close to the day. She went to bed happy that Monday morning we would have “special breakfast”.

The key here was something speedy yet impressive. (Save the pancakes or waffles for the weekends when you don’t mind monitoring a pan for an eternity). In order to have time I only set my alarm about 15 minutes earlier than usual. The smell of the bacon got the kids up lickety-split. And they were delighted and thrilled to have a special breakfast all set out for them. It wasn’t a big deal: Orange juice, scrambled eggs (which really takes nano-seconds) and toast, and bacon. And a place all set for them with a place-mat and napkin.

Thus was born Monday Breakfast. We don’t do it every Monday, in fact it’s about once a month. On all the other school days we are making lunches and grabbing toast or cereal or a bagel and yogurt. But about one Monday a month my kids get off to school with a belly full. And the benefit lasts all month.