Archived Ideas for ‘DIY’

IDEA 95: GET CREATIVE WITH 2X4s

2x4_Bench_Top

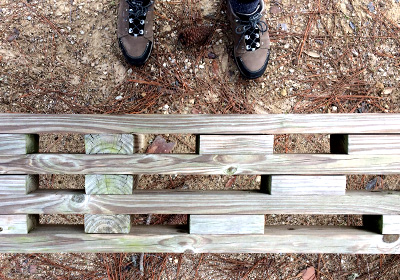
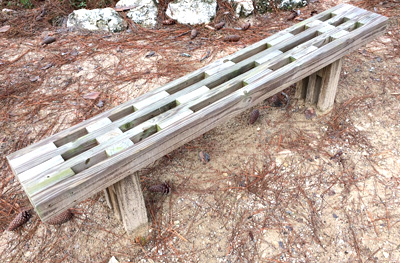
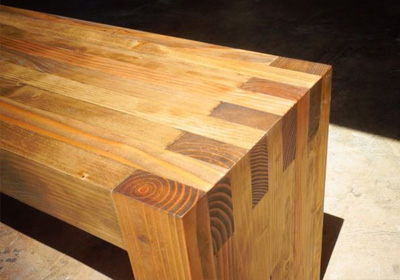
A few weeks ago my husband and I decided we needed to get out of the frozen tundra, so we took a road trip south to Wakulla Springs near Tallahassee Florida. It was there, on a hike, that I came across this beautiful, elegantly designed bench made entirely from 2x4s.
2x4_Bench_3-4

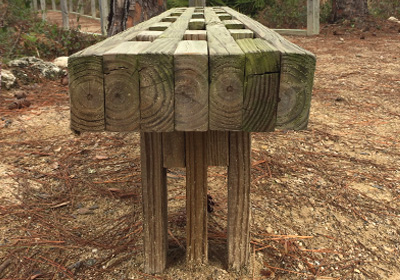
There wasn’t an ounce of give in the bench. It was permanently fastened in place, presumably the legs were set into poured cement footings underground, much like a fence post would be.
2x4_Bench_End

It goes without saying, this solution was as sturdy as you like. After all, the 2×4 is the building block of most every house and building on the block. But what I really loved was the thoughtful way the bench was conceived, using no more and no less wood than was absolutely perfect.

And it made me wonder what else could be made out of 2x4s. So, of course, I Googled it.

I shouldn’t be surprised that there are tons of posts about making things from 2x4s. After all, this is such an available and affordable source for wood. A 2×4 costs about $3. And it can be easily bought, brought home in your car, and cut up.

But in my opinion there is a big difference in the project ideas out there. And I decided to collect and present to you MY idea of the coolest 2×4 projects. My criteria includes:

•Finished piece has to be attractive, and un-2×4-like. (Crates, picnic tables and things like that are items I consider to be too 2×4-like).

•There has to be a reason to use a 2×4 as opposed to another form of wood (many designs call for slicing the 2×4 to make it into boards. In my book that’s too hard, and I would just buy boards. Or carving it into fancy moulding-again would make more sense just to buy the right molding).

•It can’t just be things cut into chunks and painted to look cute. (These are fine, but they’re more about the painting and less about the 2×4).

I noticed many (but not all) these tutorials “square up” the 2×4 first. I think removing those rounded edges looks awesome and makes a huge difference.

So, here are a few projects some amazingly clever people are doing out there. In each case I’m linking to their tutorial as they need to get credit for such fine ideas!
2x4_Vase_Shanty_2

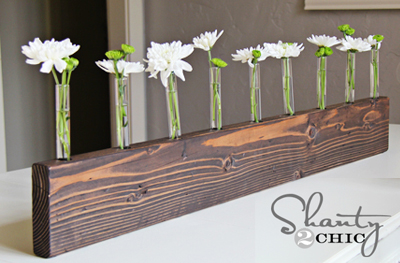
This beautiful vase idea is so elegant. You may say it broke one of my rules as this is not a 2×4, it’s actually a 2×6. But I think it would be lovely in a 2×4, and IMO even nicer if you sharpened the corners so they were perfectly crisp. But kudos to Shanty Chic for the idea and tutorial.

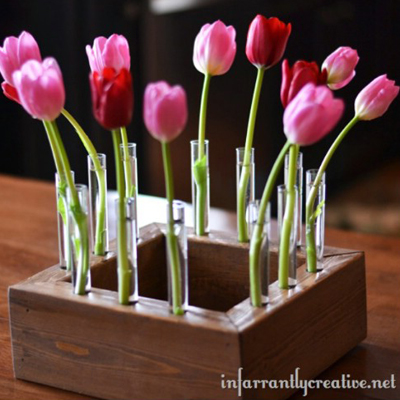
Here is another vase, this one a little more complicated to make, but equally elegant. Find the tutorial for this one here.
2x4_SQ_Vase_inf

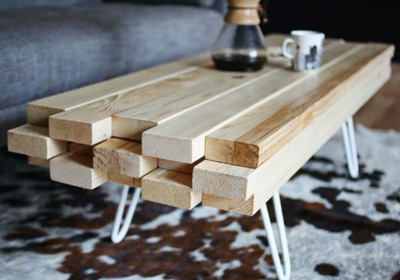
I love how this coffee table manages to be 2×4 and modern sculpture all at once. Find how to make it here.
2x4_Coffee_Table

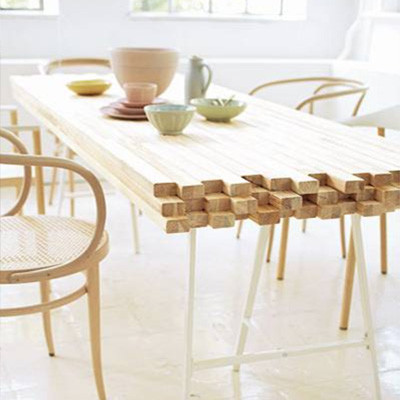
The couple who made it was inspired by this table. I thought it very astute of them to make the connection between this table and their coffee table need.
2x4_SQ_Table

2x4_Modern Bench

As the tutorial says: Less is more! This bench shows how classy the 2×4 looks when the edges are sharpened. And I love how the interlaced wood makes for a dovetail joint look. This thing is gorgeous.

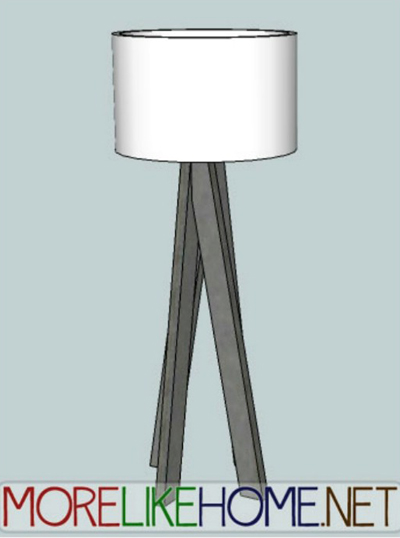
I absolutely love this lamp idea. If anyone makes this please send me the photo! So far there is just the drawing. Find the brilliant tutorial here.
2x4_TALL_Lamp

What’s not to love about this extremely minimal wine rack? I would probably sharpen up the edges and put the paint or stain inside the drilled holes as well. While I love the 2×4 idea, I would also want to hide its identity just a little more!
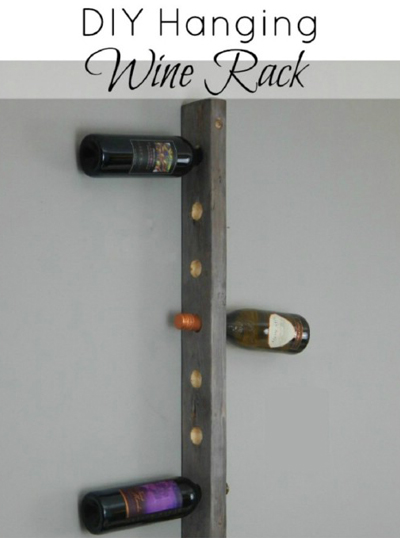
2x4_TALL_WineRack

While we’re talking simple, these 2x4s are cut and attached to form stair steps for the spice bottles to be displayed. While the idea is simple, I like how care was taken to finish the project in a clean white semi-gloss, and the bottles were labeled so the spice names can be read in any row.
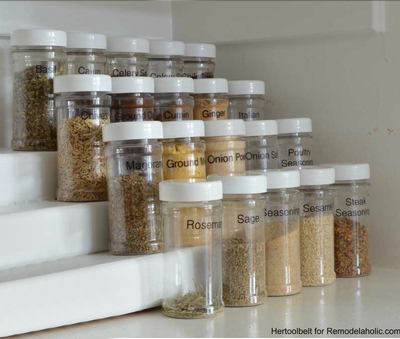
2x4_SQ_Easy TieredNOTYPE

Anyone who follows my posts knows I just love a project that looks far more expensive or difficult than it was. I can’t wait to try out some of these!
IDEA 93: EMBRACE MYSTERY

Feb_Paper_hearts_1_H

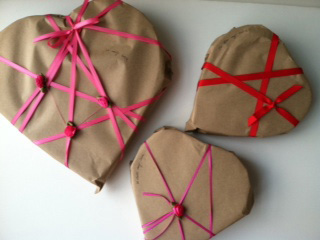
It’s hard to disguise a heart shaped box of chocolates. But chances are, your Valentine has never received quite such a mysterious looking gift as this. And what romance couldn’t use a little extra mystery now and then?

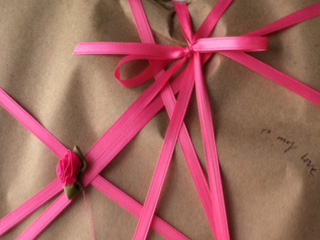
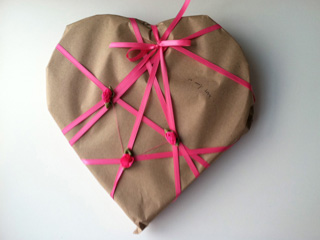
Here is a simple but chic idea to customize that heart-shaped box of chocolates for your very special ones on Valentine’s Day. The beauty is, the quicker, and somewhat sloppier your wrapping, the better. No need for ‘hospital corners‘ here.

I started with heart shaped boxes of chocolates of various sizes, depending on the sizes of each of my Valentines. (My husband got the ginormous one, while the kids got minis).

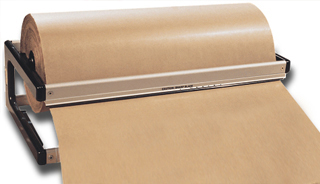
Using plain brown paper from my roll,

Feb_Paper_hearts_roll

I tore off a large sheet, (measure as if you are gift wrapping), surrounded the box, and taped it in back.

Now, instead of neat square corners, I just crunched the paper around the shape. I did clip at the top center of the heart, and cut a “v” out at the bottom point. But only so as not to have too big a lump of crunched paper.

Next, I took a roll of ribbon (I had a variety of 1/4 satin to 3/4 inch grosgrain in hot pink and red) and began winding it haphazardly to try to catch all sides from unraveling. I tied the ribbon in front with a bow. For fun, I added small ribbon rosebuds (you can purchase from the fabric store or Michael’s) and sewed them to different places using a continuous matching thread.

Feb_Paper_hearts_cropFeb_Paper_hearts_3_H

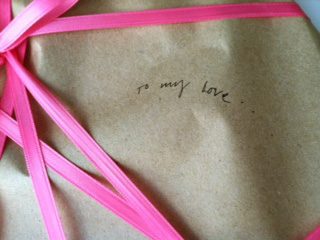
Now, all you need to do is come up with a clever valentine pun. Like: “Valentine, you’ve got me tied up in knots.” Or “Be Mine. No strings attached!” or maybe just simply:

Feb_Paper_hearts_CU

xo

IDEA 91: MAKE A DAY-OFF TRADITION

DAY_OFF TRADITION_boxed

Do you ever experience an after-the-holiday lull? Not exactly down (or maybe a little down), more like, “Now what?”

Sometimes a day off is well spent noshing pudding while binge-re-watching your favorite Netflix series. But if that activity doesn’t feed your soul (or if you can’t get away with it in your particular household) why not have a holiday day-off tradition? This could be a Christmas Eve, Christmas Day, New year’s eve or New Year’s Day event. It can be on your own, or with family or friends. But the secret is to make it the thing you do, every year (unless you don’t feel like it, which is allowed because it’s YOUR tradition).

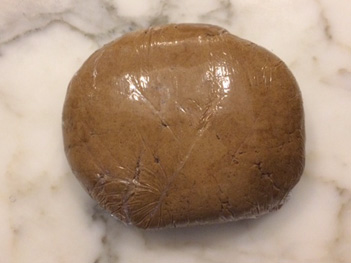
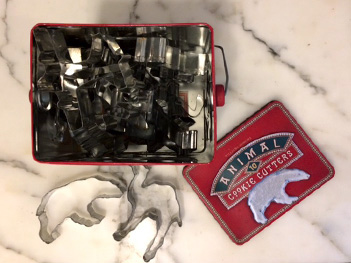
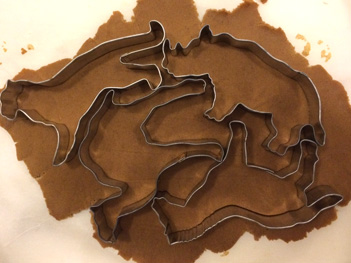
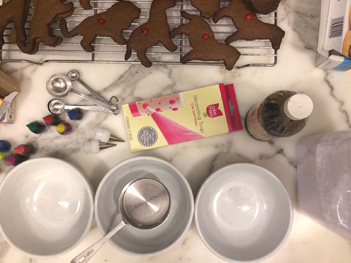
Mine doesn’t always occur on the same day, this year it was Christmas Eve, but for the last several years it’s been making decorated gingerbread animal cookies.

Over the years these have shown up on the BellaPamella Facebook page. And I think that’s how I discovered it has become a tradition.

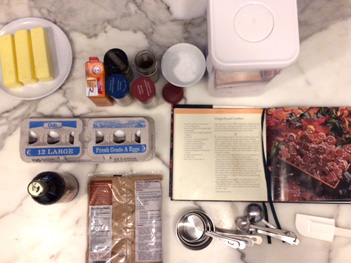
We always use the same recipe from an old Williams Sonoma cookbook. You can find a similar one on line. But really any one would do.

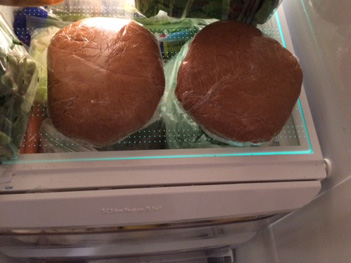
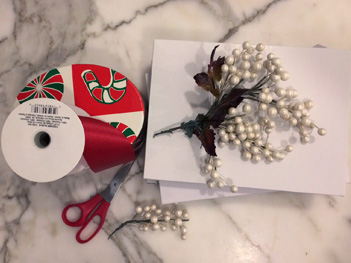
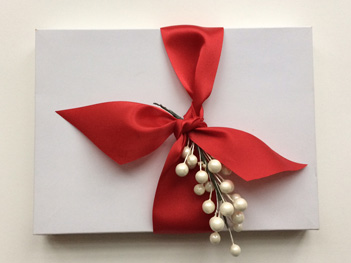
The story is easily told in pictures. And I would just add that buying or finding some small boxes to allow any guests to take a few cookies home with them is truly the icing on the cookie. So to speak.

We find this activity to be calming as well as creative, something that really works in our house. Have a wonderful holiday season and remember, when in doubt, bake something!
DAY_OFF TRADITION_INGREDDAY_OFF TRADITION_WRAPDAY_OFF TRADITION_DOUGHDAY_OFF TRADITION_CUTTERSDAY_OFF TRADITION_cutDAY_OFF TRADITION_coolingDAY_OFF TRADITION_ready_for_decDAY_OFF TRADITION_deccedDAY_OFF TRADITION_wrappingsDAY_OFF TRADITION_boxedDAY_OFF TRADITION_Wrapped

DAY_OFF TRADITION_ad


IDEA 88: SCARF SKIRT

Scarf_Skirt_Model_2

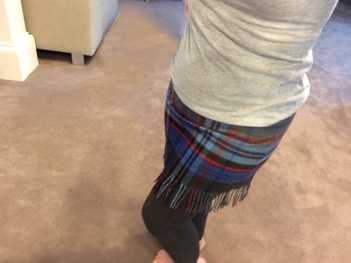
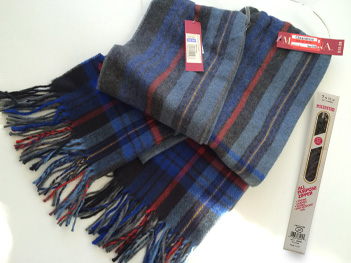
This may just be the best use of clearance merch ever! Last spring I picked up these sweet scarves at Target at a deep discount, for $5.98 each. I loved the fringe and thought they would make a super cute skirt. But it took me until I felt a slight chill on the wind to decide it was time to give it a try.

Materials were pretty simple: two identical men’s scarves (these were about 12″ x 46″ without the fringe), a 7″ skirt zipper, thread, scissors or a rotary cutter, pinking shears or a pinking rotary cutter and a sewing machine.

Scarf_Skirt_Materials

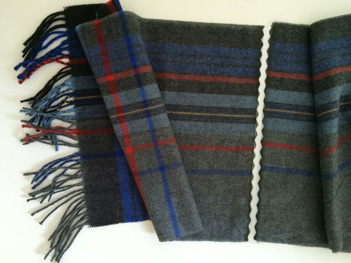
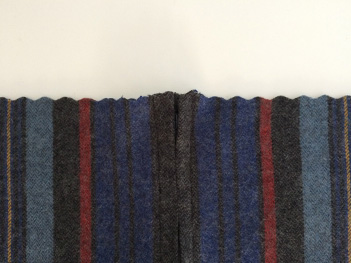
I decided if I pinked the top edge I wouldn’t have to make a waistband. So I measured on my body where I wanted the skirt to fall and cut four identical pieces from the ends of the scarves (so all pieces had a fringe). My pieces were 15 1/2 ” from the cut to the top of the fringe. I cut mine with a ruler and a ruffled rotary cutter to create a straight pinked edge.

Scarf_Skirt_pinked_cut

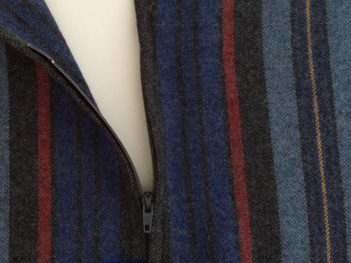
Next step was to install the zipper in the middle of two of the scarf pieces.

Scarf_Skirt_Zipper_CUScarf_Skirt_Pink

Once I had the zipper installed I went ahead and machine basted the other three vertical seams. I was essentially making a tube with a fringe at the bottom.

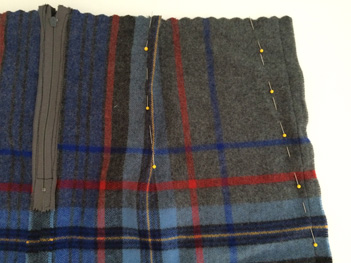
Then, with the whole thing inside-out, I tried it on. If you’ve gotten this far, you can now see how your body is not actually a perfect cylinder. And at this point you may need a helper, although I did manage on my own. Start to pull out and pin the excess fabric so the shape begins to fit your curves. You’ll take the most from the side seams, so start there, pinning the most excess on those sides. You want to take enough from the sides to create more of a skirt shape, but not so it’s tight yet. Then you want to pin in four darts, one on each side in the front and one on each side in the back. Your helper needs to make sure the darts are an even distance from the zipper in the back, and from the center seam in the front. In my case, I used the different colored stripes in the plaid to guide me.

This should get the whole thing fitting you just like a glove. Carefully unzip it and get it off without sticking yourself with all those pins!

Scarf_Skirt_Pin

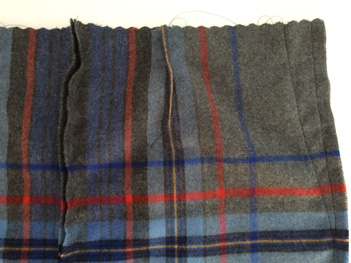
Sew everything you pinned.

Scarf_Skirt_Sew

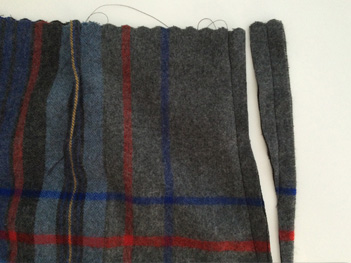
Once everything is sewn, it’s not a bad idea to try the whole thing on, still inside-out, and check it for fit. If all’s well, trim the seams to an even amount outside your stitching.

Scarf_Skirt_Trim

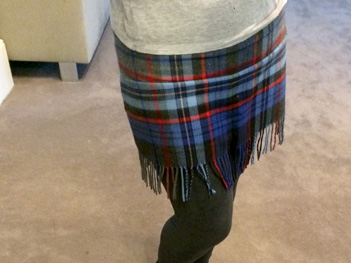
Get all the pesky threads trimmed, and press the seams open and the darts pointing away from the center. And that’s it!

Scarf_Skirt_Model_3

Now I’m looking  forward to brisk winds and boot days, and only you and I will know the secret behind my super swingy, $11.96 fringe skirt!


IDEA 85: MAKE YOUR MARK

Mark_Lilly

My extended family has been congregating on our family farmland for many summers. And the highlights of the reunions are the beautiful big meals, prepared, served and enjoyed outdoors.

Mark_party_scene

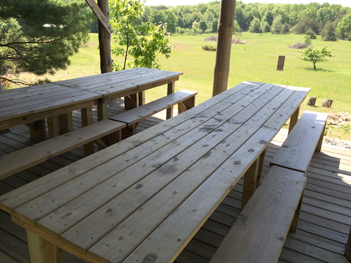
A handsome open-air structure, made by my brothers and cousins hosts the meals, and several years ago we replaced the mismatched tables and chairs with something sturdy enough to survive the northern Michigan winters.

Mark_tables and benches

My brother made the simplest of designs and all hands helped out to build the iconic tables and benches.

Mark_Table_end

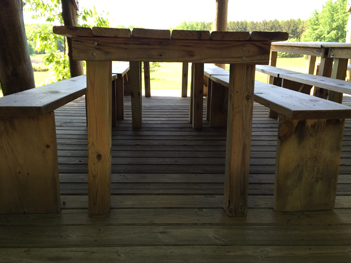
With all the materials (treated lumber and screws) coming from the lumber yard, the solution is smart, elegant and very cost effective.

Mark_Ben

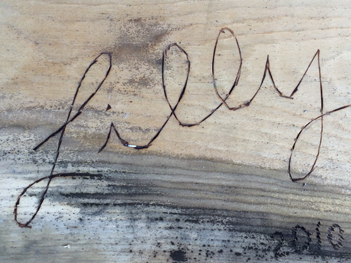
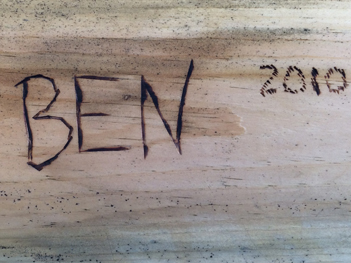
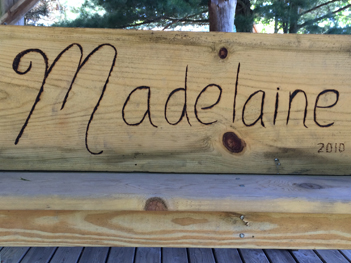
Even better, each kid who put a bench together got to burn his or her name in the bottom, proof that they pitched in and deserve their place as a crucial piece of this family.

Mark_Mad

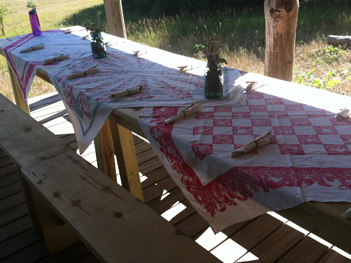
The otherwise humble tableau is dressed up with our well worn and faded tablecloths.

Mark_tablecloths

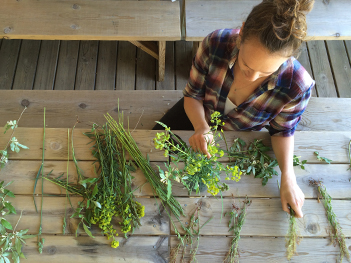
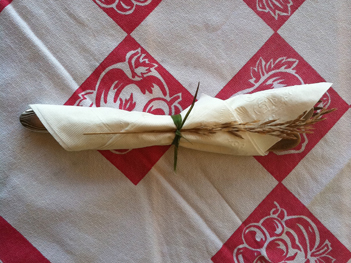
And, of course, lots of helpers make amazing food and natural decor.

Mark_wildflowersMark_napkinMark_GrillMark_Menu2Mark_Picnic_food

It’s an annual ritual, that none of us could imagine going without. I say, take a stand. Embrace a tradition. And make your mark.


IDEA 84: BEAUTIFY SOMETHING

Bench_before

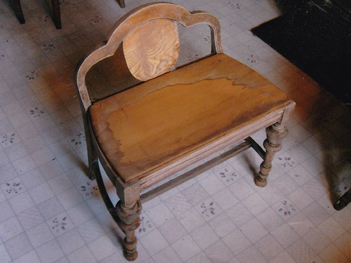
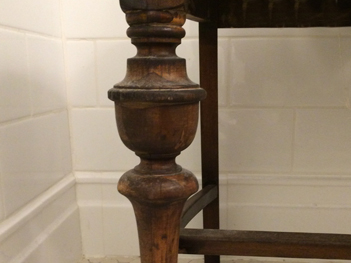
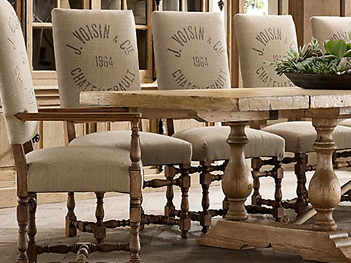
I love to troll around flea markets looking for that odd old thing that’s just begging for me to buy it and make something out of it. Such was the case when this little boudoir bench caught my eye. It had a raggedy finish and was topped by a flat piece of wood with a garish striped fabric stuck to it. Still, the unusual piece and deeply turned legs grabbed me.

Bench_Detail

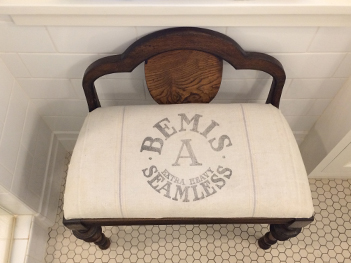
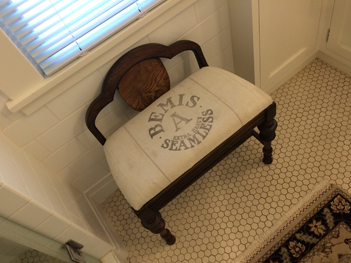
I stripped, stained and finished the legs and back. And cut a nice thick piece of foam for the seat. But for the longest time I couldn’t decide what fabric to cover it in. Until one day when I found myself at another flea market. And was standing there holding this beautiful old faded seed sack that said “Bemis Extra Heavy Seamless” on it.

Bench_Top

That made the perfect cover. The result is so sweet, and dare I say, chic? I noticed Restoration Hardware was selling a similar look in their latest catalog.

Restoration_Hdwe

Now the bench lives in my bathroom, at the ready if you’re looking to set down your towel, or need a place to prop the iPad next to the tub. And everyone who comes in there comments on it.

Bench_In_Bath

I just tell them it’s from Restoration Hardware. (Not really, but it so could be).

IDEA 83: ANTICIPATE

April_Garden_beds

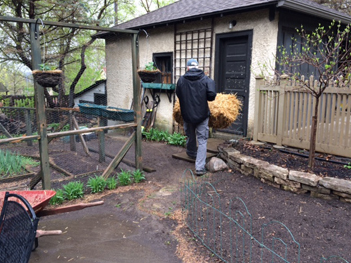
My husband, the gardener of the household, calls April in Minnesota the “cruelest of all months”.

Your natural clock tells you it’s time to plant, but history tells us we are better off waiting, than subjecting a plethora of tiny growing things to a surprise freeze or snow shower.

But that does not keep him (and most Minnesotans who are so inclined) form tidying up the gardens in anticipation of our short but much beloved growing season.

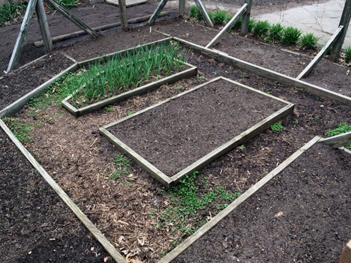
While a cursory glance around the yard doesn’t look like much, his appreciation and care for what is to come has made me much more aware of the coming beauty. The garden that’s been buried in snow all winter is now completely tidied up. It’s all dirt and wood chips, with the exception of two green things: The garlic bed, planted last fall is brimming with new green shoots that apparently were at work all winter under a cozy blanket of snow. And the wood-chip path is being taken over with soft green clover. I asked him why he left the clover when he cleared out everything else. And, while I would think most gardeners would consider this a weed, he appreciates the clover for the soft bed it forms for bare feet. Much preferable to wood-chips on the tootsies.

Elsewhere in the yard, a very young False Indigo has been guarded by a wire form. If he hadn’t lovingly cleared out around it, I may never have noticed. And I would never have known that at this young stage, a False Indigo looks exactly like asparagus poking up into the world.

April_False_Indigo

Teeny-tiny Forget-Me-Nots are up in force, but so small they’re easy to miss.

April_Forget-Me-Nots

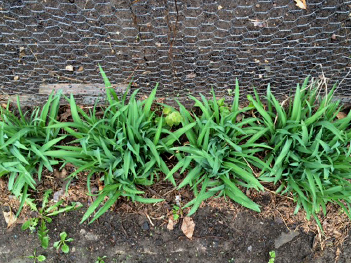
Just outside the vegetable garden, fresh green Stella d’oro daylilies are preparing for the show.

April_Stellas

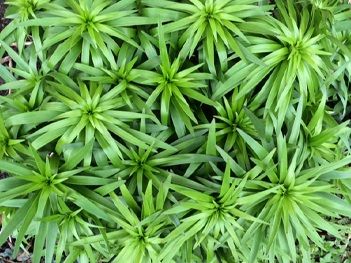
Before the red Asiatic lilies appear, the foliage makes a pretty green star pattern.

April_Lilies

And it wouldn’t be a Minnesota yard without a host of different hosta varieties peeking up.

April_Hosta

In all the brownness, our bright pink Magnolia tree tries to hold its own.

April_Magnolia_budApril_Magnolia

And the April rain reveals that all the loving preparation has it’s own beauty.

April_brown_yard

In the coming months, the garden will begin bursting with vegetation. The gate will be dripping with a bean vine so prolific, it makes you want to laugh. This place will get so lush and beautiful, coming home every evening will be a celebration.

And, once again, we’ll all be reminded why we put up with Minnesota winters.

April_Summer_Beauty

IDEA 82: GO HOMEMADE

Maple_Syrup_Sunny

I remember reading a spoof on Martha Stewart where she purportedly had a recipe for making your own water. And this comes close. But.

When you live in the Midwest, well, when you have kids, sometimes you do things you never dreamed you would in the name of adventure.

We live in Minneapolis, the “South Metro”. We are a stone’s throw from the city in an urban neighborhood. And we have several mature maple trees, including a majestic Sugar Maple. When our neighbor called a tree trimmer to help remove a large branch from one of his trees, we observed from next door. Where the limb was removed, a veritable river of sap flowed out.

Huh, we said.

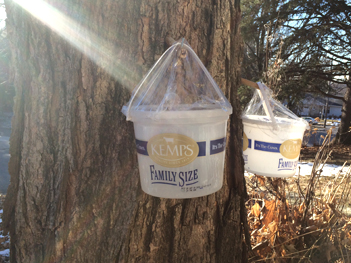
The next thing I knew, my husband had drilled two holes in our maple and began collecting bucket after bucket of pure maple tree sap.

Maple_Syrup_Buckets

He went online to discover that any maple tree can produce beautiful maple syrup, and our sugar maple would produce at the rate of 40 gallons of sap to one of syrup. Why not?

According to the online recipe, the time to sap the sap is when temperatures drop below freezing at night and rise into the 40s during the day. In Minnesota these conditions typically occur during the month of March, but depending on where you live, it could be anywhere from mid-February to April.

And get this: you probably have everything you need to produce maple syrup right in your house. Basically, what my hubby did was: Collect the sap in ice cream buckets, emptied each night into a 5 gallon paint bucket from Home Depot.

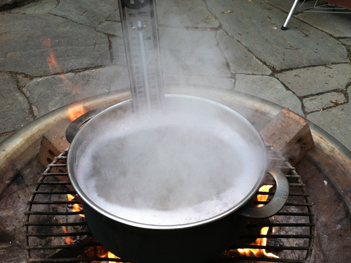
Once he got a bunch (and the sap seemed to be slowing down) he set up a boiling station out on our back patio. It seems there is a lot of boiling and evaporation, (which means doing it in the kitchen is not a good idea, unless, I guess, if you have a lot of wallpaper you’d like to remove).

Maple_Syrup_Boil

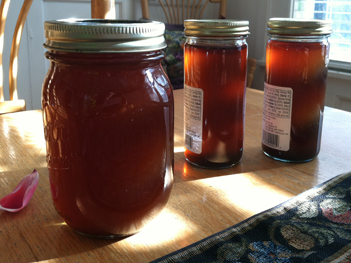
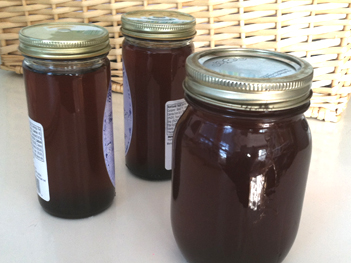
He filled my big soup pot with sap and brought it to a boil. Then he sat and monitored. As the liquid boiled down, he added more, always keeping a steady boil. Our 5-gallon Home Depot bucket of sap translated itself into one pint jar and two more little jars of delicious maple syrup. Enough to keep this family in homemade maple syrup until next spring.

Maple_Syrup_Bounty

So, was it worth it? Well, if you were just looking at the money savings, you would answer no, not even close. But what value would you put on creating something as magical as maple syrup straight from your yard, with no special tools at all? I’ll leave that one up to you. But if you do decide to give it a whirl, you must let me know! You are a sparkle in an otherwise world of practical, Martha!

IDEA 80: RECYCLE WITH STYLE

Spats_CU2

Here’s a super-quick January Saturday idea, the quickest DIY ever.

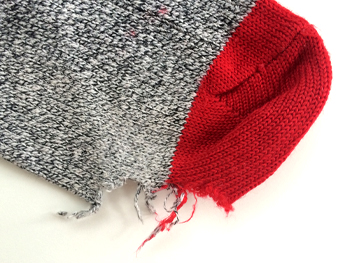
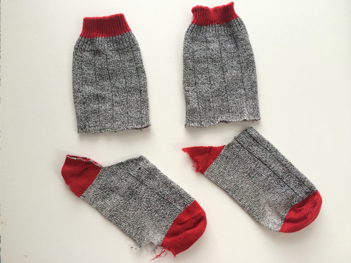
My husband has all these cute chunky hiking-type socks. And typically he gets a lot of sock blow-outs.

Spats_hole

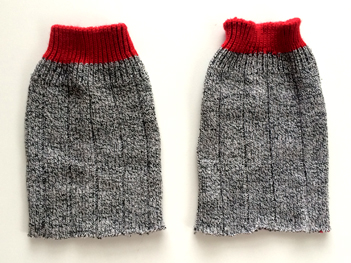
What do do with them? Cut them straight off by cutting straight across the vamp, then along the upper edge of the heal.

Spats_cut_twoSpats_two

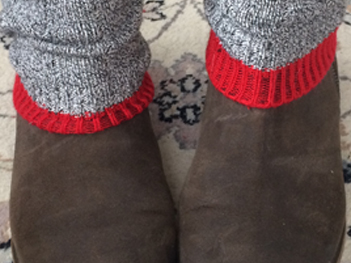
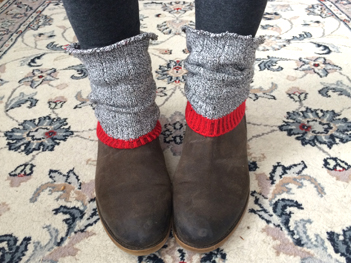
Then pull them on over your short boots or shoes. You can wear them either way, right side up or like this, upside down.

Spats_Done

Voila! Instant spats!