Archived Ideas for ‘Kids’

IDEA 19: SANTA MANTEL


Santa_mantel

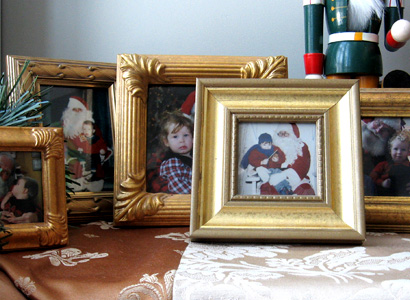
If you have been taking and saving photos of your child with Santa, you may have been looking, like I was, for a way to use them. (And if you haven’t been, maybe this will inspire you to do so!) This little idea seems so perfect you might wonder, why didn’t I think of that?

While you are perusing discount and craft stores, start collecting interesting gold (or silver) frames. I would buy one when it was on sale, or caught my eye. Size can vary from tiny to about 5”x 7”. Then, each year when you photograph your child with Santa, frame it in one of the frames. Make sure to write the year on the back side. These treasures are packed in a box all year, but at Christmas time, they come out to fill the fireplace mantel.

This will be a holiday tradition you will treasure long after your kids have moved away.

IDEA 18: BEDROOM WREATHS

Door_Wreath_1

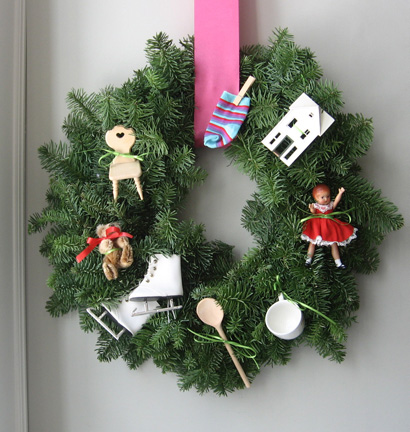
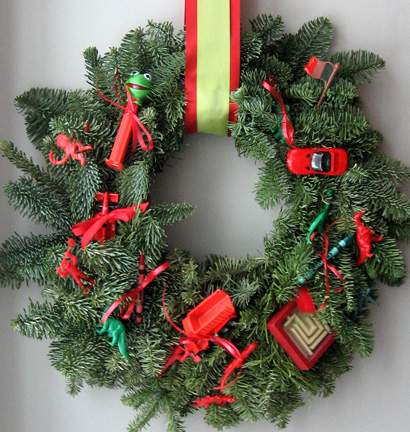
A simple and beautiful tradition to add to your holiday ready-making is the bedroom wreath. We do one for each child’s door. You’ll need a plain evergreen wreath, (you can use artificial wreaths if you prefer), about a yard and a half of 3” wide grosgrain ribbon per wreath, and some smaller, 1/4 inch wide red grosgrain or curling ribbon.

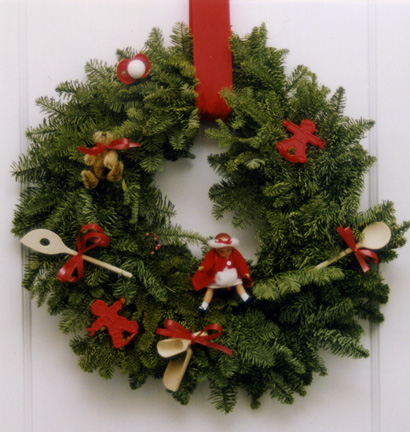
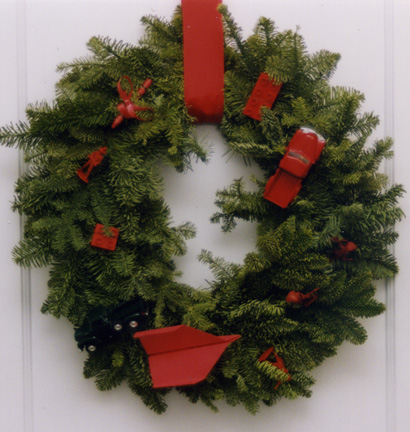
Gather a collection of small toys from each child’s stuff. From my son’s room I collected all red things: A building block, a red crayon, a truck, and red plastic army men. I even made a small red paper airplane. From my daughter’s room I collected tiny wooden spoons and a rolling pin, a small doll, a tiny bear, red plastic toys, even a red pacifier.

Using the narrow ribbon, tie the objects onto the wreaths. Loop the 3” wide ribbon through the center and line up the two raw ends. Thumbtack through both layers to the top edge (horizontal surface) of the door. Use very flat tacks so the door can open and close freely. If you like, embellish with a bow.

If you happened to have installed a hook as suggested in Idea #5 “Saving Private Places,” forgo the wide ribbon. Just hang the wreath right on the hook!

Door_Wreath_2

On December 7, I demonstrated this idea on Twin Cities Live, a local Minnesota show. The wreaths we did on the show are shown below.

Bedroom_Wreath_girl

Bedroom_Wreath_boy

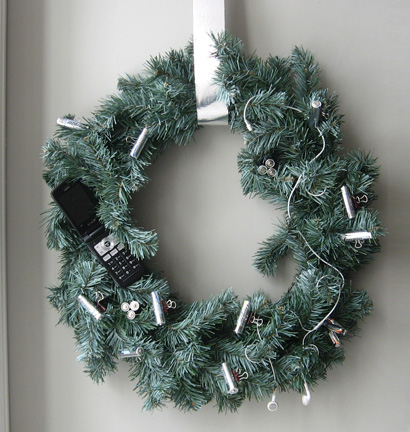
And one we didn’t get to is the “teen” wreath. I used old batteries, an old pair of “ear buds” and my son’s cell phone that went through the wash! Instead of ribbon it’s hung with silver duct tape.

Bedroom_Wreath_teen


IDEA 15: WEAR AN APRON

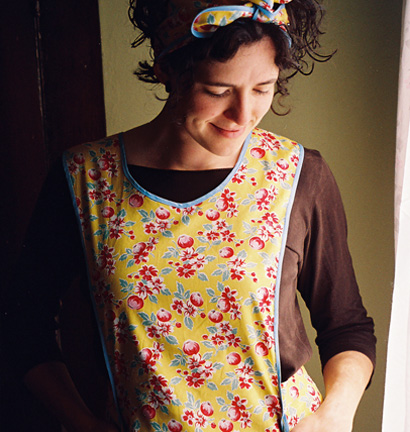
WEARANAPRON

When you are a mom and wear an apron, you and your kids are making a pact of sorts. The pact says to the kids, this will always be your home, and I will always be your mother. It does not matter if work takes you away from your home all day. It does not matter if the meals are prepared in 45 seconds in the microwave. The kids, for their part, will never question or judge, They will simply understand that they are loved.

So, where should you get the apron? Hmmm. Let’s see. How about here?

IDEA 12: HALLOWEEN COSTUMES

Costume_skel_1

When my kids were smaller I loved making simple costumes for them for Halloween. One thing that just never made sense to me was to put a lot of work into a baby costume that would be outgrown, possibly even before Halloween!

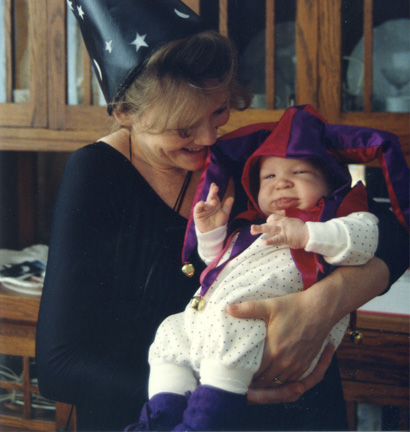
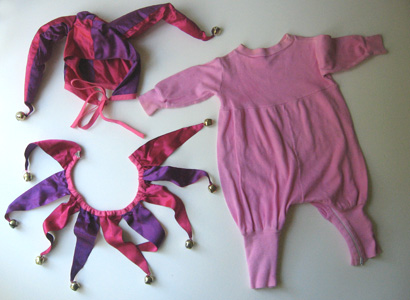
So I concentrated on “head gear.” I found a pattern for a court Jester and didn’t bother to make anything but the beautiful satin hat and neck ruffle. My thinking was, put this with any plain baby or kid outfit and you have an instant costume. 
Jester_costume

Here is the baby it was made for:

Costume_PJ 

Here is his younger brother who, as a toddler wore it a few years later:
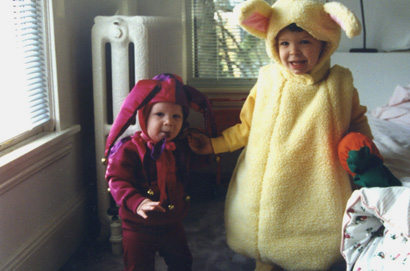
Costume_BJ

Here is my daughter in yet a different size wearing it a year or two later:
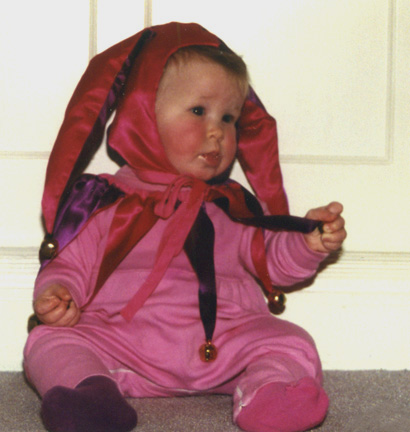
Costume_NJ

The hat and neck ruffle are still in our costume box and over the years have been pulled out many times, for all my kids, some friend’s kids and even our dog, Petunia. 

Another costume that utilizes versatile “head gear,” is the “Carmen Miranda” fruit hat. I purchased a piece of ribbed black cuff material from the fabric store about 8 inches by whatever the width it came in. I folded it in half to about 4 inches and sewed it in a loop just big enough to create a very wide “headband” that would hug my daughter’s head. You could also use a purchased headband if you can find a wide one. Then, with a needle and thread and pretty long stitches, I ran a line of stitches across the width of the band (not around) and pulled it tight to form a gather at the top of her head. I bought some miniature plastic fruit from the floral department of the craft store and hot-glued them on to the gathered area.
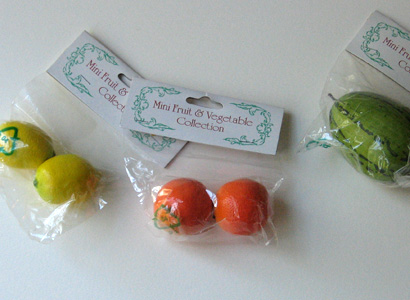
Mini_fruit 

This, along with a bright colored skirt and top made my daughter the cutest Carmen Miranda you ever saw!
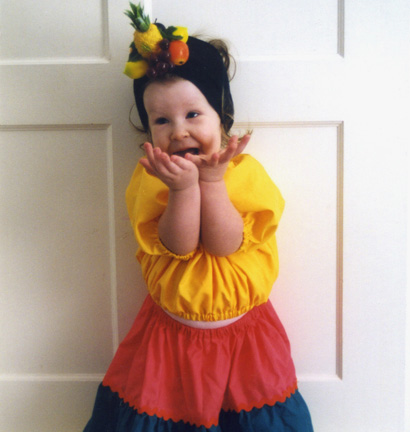
Costume_NCM

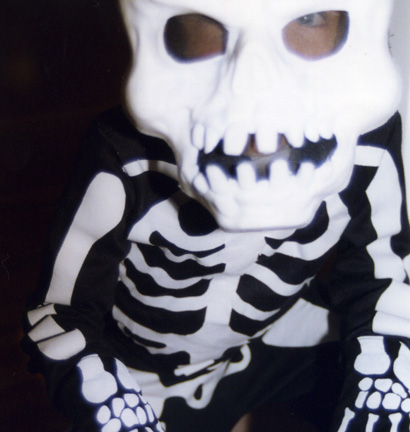
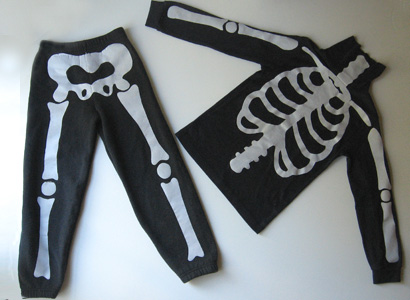
Another clever classic costume was our skeleton, which was worn by all three kids. The base is a pair of black sweatpants and a black turtleneck shirt. At the fabric store I purchased iron-on adhesive. Does this stuff look familiar?
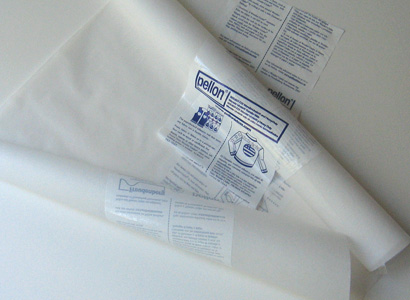
Pellon

Then, either buy a yard of white cotton, or recycle an old white sheet. Using the instructions on the adhesive, iron it onto the back side of your white fabric. Now you can draw the bones on the backing paper and cut them out. (Since you are drawing on the back, everything is in reverse, but with this design it makes no difference. Everything is symmetrical). If you are unsure of what you are doing you can first trace the sweatshirt and sweat pants onto the backing paper. I realized the design was so easy because it was simply a series of doggie bone looking things with dots inbetween. I just made them to fit the sweats with joints approximately at the midway points. The “ribcage” was sightly harder but I found the whole thing to be quite forgiving. Just sort of fill the spaces on the clothes. You then simply peel off the backing paper and, with the adhesive side toward the shirt, press it on with an iron! Use another piece of plain fabric between your work and the iron in case any adhesive melts out. You don’t want to get it on your iron.
Skeleton_cost

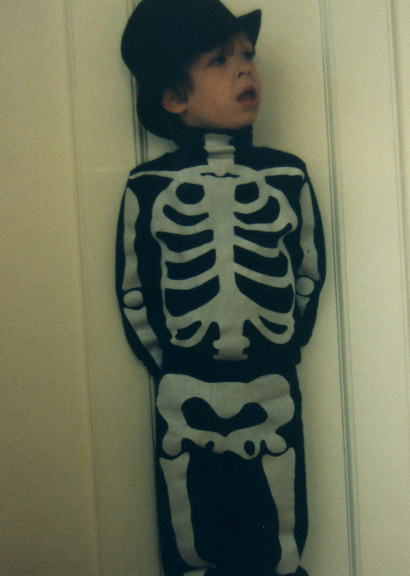
Depending on the age of the child, they can wear a purchased mask, or make-up, or I also liked the look of this cute top-hat from the previous year’s snowman!
Costume_skel_2

Have fun! And don’t forget to take pictures!


IDEA 11: COSTUME BOOK

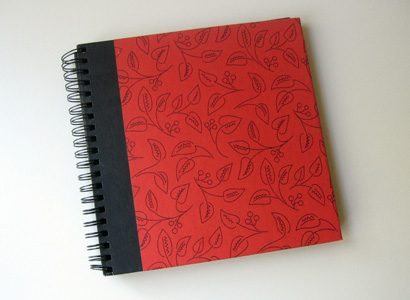
Costume book_outside

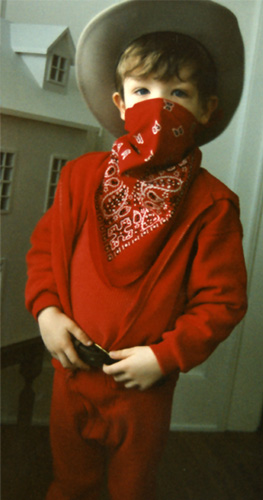
One of my favorite pictures of my son was when he was about four years old. He had on red waffle weave PJ’s, a ten gallon cowboy hat and a red bandana tied across most of his face.

Costume book_cowboy

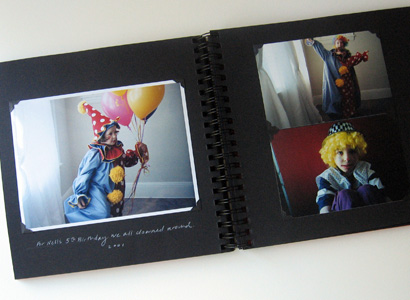
It was this picture that inspired me to begin a book of costumes. When kids dress up it’s a perfect opportunity to take pictures, and somehow putting only the costume pictures in a book made it quite simple. If these are the only pictures you manage to get into an album you are still way ahead of the game!

If you make costumes for Halloween, it’s the perfect way to “honor” all that work you did. But of course any dress-up occasion (or non-occasion) will do. Another great side note: If you have more than one child, chances are the same costume will get worn by each of them on different years. My book is loosley structured with scrapbook pages so I left room for future pictures and put the pictures of different kids in the same costume on the same page. We all get a kick out of comparing their different styles!
Costume book_inside

IDEA 10: SCARECROWS

Scarecrow_1

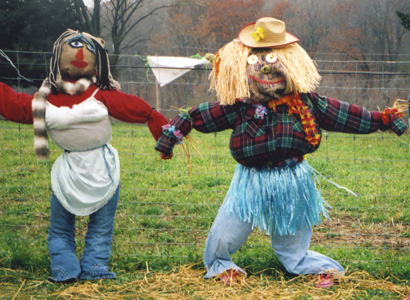
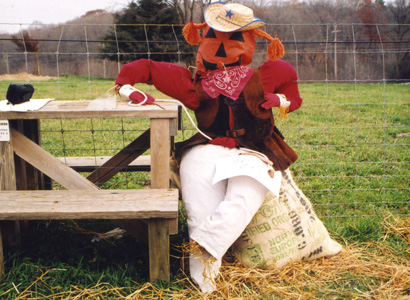
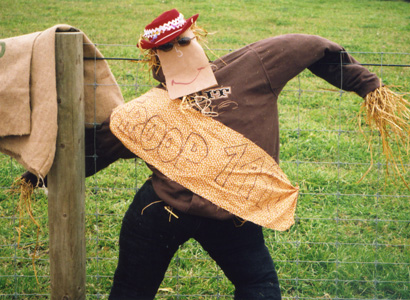
Autumn pulls you outside with such beautiful clear days it almost makes your eyes hurt. The annual activities of leaf-raking, piling and jumping-in, as well as general yard maintenance remain a top-notch family tradition.

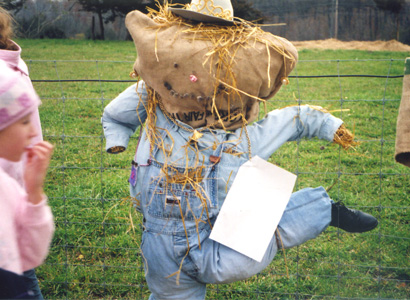
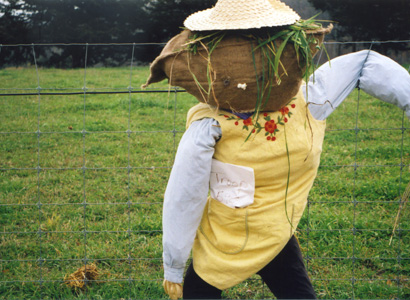
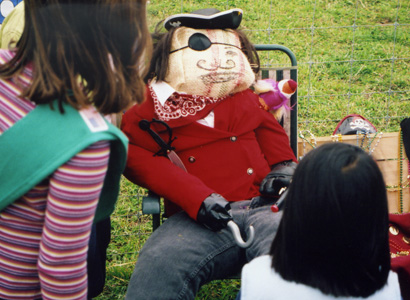
It is not a new idea to create a fall scarecrow from some of the fallen leaves. But recently my eyes were opened anew to this long standing autumnal routine. It had seemed to me, since Autumn ushers in Halloween, scarecrows had taken on a bit of a maudlin nature. OK, a lot of them are downright creepy. But my daughter’s scout troop participated in some autumn fun and games, and one of the activities involved making a scarecrow. I’m not biased, but leave it to nine year old girls to find a way to make scarecrows, well, anything but scary! I submit these beautiful examples of autumnal souls for inspiration in the hope that your family may adopt this sweet fall tradition. And maybe in the process you’ll also get some yard work done!

Scarecrow_3Scarecrow_4Scarecrow_5Scarecrow_6Scarecrow_2


IDEA 9: ANNUAL PHOTO

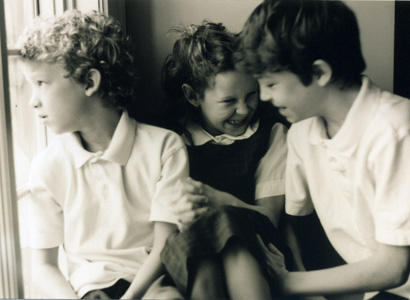
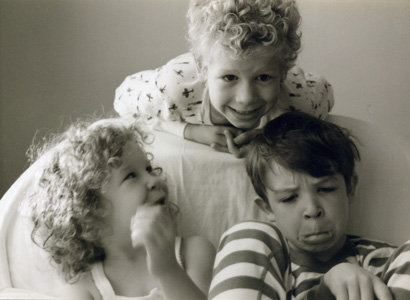
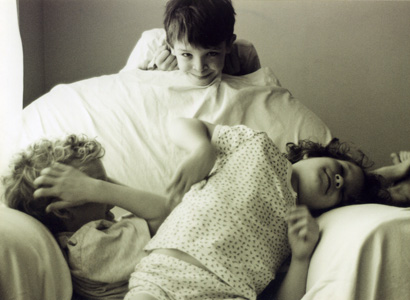
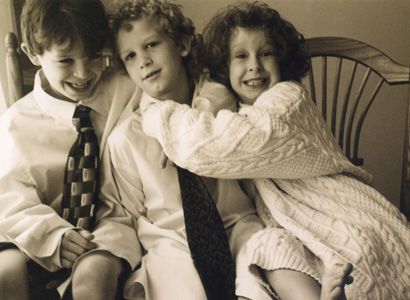
Annual_photo_d

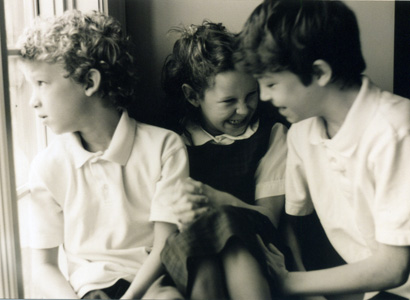
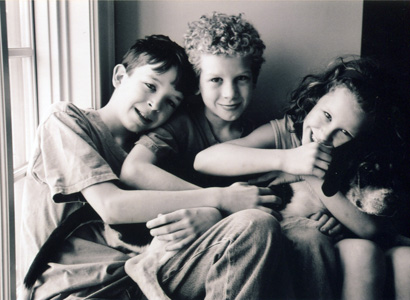
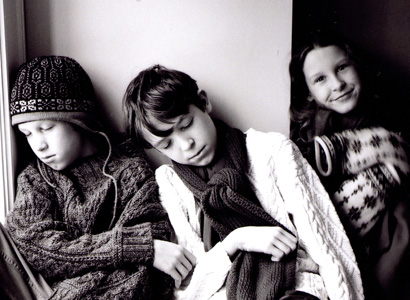
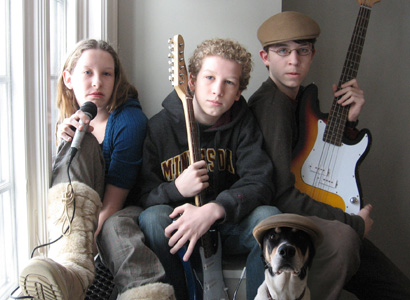
One of the best ideas I ever had was taking an annual photo of the kids. I always do it Thanksgiving week. Then it’s perfect timing to turn into a holiday card. But any time of year that makes sense to you will work. The trick is to pick a time that is convenient and you can remember year to year.

Find a spot in your house that has a window. Arrange the kids so that the window light is lighting their faces from the side. (You don’t have to see the window in the photo). Ideally you will figure out which window and time of day is best. We use a window that faces west and shoot in the morning, so instead of a harsh light streaming in, we get a soft glow. Once you have figured out the spot and time, remember it. And do the picture there every year. If the setting stays the same, the variety will be in how your kids are changing. If you like, you can always use the same chair. I prefer putting a white tablecloth over the chair to make it less important.

Turn off your camera’s flash. Now, before they are completely ready, start snapping away. Of course it’s nice to get cooperation, but as long as the kids are being themselves, it’s a neat picture.

You don’t have to decide whether you want to shoot in color or black and white. I love the black and white but you can shoot the pictures in color even if you decide to print them in black and white. Take a look at these shots of my own kids. Over the years it is fun to see the goofy stages as well as the adolescent ones and even grumpy ones. If you don’t worry about making a “proper” picture, and just record the era, you will find you’ve created a real treasure. And don’t forget to celebrate each and every quirky phase!

Annual_photo_aAnnual_photo_bAnnual_photo_cAnnual_photo_dAnnual_photo_eAnnual_photo_eeAnnual_photo_f

IDEA 7: MONDAY BREAKFAST

Monday_breakfast


This is one my kids taught me. One Sunday night my daughter was mourning the end of the weekend. She just wanted something to look forward to. “Can you make us ‘special breakfast’?” she asked me. When I told her I could, it helped her put a close to the day. She went to bed happy that Monday morning we would have “special breakfast”.

The key here was something speedy yet impressive. (Save the pancakes or waffles for the weekends when you don’t mind monitoring a pan for an eternity). In order to have time I only set my alarm about 15 minutes earlier than usual. The smell of the bacon got the kids up lickety-split. And they were delighted and thrilled to have a special breakfast all set out for them. It wasn’t a big deal: Orange juice, scrambled eggs (which really takes nano-seconds) and toast, and bacon. And a place all set for them with a place-mat and napkin.

Thus was born Monday Breakfast. We don’t do it every Monday, in fact it’s about once a month. On all the other school days we are making lunches and grabbing toast or cereal or a bagel and yogurt. But about one Monday a month my kids get off to school with a belly full. And the benefit lasts all month.

IDEA 6: LUNCH BOX LOVE

lunch_love

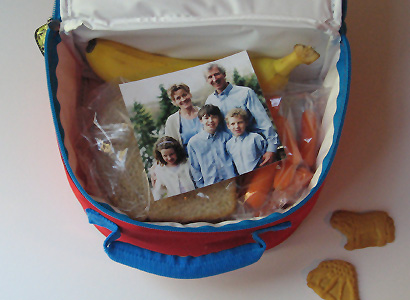
For young children the first day of school can be very exciting. It can also be very scary. Or maybe most common, a little of both. If you pack your child a lunch, slip a photo of you, your family or a favorite pet inside on top of the sandwich. When I did this in my kindergartner’s lunch box the report came back to me that he shouted “What’s this doing in here?!” But I know he loved it.

OK, maybe I was doing it for me!

IDEA 5: SAVING PRIVATE PLACES

ENTRE

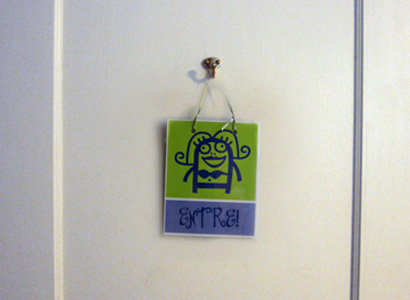
Once kids realize they can, it seems they begin to put signs on their bedroom doors. We live in an old house with painted woodwork, and taping things to these painted surfaces usually results in a large square chunk of paint coming off with the tape.

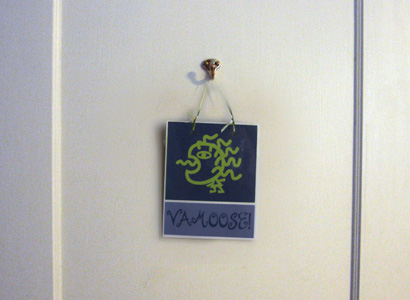
One day I repainted all the doors and installed a simple brass hook, right in the middle, on the outside (hall side) of the kids’ doors about 14 inches from the top. Then I made little two-sided signs that (in fun ways) said to come in on one side and keep out on the other. I had the signs laminated and punched at the copy shop, and strung a ribbon through. The sign hangs neatly on the hook. Now the kids can post their wishes depending on their mood. And no more worry about ruined paint!

VAMOOSE