Archived Ideas for ‘Keepsakes’

IDEA 42: WRITE IT DOWN

Book_of_Stories

This morning my teenage son was telling me about a wrong number he received on his cell phone. The caller, apparently attempting to reach a landlord said “The toilet is backing up! I need help here!” My son asked “Is it still running?” the caller said it was, so my son said, “Do you see a little knob down underneath on the left side? Turn it all the way until the water stops.” The caller did so, and the water stopped. “OK,”  the caller said, “now what do I do?” to which my son replied, “I don’t know. You have the wrong number.”

I just about choked on my Cheerios, I was laughing so hard. Let’s face it, every now and then one of your kids will say or do something that is either so funny, or so sweet it practically blows your mind. And I know we are all so very busy. But this is my plea to get you to dedicate a small notebook to writing these things down.

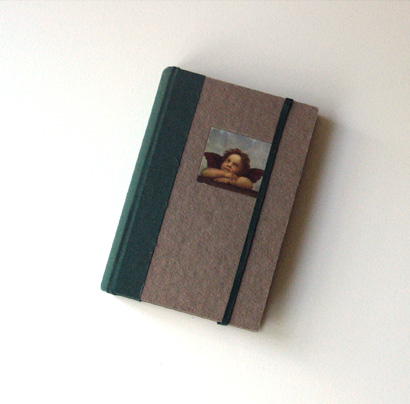
Buy a small “blank book.” This is not hard to do. We have all seen them, fallen in love with them, then couldn’t think of anything good enough to write in them, right?

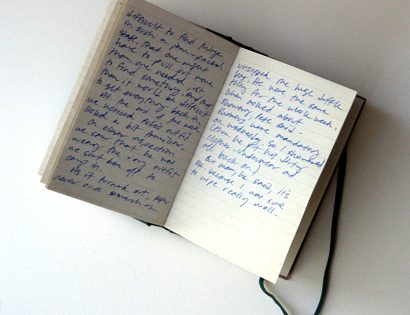
If something one of your kids does strikes you as funny, write it in there.  If you can’t think of anything, (or nothing funny has happened yet), write the story of giving birth or adopting them. This book will become a personal bedtime story for the kids. You wouldn’t believe how they love to hear stories about themselves. If it’s funny, and it’s about their sibling, even better. Since it’s being written for the kids, you don’t really have to worry about the quality of writing. It’s the stories that matter. I have been recording stories in our book since the kids were quite small. Eventually it will end up being a keepsake, and possibly inspire them to do the same for their kids.

So, to my friend who’s daughter asked him, “Daddy, is that a REAL clown, or just a guy dressed like a clown?” I say: Write it down!

Book_of_Stories_cover

IDEA 36: MAKE A BOO! BOOK

Kid_Book_1

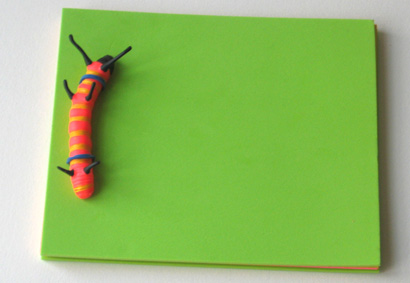
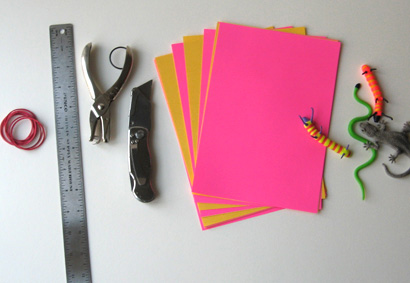
Here’s a sweet project you can do this weekend. You might even challenge yourself to use only items you already have, although it is also fun to shop for some bright colored papers. The finished size and function of the book is up to you (and/or your child). We made a photo album for your Halloween pictures, and two smaller books your child can use as his or her drawing/sketch book, or journal. Here is what you will need to make a fun book project:

Kid_Book_2

First you need the covers, you can use card stock or, for a chunky book, craft foam. For the pages just use regular paper. It can be plain white printer paper, colored paper, even lined paper for a journal. You’ll also need rubber bands, a ruler, a hole punch, a mat knife or other cutter, and a fairly rigid skinny toy. For a Halloween costume album, choose a plastic snake or bug. You’ll see later that you can even use a crayon or colored pencil.

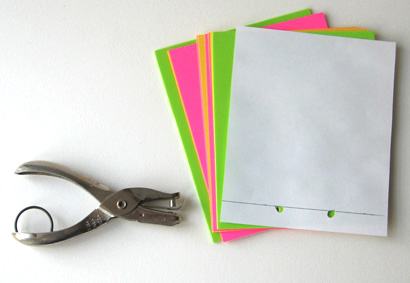
Cut the covers and all the pages to the same size. Our mini bug journal is 5″ x 6″. We used neon green craft foam for the covers (2 of them) and alternated pink and yellow paper to make the pages. Once everything is cut to size, use a plain piece of 5″ x 6″ paper to mark your hole punch placement. From the short edge (the spine edge) draw a line 5/8″ away from the edge. Then, on the line, make a mark 1 3/4″ down from the top and another 1 3/4″ up from the bottom edge. This is where you will punch your two holes. Punch them on your plain paper. Now you have the hole pattern for all pages.

Kid_Book_3

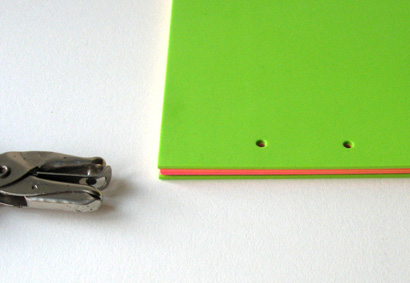
Use your pattern to punch all the pages and covers. You will probably not be able to punch the whole stack at once. Just do little stacks until they are all punched.

Kid_Book_4

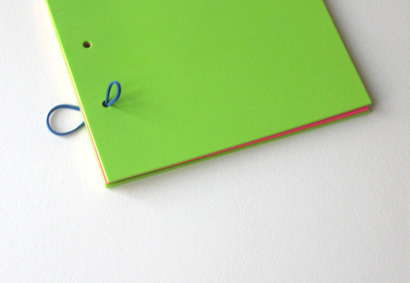
You’re almost done! Now take a rubber band and pinch it so you can “lace” it trough the bottom hole from the back of the book to the front. Don’t worry if you can’t thread it all the way through. Just do a few pages at a time until you’re through the whole stack.

Kid_Book_5

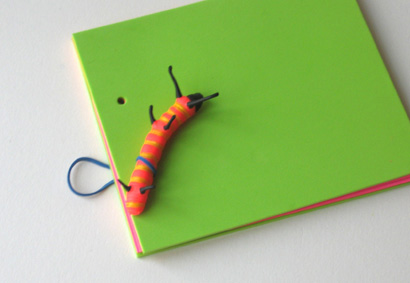
Once you’ve got it through like this, stick the object into the loop to prevent the rubber band from pulling out when you do the next step!

Kid_Book_6

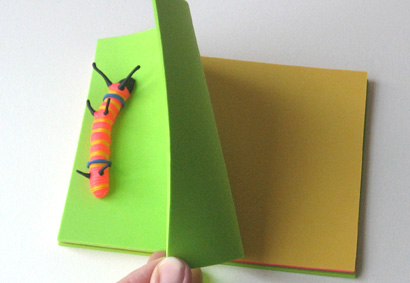
Now, just pull the rubber band tight from the back and thread it through the top hole just as you did the bottom one, back to front. Once you get it through the cover, loop it over the other end of the toy and Voila! You have a super fun and inspiring journal!

Kid_Book_8

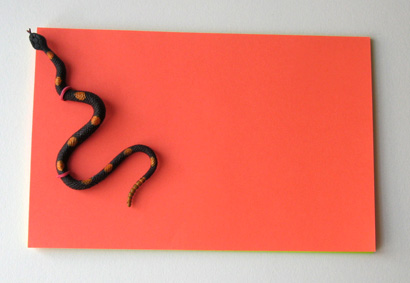
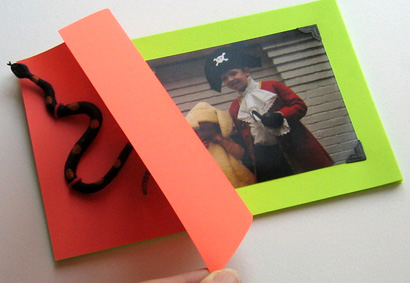
For a creepy crawly Halloween costume album we used half sheets (5 1/2″ x 8 1/2″) of orange card stock for the cover and acid green for the pages. A black and orange plastic snake, and black photo corners finished the look. Your holes will be in different places depending on the size of your object and length of your rubber band. It’s usually best to center the two holes so the top hole is the same distance from the top edge as the bottom one is from the bottom edge.

Snake_Book_1

This book is just the right size for all the photos of all the kids in their costumes. Don’t forget to add new photos each year.

Snake_Book_2

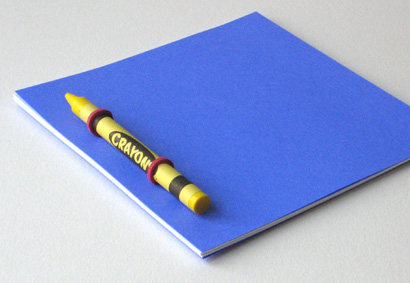
And the simplest of all, the “sketch book” uses plain white printer paper, and a crayon or colored pencil to form the binding. This little book measures 5″ x 5″.

Crayon_Book

Now, just think of all the cool little books you can make with things around the house! Happy bookbinding!

IDEA 35: SCHOOL PORTRAIT BINDER

School_pics_notebook

One of the classic mementos of childhood is the annual school portrait that comes home in a big envelope. If you are organized, you will be able to locate the envelope when it comes time to send the pictures to the rellies, such as in the holiday card. But how many of you can put your finger on the photos from last year, or the year before?

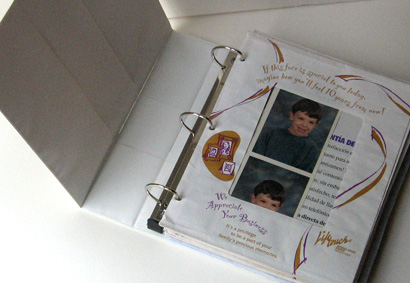
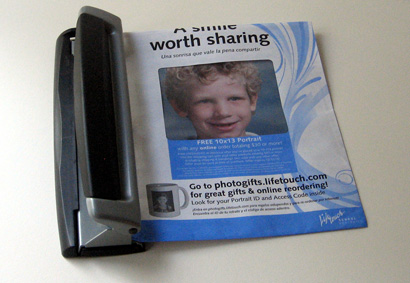
Miraculously, I have a full set of my own school portraits from my childhood, and I’ve always been grateful that these precious artifacts survived in tact. Possibly because of this, I decided I needed a solution to house all my kids’ school photos. Here’s what works for me. As soon as we get the school pictures I simply three-hole punch the edge of the envelope where the flap is. (Making sure to shake the photos away from that edge first).

School_pics_holepunch

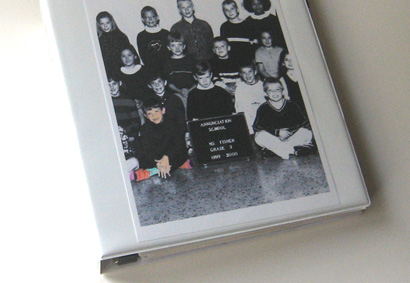
I purchased a 3″ (heavy duty) three ring binder. The picture envelopes of all my kids go into the binder, although if you prefer you could have a separate binder for each child. My binder has the option of slipping a photo under the clear plastic. So I made a black and white blow-up of a section of my son’s kindergarten class photo. Then I took some colored pencils and put color only on him. That picture slips in the front forming a sweet book cover!

School_pics_notebook_cover

I did the same for my other two children; one got the spine and the other got the back-side of the binder.

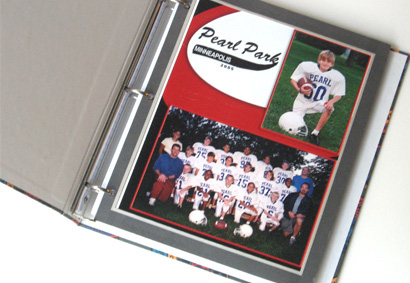
This system also works beautifully for team photos. Just hole-punch right through the cardboard frame that came on the photo. You can have a book dedicated to each child, or to each sport, or put them all in one, depending on the number of photos you’re collecting.

Team_photos_notebook

If you happened to see me demonstrate this idea on Twin Cities Live, and would like to see the rest of the projects I showed, click here, or click on the Twin Cities Live category to the right. And do let me know if you try any of them!

IDEA 26: HAPPY EASTER BASKETS

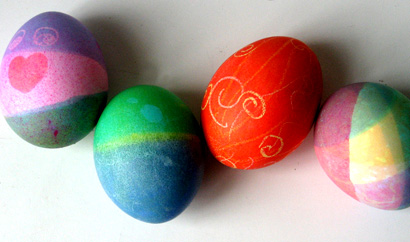
Easter_eggs

When I was a kid I just loved Easter morning, which ranked way up there, somewhere between Christmas and Halloween. My mom is a practical soul and it became pretty obvious she did not believe in investing in a new brightly colored, plastic grass-filled Easter basket every year for each of four kids, that would eventually find its way to the basement (or worse).  So, on Easter morning the hunt would begin, but we never knew exactly what we would find. In the name of practicality, my Easter surprise would be housed in something that was already around the house. My mom is a potter, so often, those sweet chocolate eggs would be nestled in a hand thrown bowl.

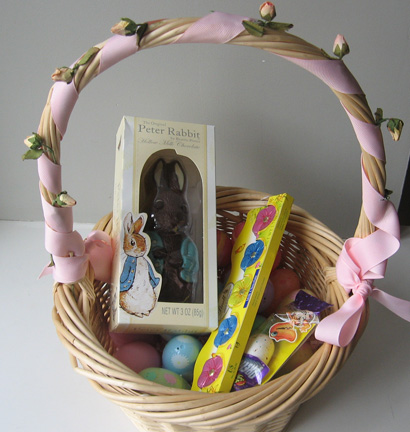
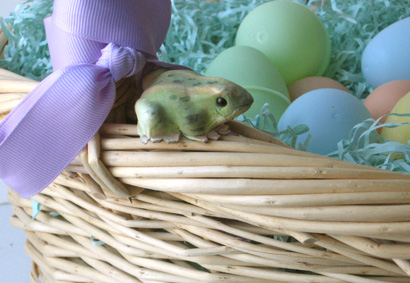
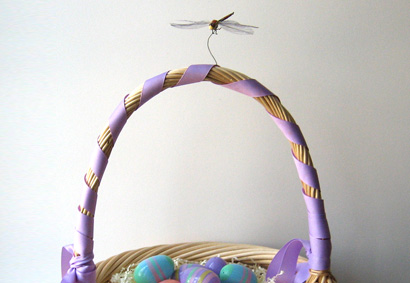
I didn’t inherit my mom’s talent for ceramics, but I do think I adopted her penchant for practicality. When it came to my kids, rather than fall for the “temporary” Easter baskets that line the shelves every spring, I chose a special basket for each child. I wrapped the handle in grosgrain ribbon and attached findings from the craft store floral isle. My eldest son got a dragon fly that will forever hover one-and-a-half inches over the handle via a wire. My second son got a frog at each point where the handle attaches to the basket, and my little daughter got a row of paper rosebuds tucked into the ribbon that wrapped her handle. The baskets were thus decorated, and then christened as each child’s permanent basket.

Easter_basket

Basket_frog

Basket_Dfly

Much like their Christmas stockings, the children learned to recognize their familiar basket, alleviating any pressure to designate whose basket was whose.  And the plastic eggs and even the pastel shredded paper “grass” have gotten reused countless times.

In the off-season they reside in a big bin in the attic where I can get a glimpse of Easter any time I need it. So, maybe it’s not the most earth-shattering idea. But I do think my mom’s thinking was way before her time. And that she taught a lesson that was “green” before people even knew what that was.

IDEA 24: PHOTO ORG

Photo_Org_1

If you are looking for a photo album solution, it means you probably have boxes (or drawers, or computer files) of photos that have piled up. This tidbit is not exactly about organizing those. For now, I would either ignore them or if they have been printed, buy a whole bunch of matching photo boxes and at least get them all in one place. Once you have seen how clever you can be at photo org, you can go back and tackle them.

This is about This Day Forward. Because if the very next time you take pictures you start doing this, the number of organized pictures will eventually surpass the number of disorganized ones. And hopefully you will inspire yourself to one day work on the others. (Besides, by then you’ll be a pro).

Here’s the first key: In most of our lives there are really only a handful of photo events in any year. OK, if you have a newborn, there is a photo event every day. But generally, most of us haul the camera out a half a dozen times a year, usually centering on holidays or other significant ceremonies, etc. Even if you do snap away every day, use the big picture events to do this.

As soon as possible after the next picture event, download your camera to your computer. Right now, before getting up, you are going to decide which ones to print. Just start going through them. If you like the picture, either name it or put it in a folder (whichever works for you). If you don’t like the photo, just skip to the next one. Don’t worry about throwing it out. (That’s the part that makes it way too hard). All you’re doing is identifying the ones you LIKE. Once you are sure the files are all in your computer, delete everything on the camera.

Now, go to a photofinishing website. I use my local drugstore. On the site you will learn to send your photos to the store (you’ve just identified which ones to print with your naming or file system) and they will make prints which you will go pick up. There will be options for paying online and/or having the prints sent to you. Do as you wish, but I find checking the box that says I will pay when I pick up is the easiest.

This next part can be done at the same drugstore, or in my case I like the big box stores: Find some reasonably priced photo albums and buy as many as you are comfortable, like a row as wide as your shelf. Do the albums HAVE to be the same? No. Get what you want. Sometimes sameness helps one to feel organized. And a whole row of identical albums is beautiful. My collection consists of chunks of like albums interspersed with the occasional fun surprise, partly because I like a little variety, and partly because of the way the collection has taken years to grow. Purchase a sheet of letters of the alphabet from the scrapbook aisle and letter the spines of the albums starting with A.

Photo_Org_2

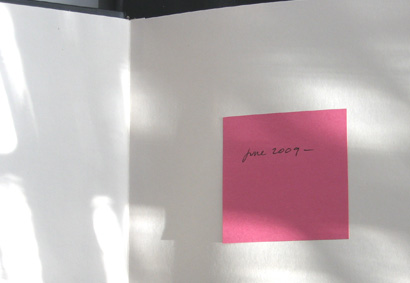
Then, attach a “sticky note” inside the cover of album “A” and write the month and year of the photo event followed by a dash. Now put in all those photos you picked up.
Photo_Org_3

Repeat the process immediately after each picture event, with all shots that are in the camera, deleting the camera files when you have downloaded them to your computer. When the album is filled, write the current month and year on the sticky note (after the dash) and move on to album “B.” Once you’re sure the album is done, if you like, you can write the dates directly on the album page and scrap the sticky.

I have used this system for years. The resulting books are a constant source of joy for me and for anyone who comes in my kitchen (where the albums are stored, taking up more shelf space than the cookbooks). Of course I started the system long before there was digital photography. The main thing is to just start putting the pictures in books. And making it part of the photo-taking experience. You don’t have to feel bad if you don’t want to print them all, or put them all in the book. I’ve had occasions where I used most of an album on one single occasion. And others where there were only one or two photos that told the whole story. Since you don’t throw out the computer files, you will always have them as back-up. So you can proceed without feeling the burden of getting it exactly right. You rest assured knowing you can always go back in for “revisions” if you want to. Although we both know, you never will!
IDEA 23: FOREVER VALENTINE

Val_4

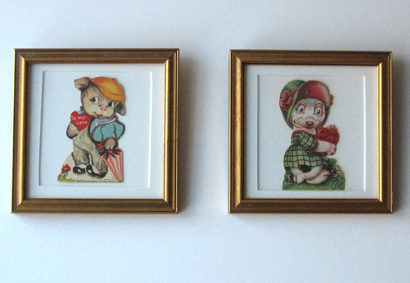
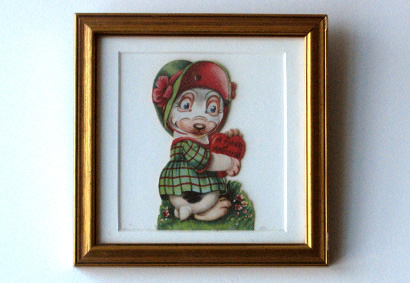
My daughter was born in February, which meant I had one very pregnant Valentine’s Day. So that may have been the reason I got this idea. But never-the-less it’s one worth sharing. Who, but your new born baby could possibly be your best Valentine ever?

Val_2

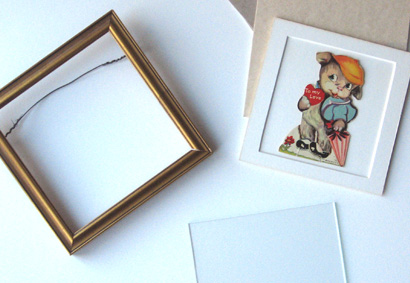
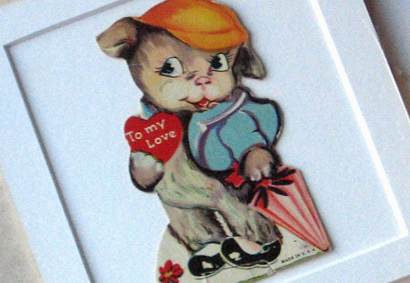
Look for some sweet old fashioned Valentines at an antiques shop and frame two of them for the nursery wall. Frames are available everywhere, but I liked these vintage gold leafed ones. Many come equipped with a mat, but since I wanted very small pictures, I took mats from a larger frame and cut them down to fit small frames. This way I got the fine professional bevel of the mat and I just had to cut the outside to make it fit my small frame. You can also have small mats custom cut at the craft and floral store. Or, cut your own mat from a piece of wrapping or wallpaper. I used another matching solid white piece of mat board under the card and stuck it down with a little double stick tape.

Val_3

Of course you don’t have to use antique cards for this. Any Valentine you love will do. And when it comes to your little one, it’s sweet sentiment really does last all year long!
Val_1

IDEA 21: IDENTIFY WITH SOMETHING

Paint_number

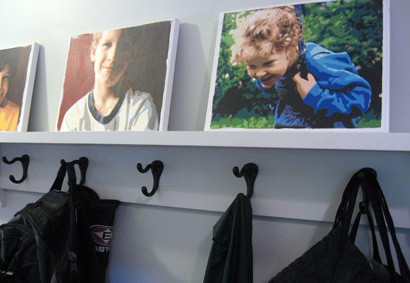
One day I discovered that you could order a Paint-by-number kit of your own photos. I sent in a picture of my daughter and the resulting painting was so beautiful and fun to do, I did the rest of our family. Now, the five portraits identify the hooks in our mudroom. Each picture sits above two hooks belonging to the person in the picture.

Of course it would have been much easier to write their names. But, that’s not the point is it?!

IDEA 19: SANTA MANTEL


Santa_mantel

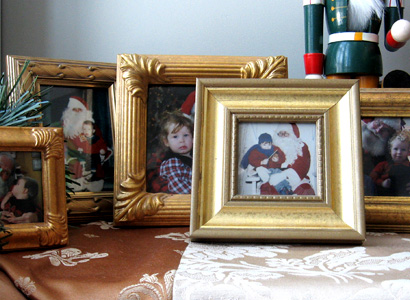
If you have been taking and saving photos of your child with Santa, you may have been looking, like I was, for a way to use them. (And if you haven’t been, maybe this will inspire you to do so!) This little idea seems so perfect you might wonder, why didn’t I think of that?

While you are perusing discount and craft stores, start collecting interesting gold (or silver) frames. I would buy one when it was on sale, or caught my eye. Size can vary from tiny to about 5”x 7”. Then, each year when you photograph your child with Santa, frame it in one of the frames. Make sure to write the year on the back side. These treasures are packed in a box all year, but at Christmas time, they come out to fill the fireplace mantel.

This will be a holiday tradition you will treasure long after your kids have moved away.

IDEA 11: COSTUME BOOK

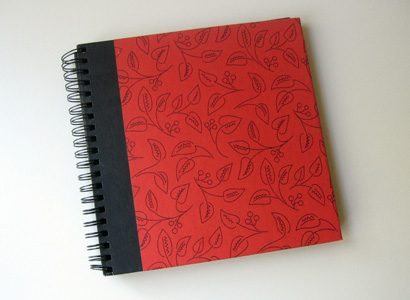
Costume book_outside

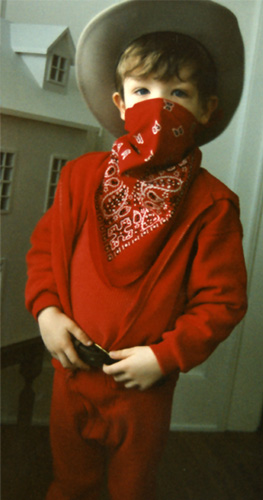
One of my favorite pictures of my son was when he was about four years old. He had on red waffle weave PJ’s, a ten gallon cowboy hat and a red bandana tied across most of his face.

Costume book_cowboy

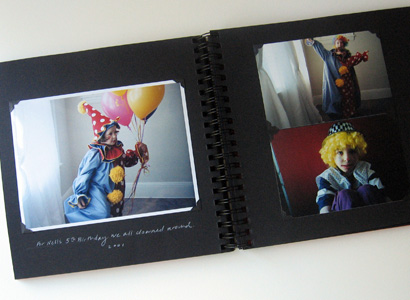
It was this picture that inspired me to begin a book of costumes. When kids dress up it’s a perfect opportunity to take pictures, and somehow putting only the costume pictures in a book made it quite simple. If these are the only pictures you manage to get into an album you are still way ahead of the game!

If you make costumes for Halloween, it’s the perfect way to “honor” all that work you did. But of course any dress-up occasion (or non-occasion) will do. Another great side note: If you have more than one child, chances are the same costume will get worn by each of them on different years. My book is loosley structured with scrapbook pages so I left room for future pictures and put the pictures of different kids in the same costume on the same page. We all get a kick out of comparing their different styles!

Costume book_inside

IDEA 9: ANNUAL PHOTO

Annual_photo_d

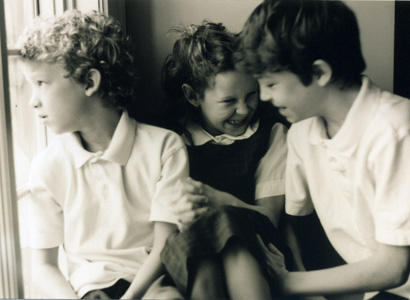
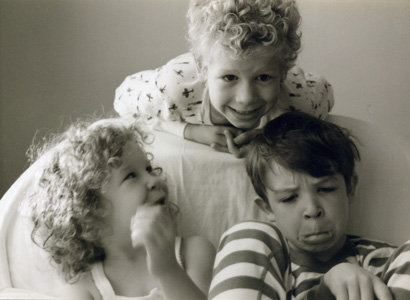
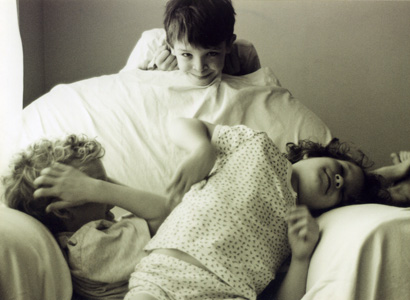
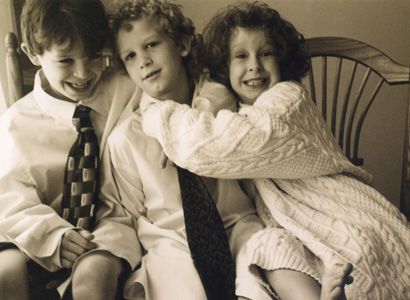
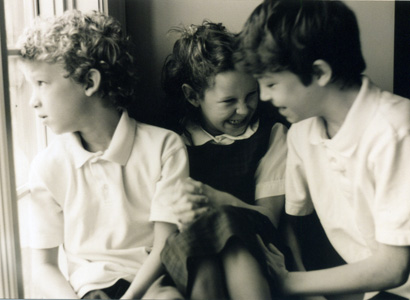
One of the best ideas I ever had was taking an annual photo of the kids. I always do it Thanksgiving week. Then it’s perfect timing to turn into a holiday card. But any time of year that makes sense to you will work. The trick is to pick a time that is convenient and you can remember year to year.

Find a spot in your house that has a window. Arrange the kids so that the window light is lighting their faces from the side. (You don’t have to see the window in the photo). Ideally you will figure out which window and time of day is best. We use a window that faces west and shoot in the morning, so instead of a harsh light streaming in, we get a soft glow. Once you have figured out the spot and time, remember it. And do the picture there every year. If the setting stays the same, the variety will be in how your kids are changing. If you like, you can always use the same chair. I prefer putting a white tablecloth over the chair to make it less important.

Turn off your camera’s flash. Now, before they are completely ready, start snapping away. Of course it’s nice to get cooperation, but as long as the kids are being themselves, it’s a neat picture.

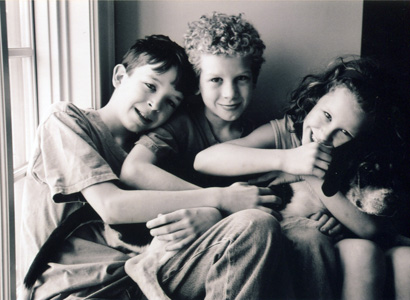
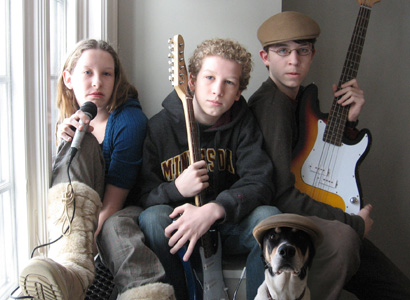
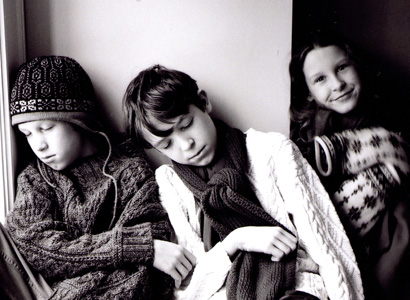
You don’t have to decide whether you want to shoot in color or black and white. I love the black and white but you can shoot the pictures in color even if you decide to print them in black and white. Take a look at these shots of my own kids. Over the years it is fun to see the goofy stages as well as the adolescent ones and even grumpy ones. If you don’t worry about making a “proper” picture, and just record the era, you will find you’ve created a real treasure. And don’t forget to celebrate each and every quirky phase!

Annual_photo_aAnnual_photo_bAnnual_photo_cAnnual_photo_dAnnual_photo_eAnnual_photo_eeAnnual_photo_f