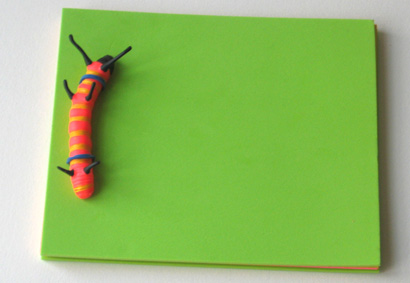
Here’s a sweet project you can do this weekend. You might even challenge yourself to use only items you already have, although it is also fun to shop for some bright colored papers. The finished size and function of the book is up to you (and/or your child). We made a photo album for your Halloween pictures, and two smaller books your child can use as his or her drawing/sketch book, or journal. Here is what you will need to make a fun book project:
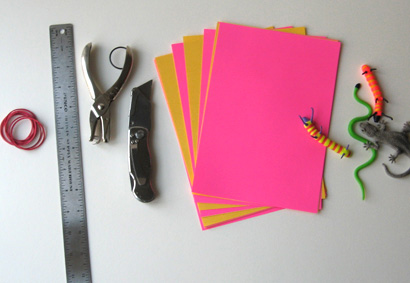
First you need the covers, you can use card stock or, for a chunky book, craft foam. For the pages just use regular paper. It can be plain white printer paper, colored paper, even lined paper for a journal. You’ll also need rubber bands, a ruler, a hole punch, a mat knife or other cutter, and a fairly rigid skinny toy. For a Halloween costume album, choose a plastic snake or bug. You’ll see later that you can even use a crayon or colored pencil.
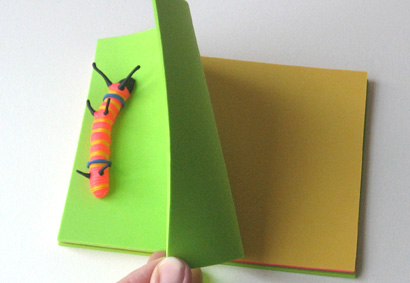
Cut the covers and all the pages to the same size. Our mini bug journal is 5″ x 6″. We used neon green craft foam for the covers (2 of them) and alternated pink and yellow paper to make the pages. Once everything is cut to size, use a plain piece of 5″ x 6″ paper to mark your hole punch placement. From the short edge (the spine edge) draw a line 5/8″ away from the edge. Then, on the line, make a mark 1 3/4″ down from the top and another 1 3/4″ up from the bottom edge. This is where you will punch your two holes. Punch them on your plain paper. Now you have the hole pattern for all pages.
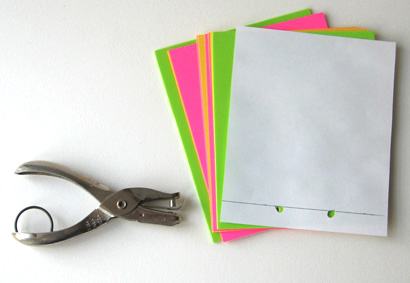
Use your pattern to punch all the pages and covers. You will probably not be able to punch the whole stack at once. Just do little stacks until they are all punched.
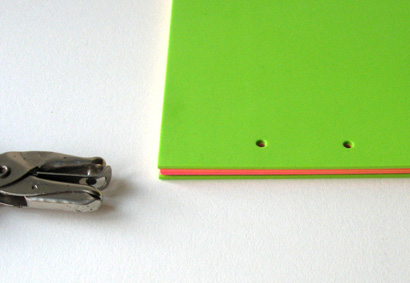
You’re almost done! Now take a rubber band and pinch it so you can “lace” it trough the bottom hole from the back of the book to the front. Don’t worry if you can’t thread it all the way through. Just do a few pages at a time until you’re through the whole stack.
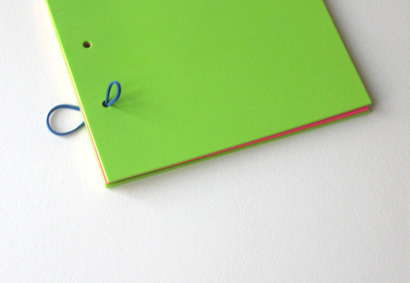
Once you’ve got it through like this, stick the object into the loop to prevent the rubber band from pulling out when you do the next step!
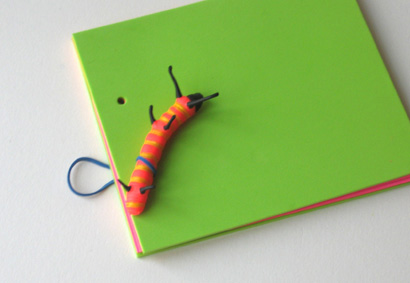
Now, just pull the rubber band tight from the back and thread it through the top hole just as you did the bottom one, back to front. Once you get it through the cover, loop it over the other end of the toy and Voila! You have a super fun and inspiring journal!
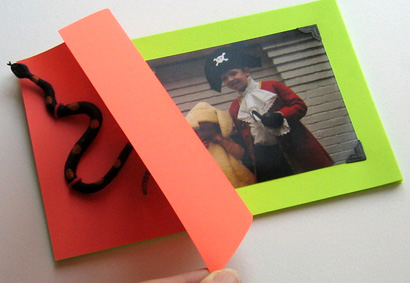
For a creepy crawly Halloween costume album we used half sheets (5 1/2″ x 8 1/2″) of orange card stock for the cover and acid green for the pages. A black and orange plastic snake, and black photo corners finished the look. Your holes will be in different places depending on the size of your object and length of your rubber band. It’s usually best to center the two holes so the top hole is the same distance from the top edge as the bottom one is from the bottom edge.
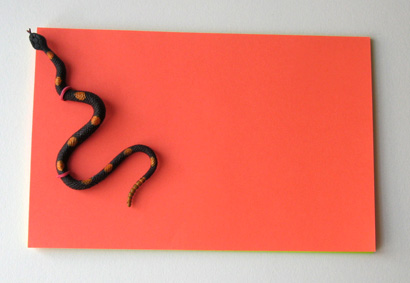
This book is just the right size for all the photos of all the kids in their costumes. Don’t forget to add new photos each year.
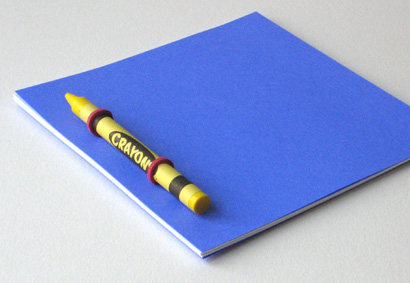
And the simplest of all, the “sketch book” uses plain white printer paper, and a crayon or colored pencil to form the binding. This little book measures 5″ x 5″.
Now, just think of all the cool little books you can make with things around the house! Happy bookbinding!
