When my kids were smaller I loved making simple costumes for them for Halloween. One thing that just never made sense to me was to put a lot of work into a baby costume that would be outgrown, possibly even before Halloween!
So I concentrated on “head gear.” I found a pattern for a court Jester and didn’t bother to make anything but the beautiful satin hat and neck ruffle. My thinking was, put this with any plain baby or kid outfit and you have an instant costume.
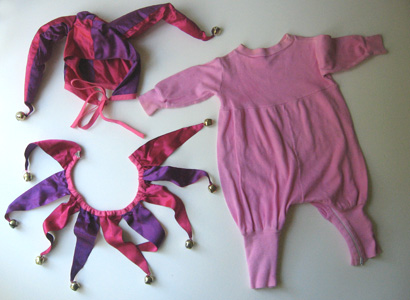
Here is the baby it was made for:
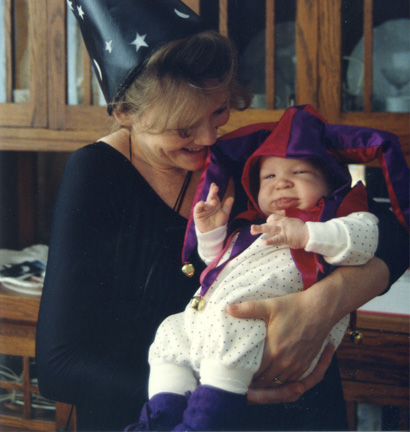
Here is his younger brother who, as a toddler wore it a few years later:
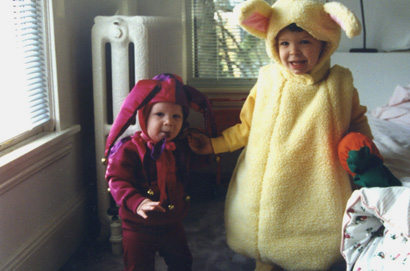
Here is my daughter in yet a different size wearing it a year or two later:
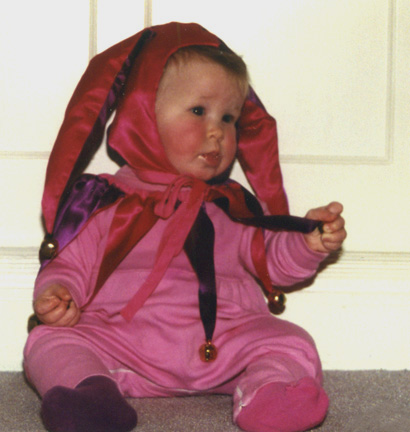
The hat and neck ruffle are still in our costume box and over the years have been pulled out many times, for all my kids, some friend’s kids and even our dog, Petunia.
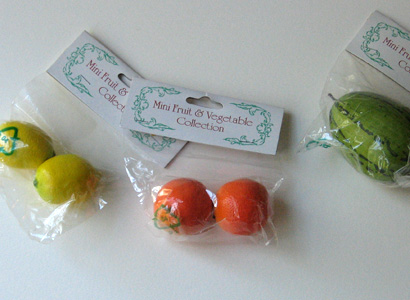
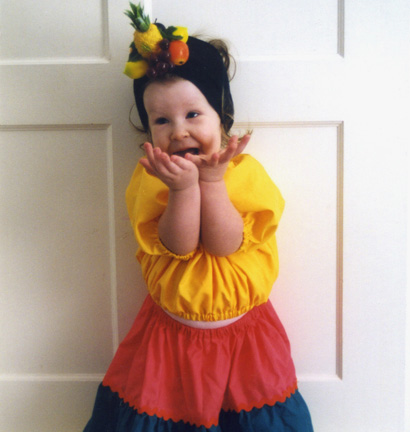
Another costume that utilizes versatile “head gear,” is the “Carmen Miranda” fruit hat. I purchased a piece of ribbed black cuff material from the fabric store about 8 inches by whatever the width it came in. I folded it in half to about 4 inches and sewed it in a loop just big enough to create a very wide “headband” that would hug my daughter’s head. You could also use a purchased headband if you can find a wide one. Then, with a needle and thread and pretty long stitches, I ran a line of stitches across the width of the band (not around) and pulled it tight to form a gather at the top of her head. I bought some miniature plastic fruit from the floral department of the craft store and hot-glued them on to the gathered area.
This, along with a bright colored skirt and top made my daughter the cutest Carmen Miranda you ever saw!
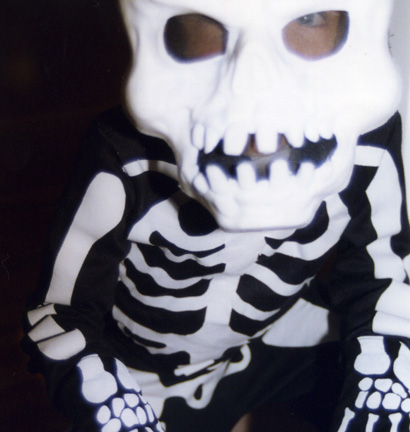
Another clever classic costume was our skeleton, which was worn by all three kids. The base is a pair of black sweatpants and a black turtleneck shirt. At the fabric store I purchased iron-on adhesive. Does this stuff look familiar?
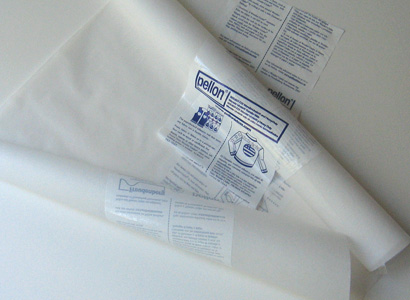
Then, either buy a yard of white cotton, or recycle an old white sheet. Using the instructions on the adhesive, iron it onto the back side of your white fabric. Now you can draw the bones on the backing paper and cut them out. (Since you are drawing on the back, everything is in reverse, but with this design it makes no difference. Everything is symmetrical). If you are unsure of what you are doing you can first trace the sweatshirt and sweat pants onto the backing paper. I realized the design was so easy because it was simply a series of doggie bone looking things with dots inbetween. I just made them to fit the sweats with joints approximately at the midway points. The “ribcage” was sightly harder but I found the whole thing to be quite forgiving. Just sort of fill the spaces on the clothes. You then simply peel off the backing paper and, with the adhesive side toward the shirt, press it on with an iron! Use another piece of plain fabric between your work and the iron in case any adhesive melts out. You don’t want to get it on your iron.
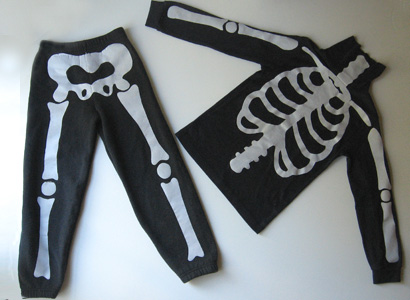
Depending on the age of the child, they can wear a purchased mask, or make-up, or I also liked the look of this cute top-hat from the previous year’s snowman!
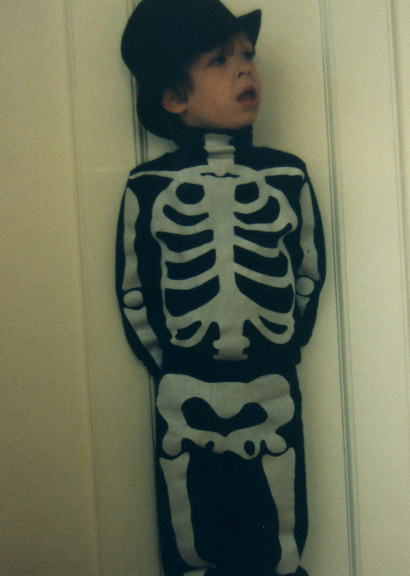
Have fun! And don’t forget to take pictures!

Such easy fun ideas! Makes me which I had some little ones close by to dress up.
What wonderful memories. I have a box full of costumes from past years. Just hoping that grandchildren will have fun rummaging through it some day.
Oh. My. Goodness!
I love these! Some friends are having a Medieval wedding soon and I’m looking for something for our 14 month old daughter to wear. The Jester accessories are PERFECT! 😀 Now to figure out how to make these too! 🙂 x
She will be the life of the party! Have fun!