Archived Ideas for ‘Halloween’

IDEA 64: SHARE YOUR WISDOM

Phil's-osophy_Book

If you have kids, one day they will be moving on from your nest. When this started happening at my house I found myself wondering if I had really covered all the topics. Had I sufficiently marinated them in my philosophy of life? And did any of it stick?

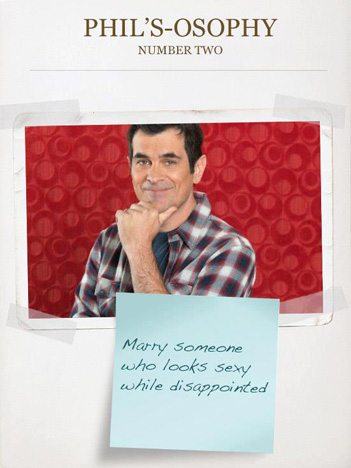
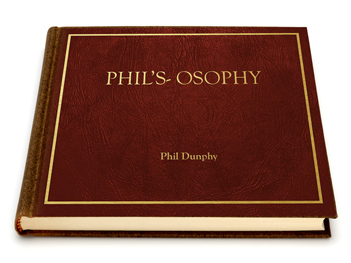
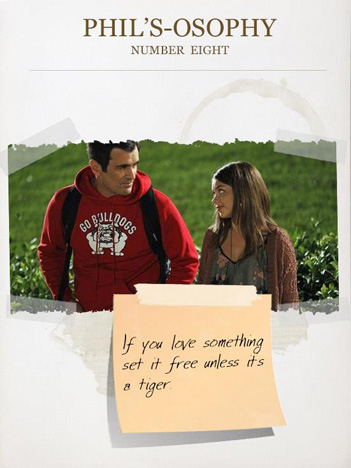
For this reason I had a bit of an epiphany while watching the episode of Modern Family called “Phil’s-osophy”. (By the way, if you are a parent, this show should be required viewing. I have often noticed that in the throes of raising a family, your first defense is a sense of humor). Anyway, in this episode, The family’s oldest daughter sets off for college. The dad, Phil, creates a book for her called Phil’s-osophy. (If you are Phil Dunphy, this title makes perfect sense). Since Phil is Phil, his words of wisdom are kind of hilarious. But, while it’s all loads of fun, that’s not my point. My point is this: Why not create your own book of philosophy to send along to college with your grad!

I just finished a small (5.75″ x 7.75″) 20 page book from My Publisher that cost only $12.99 and it was beautiful! Another very popular book making site is Snapfish. And I know there are many others. The idea is to put together a book of your own words of love and wisdom for your kids flying the coop.

Of course you don’t have to use an online publisher, although they are simple, inexpensive, and do a beautiful job with photos. You could consider making a handmade book. It all depends on your inclination, and artsy-crafty prowess.

So, in my haste to get this idea to you in time for school starting this fall, I’m writing this without my example to show you. In lieu of that, we’ll just have to take a look at a few of Phil’s pages:
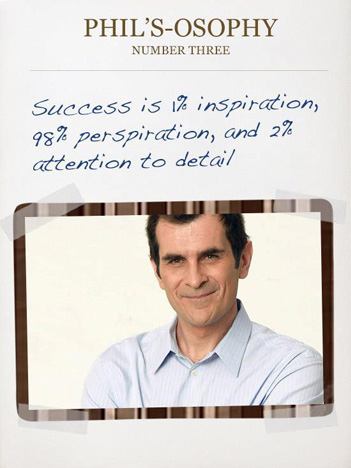
Phil's-osophy_8

Phil's-osophy_3

Phil's-osophy_2

And a few more of my favorites:

The most amazing things that can happen to a human being will happen to you if you just lower your expectations.

Take a lesson from parakeets: If you’re ever feeling lonely, eat in a front of a mirror.

Watch a sunrise at least once a day.

If you’re ever in a jam, a crayon scrunched up under your nose makes a good pretend mustache.

Never be afraid to reach for the stars because even if you fall, you’ll always be wearing a Parentchute™.
IDEA 36: MAKE A BOO! BOOK

Kid_Book_1

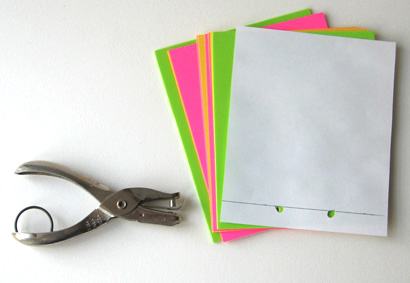
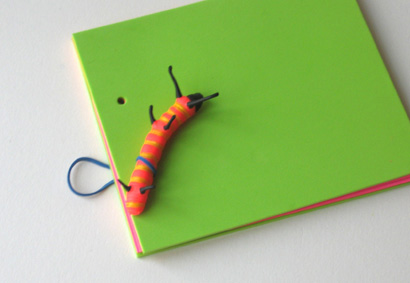
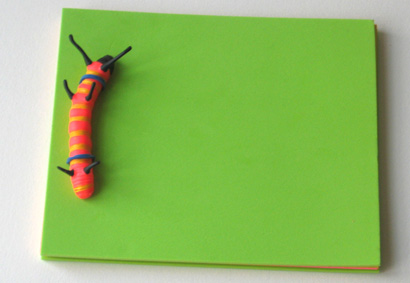
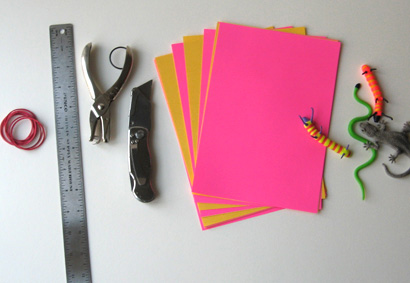
Here’s a sweet project you can do this weekend. You might even challenge yourself to use only items you already have, although it is also fun to shop for some bright colored papers. The finished size and function of the book is up to you (and/or your child). We made a photo album for your Halloween pictures, and two smaller books your child can use as his or her drawing/sketch book, or journal. Here is what you will need to make a fun book project:

Kid_Book_2

First you need the covers, you can use card stock or, for a chunky book, craft foam. For the pages just use regular paper. It can be plain white printer paper, colored paper, even lined paper for a journal. You’ll also need rubber bands, a ruler, a hole punch, a mat knife or other cutter, and a fairly rigid skinny toy. For a Halloween costume album, choose a plastic snake or bug. You’ll see later that you can even use a crayon or colored pencil.

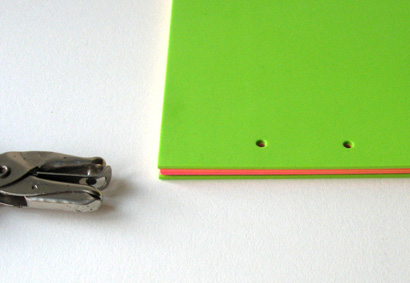
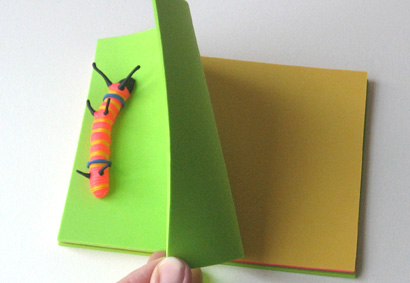
Cut the covers and all the pages to the same size. Our mini bug journal is 5″ x 6″. We used neon green craft foam for the covers (2 of them) and alternated pink and yellow paper to make the pages. Once everything is cut to size, use a plain piece of 5″ x 6″ paper to mark your hole punch placement. From the short edge (the spine edge) draw a line 5/8″ away from the edge. Then, on the line, make a mark 1 3/4″ down from the top and another 1 3/4″ up from the bottom edge. This is where you will punch your two holes. Punch them on your plain paper. Now you have the hole pattern for all pages.

Kid_Book_3

Use your pattern to punch all the pages and covers. You will probably not be able to punch the whole stack at once. Just do little stacks until they are all punched.

Kid_Book_4

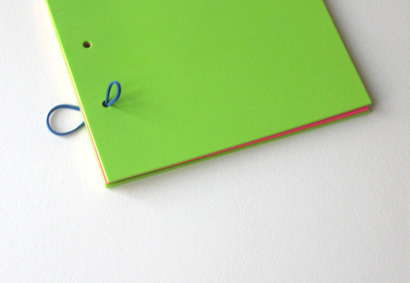
You’re almost done! Now take a rubber band and pinch it so you can “lace” it trough the bottom hole from the back of the book to the front. Don’t worry if you can’t thread it all the way through. Just do a few pages at a time until you’re through the whole stack.

Kid_Book_5

Once you’ve got it through like this, stick the object into the loop to prevent the rubber band from pulling out when you do the next step!

Kid_Book_6

Now, just pull the rubber band tight from the back and thread it through the top hole just as you did the bottom one, back to front. Once you get it through the cover, loop it over the other end of the toy and Voila! You have a super fun and inspiring journal!

Kid_Book_8

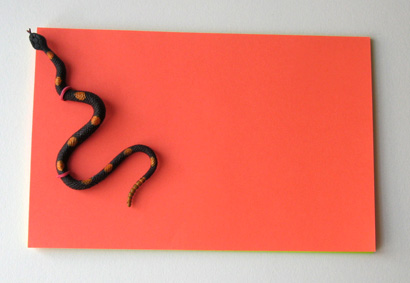
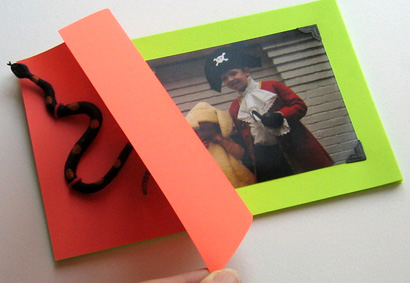
For a creepy crawly Halloween costume album we used half sheets (5 1/2″ x 8 1/2″) of orange card stock for the cover and acid green for the pages. A black and orange plastic snake, and black photo corners finished the look. Your holes will be in different places depending on the size of your object and length of your rubber band. It’s usually best to center the two holes so the top hole is the same distance from the top edge as the bottom one is from the bottom edge.

Snake_Book_1

This book is just the right size for all the photos of all the kids in their costumes. Don’t forget to add new photos each year.

Snake_Book_2

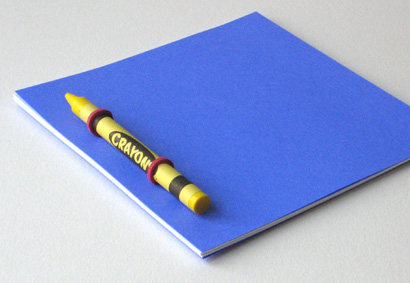
And the simplest of all, the “sketch book” uses plain white printer paper, and a crayon or colored pencil to form the binding. This little book measures 5″ x 5″.

Crayon_Book

Now, just think of all the cool little books you can make with things around the house! Happy bookbinding!

IDEA 13: JACK LUMINARIES


Jack_lum_day

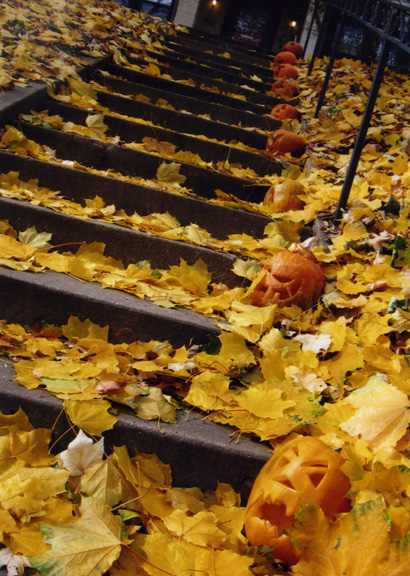
Here in Minnesota, and probably many other regions around the country, we have a lovely tradition associated with the holidays. When the snow falls, many people line their walk or driveway with luminaries, paper bags filled with sand or even a big chunk of ice formed in a milk carton, each containing a lit candle. The effect of luminaries lining the walk, especially in the snow, is absolutely magical.

Well, this idea sparked another: Luminaries for Halloween. If your family is like ours, we love to take the fall trip to the pumpkin patch and bring back lots of plump orange pumpkins. Of course it’s fun for each person to select just one that suits their personality, have a carving party, and set them on the porch as a pumpkin version of the family who lives inside. These Jack-o-lantern luminaries could be done instead of, or in addition to that.

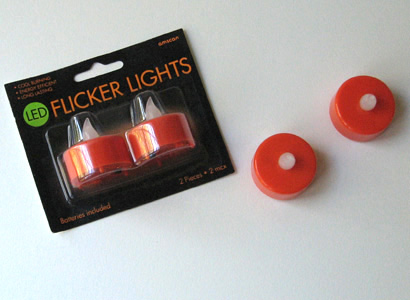
Purchase as many pumpkins as you like. They don’t have to be any certain size (you can keep them small if you like). For each pumpkin, purchase one votive candle-sized light.

Flicker_lights

These are great, and available at the party goods store as well as big box and discount stores. Since you will be lining your walk, you will most likely have lots of kids walking along beside your luminaries so you do not want to use real candles as they could pose all kinds of risks. Whenever kids (and lots of dry fall leaves) are involved, play it safe!

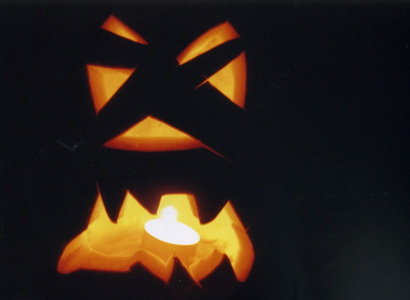
Now you and your kids get to go to town carving pumpkins. The more you carve out, the more light will show. My kids just did whatever they felt like. Here are some of them:

Jack_1

Jack_2

Jack_3

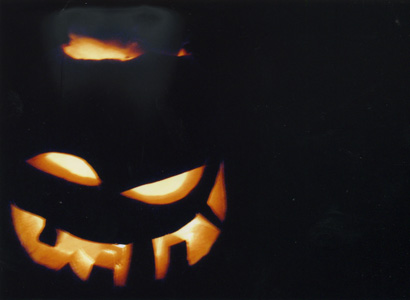
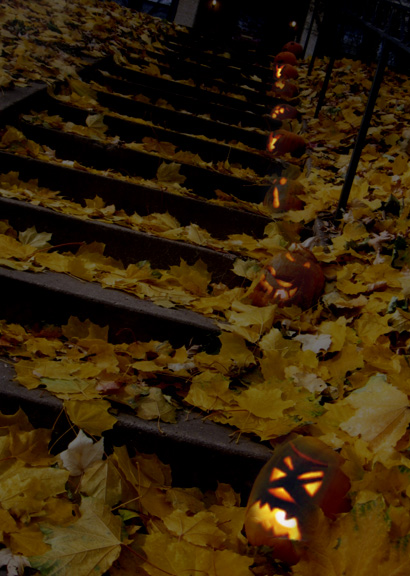
Now set them out and turn on the lights! You have not only managed to keep the kids busy for a long time, but you’ve created a stunning Halloween decoration for your home that looks great during the day, and lights up the night!

Jack_lum_nite

IDEA 12: HALLOWEEN COSTUMES

Costume_skel_1

When my kids were smaller I loved making simple costumes for them for Halloween. One thing that just never made sense to me was to put a lot of work into a baby costume that would be outgrown, possibly even before Halloween!

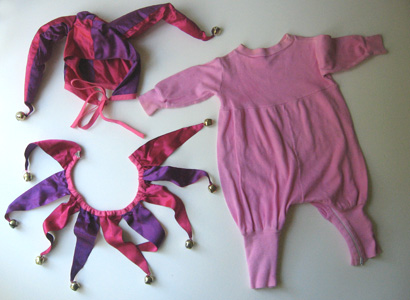
So I concentrated on “head gear.” I found a pattern for a court Jester and didn’t bother to make anything but the beautiful satin hat and neck ruffle. My thinking was, put this with any plain baby or kid outfit and you have an instant costume. 

Jester_costume

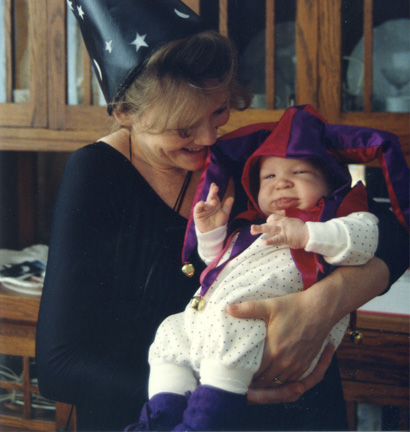
Here is the baby it was made for:

Costume_PJ 

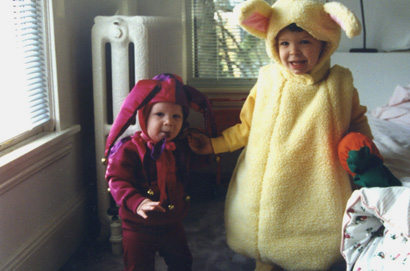
Here is his younger brother who, as a toddler wore it a few years later:

Costume_BJ

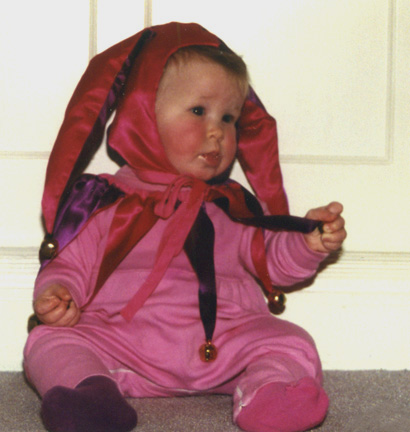
Here is my daughter in yet a different size wearing it a year or two later:

Costume_NJ

The hat and neck ruffle are still in our costume box and over the years have been pulled out many times, for all my kids, some friend’s kids and even our dog, Petunia. 

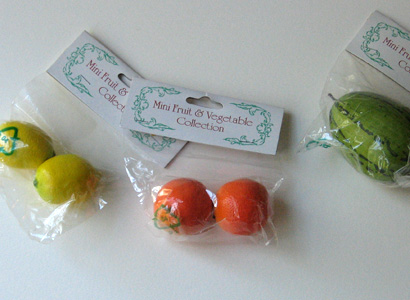
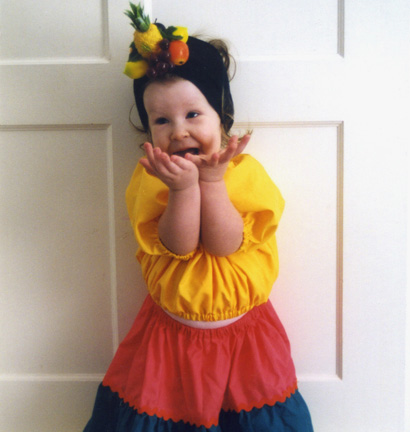
Another costume that utilizes versatile “head gear,” is the “Carmen Miranda” fruit hat. I purchased a piece of ribbed black cuff material from the fabric store about 8 inches by whatever the width it came in. I folded it in half to about 4 inches and sewed it in a loop just big enough to create a very wide “headband” that would hug my daughter’s head. You could also use a purchased headband if you can find a wide one. Then, with a needle and thread and pretty long stitches, I ran a line of stitches across the width of the band (not around) and pulled it tight to form a gather at the top of her head. I bought some miniature plastic fruit from the floral department of the craft store and hot-glued them on to the gathered area.

Mini_fruit 

This, along with a bright colored skirt and top made my daughter the cutest Carmen Miranda you ever saw!

Costume_NCM

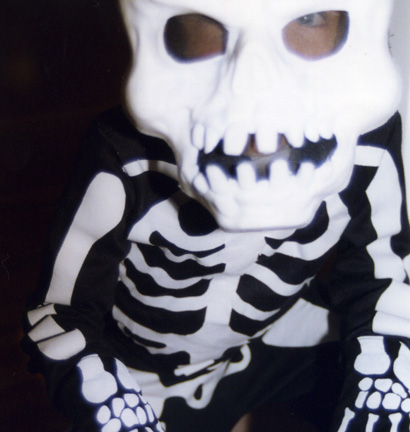
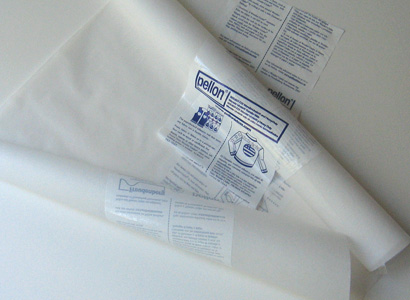
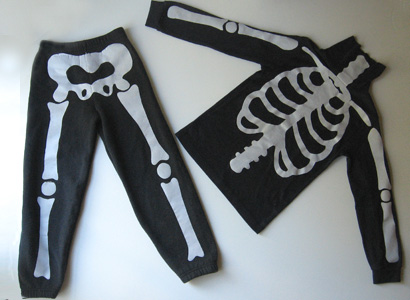
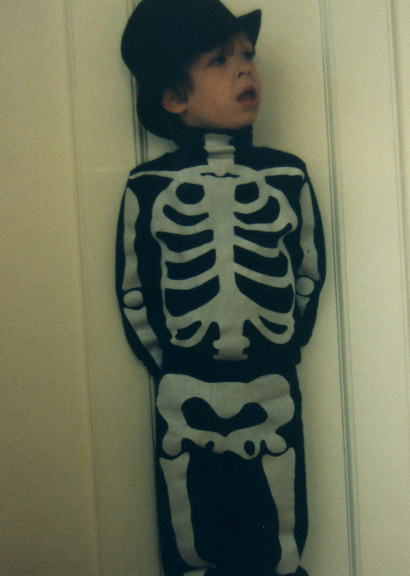
Another clever classic costume was our skeleton, which was worn by all three kids. The base is a pair of black sweatpants and a black turtleneck shirt. At the fabric store I purchased iron-on adhesive. Does this stuff look familiar?

Pellon

Then, either buy a yard of white cotton, or recycle an old white sheet. Using the instructions on the adhesive, iron it onto the back side of your white fabric. Now you can draw the bones on the backing paper and cut them out. (Since you are drawing on the back, everything is in reverse, but with this design it makes no difference. Everything is symmetrical). If you are unsure of what you are doing you can first trace the sweatshirt and sweat pants onto the backing paper. I realized the design was so easy because it was simply a series of doggie bone looking things with dots inbetween. I just made them to fit the sweats with joints approximately at the midway points. The “ribcage” was sightly harder but I found the whole thing to be quite forgiving. Just sort of fill the spaces on the clothes. You then simply peel off the backing paper and, with the adhesive side toward the shirt, press it on with an iron! Use another piece of plain fabric between your work and the iron in case any adhesive melts out. You don’t want to get it on your iron.

Skeleton_cost

Depending on the age of the child, they can wear a purchased mask, or make-up, or I also liked the look of this cute top-hat from the previous year’s snowman!

Costume_skel_2

Have fun! And don’t forget to take pictures!


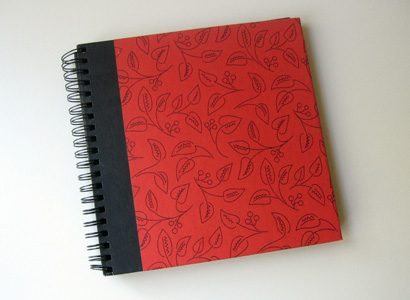
IDEA 11: COSTUME BOOK

Costume book_outside

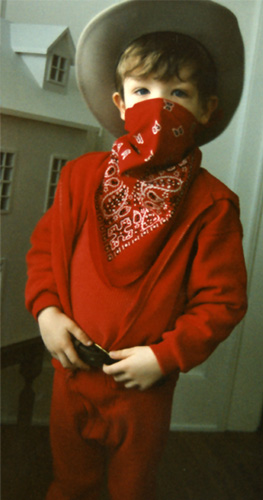
One of my favorite pictures of my son was when he was about four years old. He had on red waffle weave PJ’s, a ten gallon cowboy hat and a red bandana tied across most of his face.

Costume book_cowboy

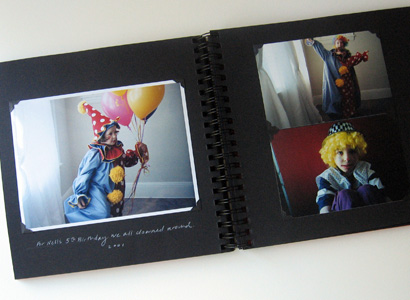
It was this picture that inspired me to begin a book of costumes. When kids dress up it’s a perfect opportunity to take pictures, and somehow putting only the costume pictures in a book made it quite simple. If these are the only pictures you manage to get into an album you are still way ahead of the game!

If you make costumes for Halloween, it’s the perfect way to “honor” all that work you did. But of course any dress-up occasion (or non-occasion) will do. Another great side note: If you have more than one child, chances are the same costume will get worn by each of them on different years. My book is loosley structured with scrapbook pages so I left room for future pictures and put the pictures of different kids in the same costume on the same page. We all get a kick out of comparing their different styles!

Costume book_inside

IDEA 10: SCARECROWS

Scarecrow_1

Autumn pulls you outside with such beautiful clear days it almost makes your eyes hurt. The annual activities of leaf-raking, piling and jumping-in, as well as general yard maintenance remain a top-notch family tradition.

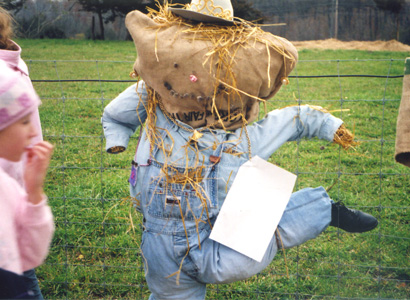
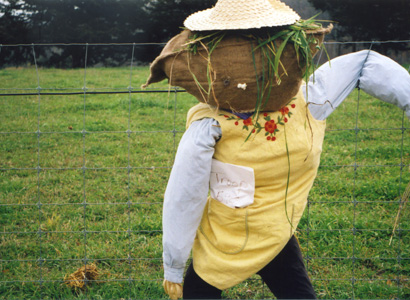
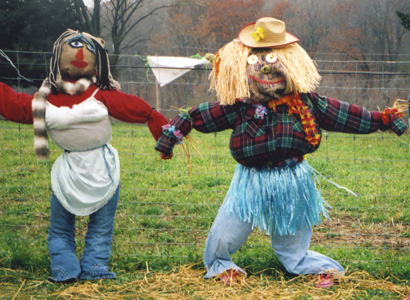
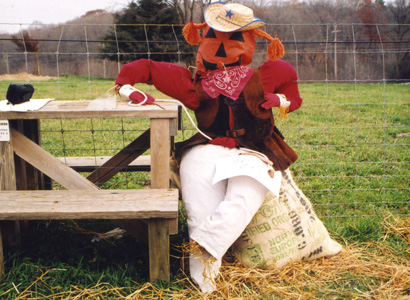
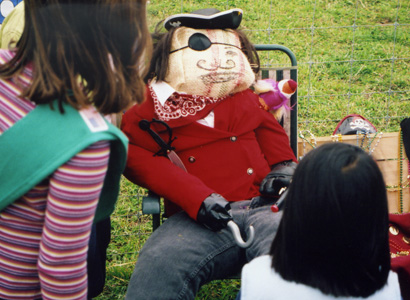
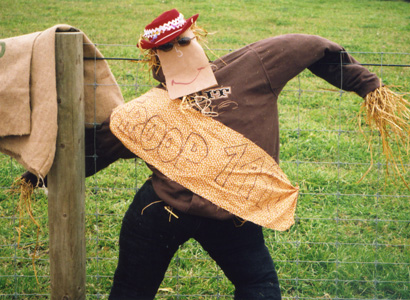
It is not a new idea to create a fall scarecrow from some of the fallen leaves. But recently my eyes were opened anew to this long standing autumnal routine. It had seemed to me, since Autumn ushers in Halloween, scarecrows had taken on a bit of a maudlin nature. OK, a lot of them are downright creepy. But my daughter’s scout troop participated in some autumn fun and games, and one of the activities involved making a scarecrow. I’m not biased, but leave it to nine year old girls to find a way to make scarecrows, well, anything but scary! I submit these beautiful examples of autumnal souls for inspiration in the hope that your family may adopt this sweet fall tradition. And maybe in the process you’ll also get some yard work done!

Scarecrow_3Scarecrow_4Scarecrow_5Scarecrow_6Scarecrow_2