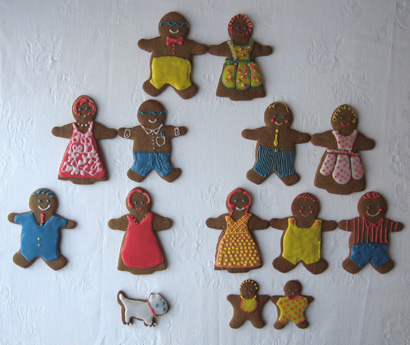
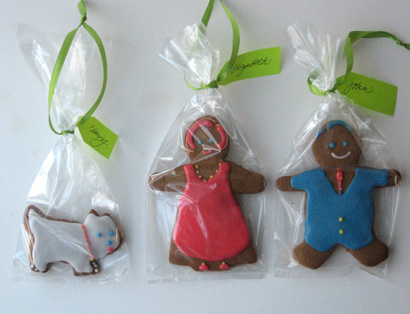
This holiday season you can be with your loved ones, even if no one is able to travel. This very sweet and inexpensive idea was inspired by my daughter who, during our holiday cookie bake this year, decided to represent each family member in gingerbread form. The resulting “Family Tree” (captured on our FaceBook page here) was such a hit that we’ve decided to give you some more details. And, as if that weren’t enough, the project was showcased on Twin Cities Live, a local Minnesota television program. Because of the show, our “Family Tree” includes the hosts, Elizabeth Ries, and John Hanson as well as Elizabeth’s Westie, Henry!
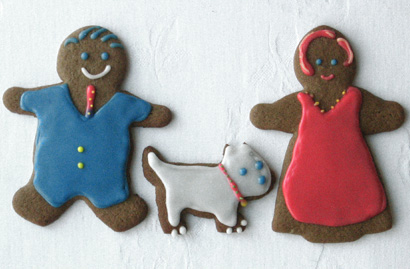
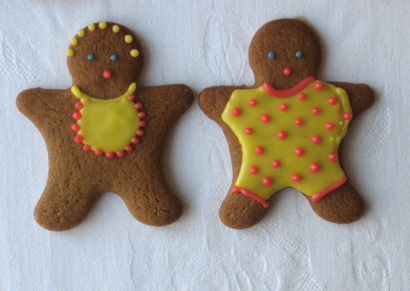
You really could complete this project with only one cookie cutter, the gingerbread man. But since we happened to have a gingerbread girl and a mini cutter, we added dresses and babies to our group. Our little dog was hand cut-out, but if you have a dog-bone shaped cutter, that is another way to include the family pooches in the mix. Of course if you want to include the cat, fish, hamster or whatever, we encourage you to do so!
We used the gingerbread cookie recipe from a Williams-Sonoma cook book. Here’s a link to the recipe on-line. The trick with the cookie dough was to divide it into smallish hunks and chill before trying to roll out. You really need to move quickly and get the cut-out cookies onto the baking sheet before they have a chance to warm up. Bake lots of extras, then let the cookies cool completely.
As I’m sure you have realized there are lots of squeezable cookie frosting products available. And although I truly believe that you should do what works for you, I’m here to tell you that I still think the best option is to make your own. It’s much less expensive and gives you so many more color options. But also, in my not-at-all-official trial of a few of those products, I never found one as easy to control as my own. If for no other reason than, if you make your own you can vary the thickness until it’s right.
Frosting ingredients:
Powdered Sugar
milk
vanilla (optional)
food coloring
For each color, measure one cup of powdered sugar. Add about four teaspoons of milk (and 1/4 teaspoon vanilla if you like). Mix with a spoon to get a glossy-smooth mixture. Now add drops of food color. Here are the quantities we added to one cup of sugar to get our colors:
Poppy Red: 10 drops red
Goldenrod: 4 drops yellow
Blue: 8 drops blue
If your frosting gets too thin, add a little more powder. If it’s too think, add about 1/4 teaspoon milk at a time. For the large area background colors we found a little thinner frosting worked better. The frosting lines would “melt” into each other and form a smooth, even surface. When we made dots or other small designs we found having the frosting slightly thicker worked better.
Once you get all your colors mixed in individual cereal-sized bowls, it time to make your decorating tools. Each color will require a small freezer “zip” bag. Zip open the bag and place one corner of it in a short glass. Now turn the top edges out and down, draping over the glass rim on the outside. Pour the icing as close to the corner of the bag as you can.
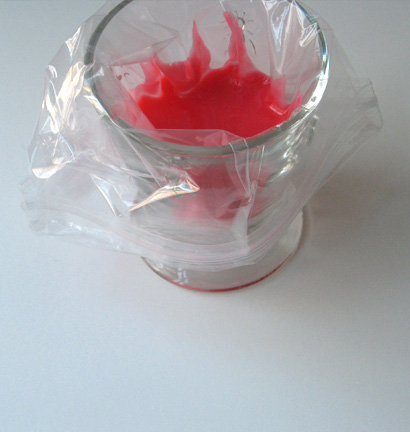
Zip the bag closed, but keep each bag in it’s own glass. This will help keep the mess to a minimum, once you’ve cut them open and need a place to set them down.
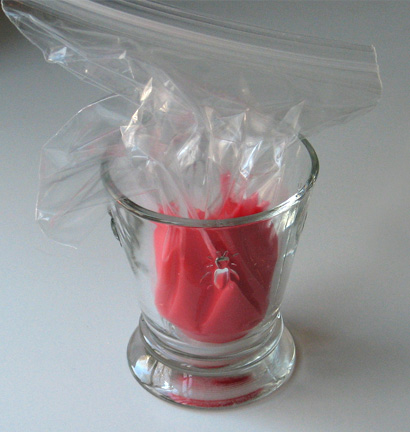
To decorate, snip the tiny corner off the bag. Grip the closed bag ‘behind’ the icing and gently force the icing out the hole. Of course the larger the hole, the thicker your line will be. If you find you’ve made the hole too big, put a new bag in the glass, cut a good inch off the too-big corner and use that nice big hole to squeeze the whole mess into the new bag. Then you can try again.
Now, pick a background color, for example John’s blue suit, and outline the shape of the suit. Now it is as easy a pie to fill in the area just like a coloring book. We found it easiest to fill in with repeated concentric shapes, starting just inside the outline and repeating the shape until they got smaller and smaller and eventually filled in. If you have mixed the icing to a glossy, viscous consistency, you will end up with a nice smooth solid shape. Wait until the background color dries completely, then add the details. This sequence shows the process.
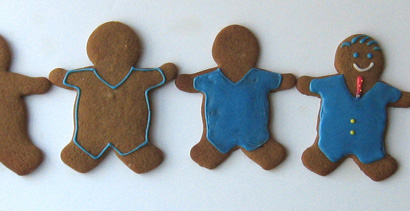
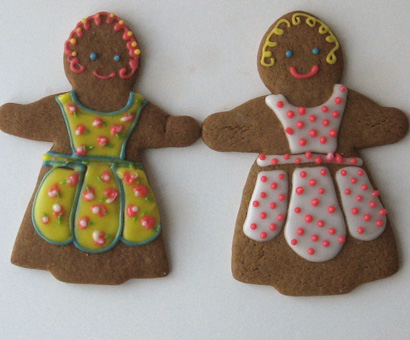
Make your family members any way you want. Here are some of ours, in case you need ideas.
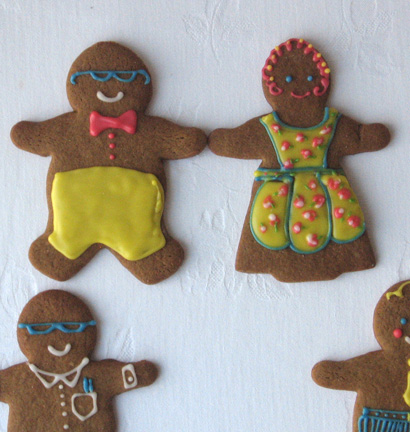
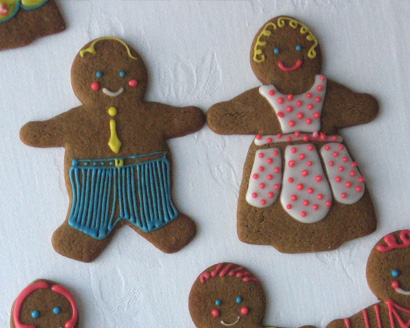

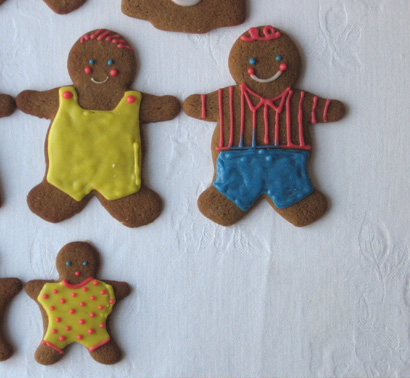
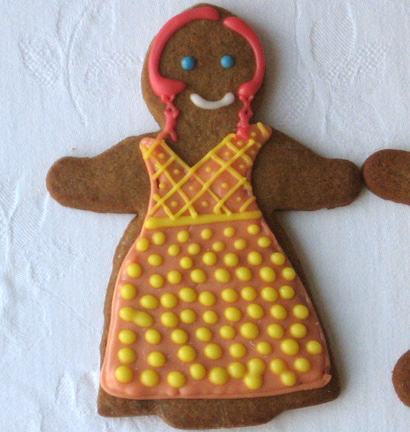
Of course I have to point out the ladies (my mom and I) in our BellaPamella aprons! My mom is wearing the Eunice in Kitchen Fruit and I’m sporting the Nora in Ruby Dot!
Once your gingerbread family tree is finished you can display it on a platter, or bag each one up and tie it with a ribbon to hang on your tree, or theirs. Make a small paper tag with the name on it, slip the ribbon through, and you have a very special handmade gift to give. By the way, if you arrived here from the Twin Cities Live site and wish to see all the projects highlighted on that show, either click on the Twin Cities Live category to the right, or click here.
Happy Holidays! And don’t forget to have fun with your family, gingerbread and otherwise!

the cutest ginger bread people i’ve ever seen!
Aw thanks!