Archived Ideas for ‘Twin Cities Live’

IDEA 38: MAKE A GINGERBREAD FAMILY TREE

Gingerbread_Family_Tree

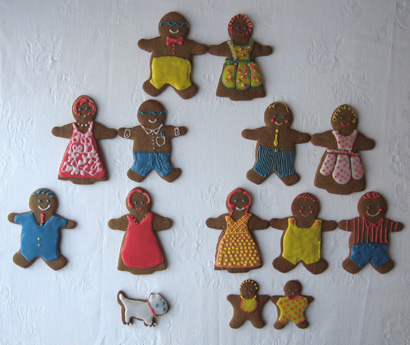
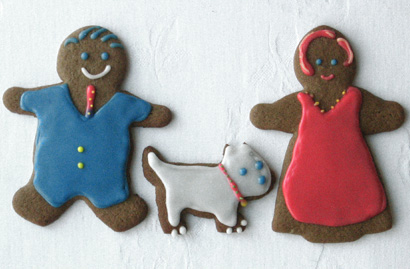
This holiday season you can be with your loved ones, even if no one is able to travel. This very sweet and inexpensive idea was inspired by my daughter who, during our holiday cookie bake this year, decided to represent each family member in gingerbread form. The resulting “Family Tree” (captured on our FaceBook page here) was such a hit that we’ve decided to give you some more details. And, as if that weren’t enough, the project was showcased on Twin Cities Live, a local Minnesota television program. Because of the show, our “Family Tree” includes the hosts, Elizabeth Ries, and John Hanson as well as Elizabeth’s Westie, Henry!
ElizJohnHenry_Gingerbread

You really could complete this project with only one cookie cutter, the gingerbread man. But since we happened to have a gingerbread girl and a mini cutter, we added dresses and babies to our group. Our little dog was hand cut-out, but if you have a dog-bone shaped cutter, that is another way to include the family pooches in the mix. Of course if you want to include the cat, fish, hamster or whatever, we encourage you to do so!

We used the gingerbread cookie recipe from a Williams-Sonoma cook book. Here’s a link to the recipe on-line. The trick with the cookie dough was to divide it into smallish hunks and chill before trying to roll out. You really need to move quickly and get the cut-out cookies onto the baking sheet before they have a chance to warm up. Bake lots of extras, then let the cookies cool completely.

As I’m sure you have realized there are lots of squeezable cookie frosting products available. And although I truly believe that you should do what works for you, I’m here to tell you that I still think the best option is to make your own. It’s much less expensive and gives you so many more color options. But also, in my not-at-all-official trial of a few of those products, I never found one as easy to control as my own. If for no other reason than, if you make your own you can vary the thickness until it’s right.

Frosting ingredients:

Powdered Sugar

milk

vanilla (optional)

food coloring

For each color, measure one cup of powdered sugar. Add about four teaspoons of milk (and 1/4 teaspoon vanilla if you like). Mix with a spoon to get a glossy-smooth mixture. Now add drops of food color. Here are the quantities we added to one cup of sugar to get our colors:

Poppy Red: 10 drops red

Goldenrod: 4 drops yellow

Blue: 8 drops blue

If your frosting gets too thin, add a little more powder. If it’s too think, add about 1/4 teaspoon milk at a time. For the large area background colors we found a little thinner frosting worked better. The frosting lines would “melt” into each other and form a smooth, even surface. When we made dots or other small designs we found having the frosting slightly thicker worked better.

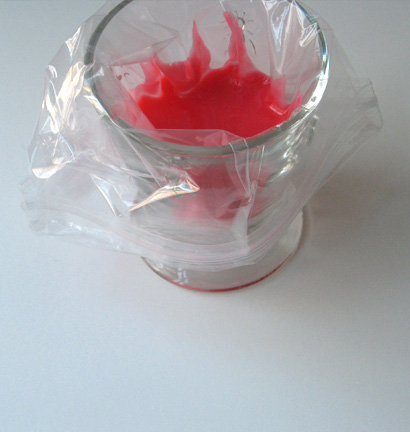
Once you get all your colors mixed in individual cereal-sized bowls, it time to make your decorating tools. Each color will require a small freezer “zip” bag. Zip open the bag and place one corner of it in a short glass. Now turn the top edges out and down, draping over the glass rim on the outside. Pour the icing as close to the corner of the bag as you can.
Frosting_fill

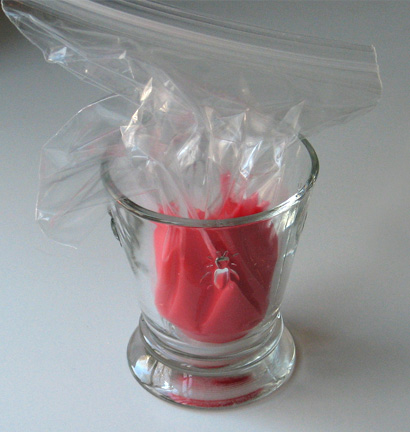
Zip the bag closed, but keep each bag in it’s own glass. This will help keep the mess to a minimum, once you’ve cut them open and need a place to set them down.
Frosting_baggie

To decorate, snip the tiny corner off the bag. Grip the closed bag ‘behind’ the icing and gently force the icing out the hole. Of course the larger the hole, the thicker your line will be. If you find you’ve made the hole too big, put a new bag in the glass, cut a good inch off the too-big corner and use that nice big hole to squeeze the whole mess into the new bag. Then you can try again.

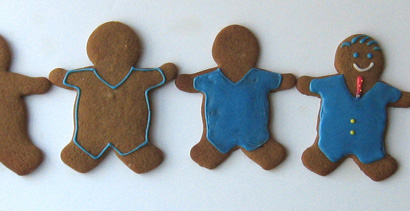
Now, pick a background color, for example John’s blue suit, and outline the shape of the suit. Now it is as easy a pie to fill in the area just like a coloring book. We found it easiest to fill in with repeated concentric shapes, starting just inside the outline and repeating the shape until they got smaller and smaller and eventually filled in. If you have mixed the icing to a glossy, viscous consistency, you will end up with a nice smooth solid shape. Wait until the background color dries completely, then add the details. This sequence shows the process.
John_process

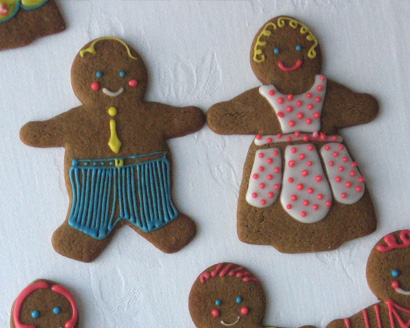
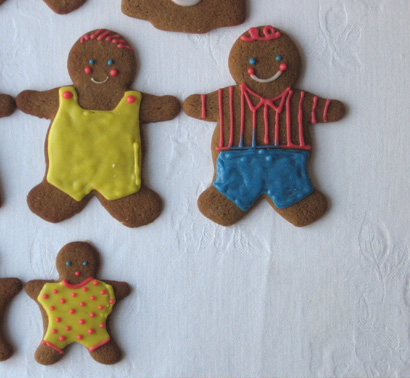
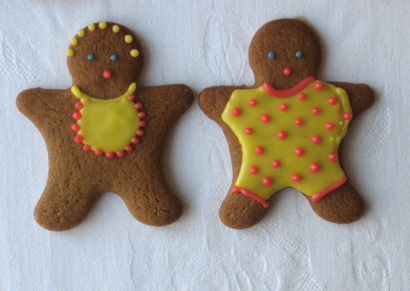
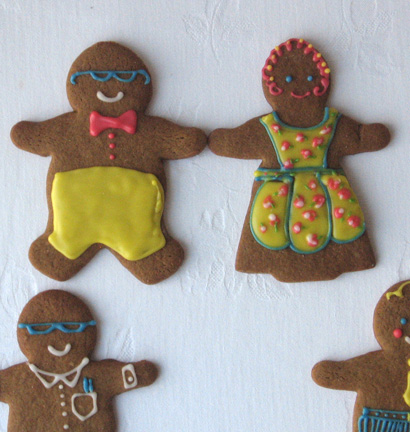
Make your family members any way you want. Here are some of ours, in case you need ideas.
Gingerbread_Grandparents

Gingerbread_Parents

Gingerbread_In-Laws

Gingerbread_Brothers

Gingerbread_sister

Gingerbread_Babies

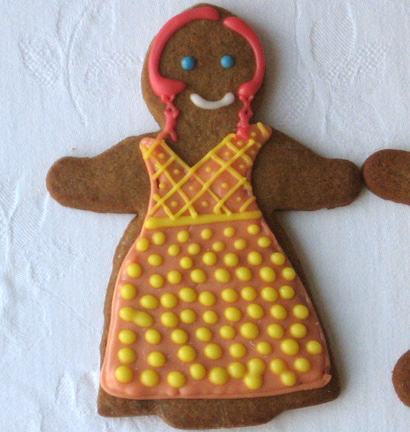
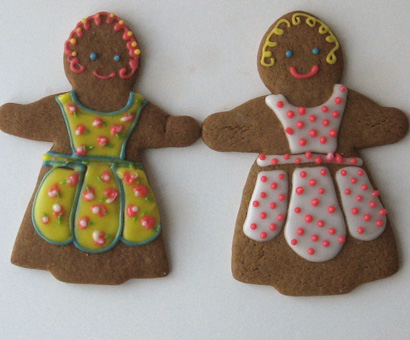
Of course I have to point out the ladies (my mom and I) in our BellaPamella aprons! My mom is wearing the Eunice in Kitchen Fruit and I’m sporting the Nora in Ruby Dot!
Gingerbread_aprons

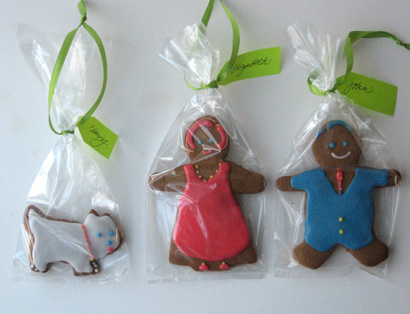
Once your gingerbread family tree is finished you can display it on a platter, or bag each one up and tie it with a ribbon to hang on your tree, or theirs. Make a small paper tag with the name on it, slip the ribbon through, and you have a very special handmade gift to give. By the way, if you arrived here from the Twin Cities Live site and wish to see all the projects highlighted on that show, either click on the Twin Cities Live category to the right, or click here.
TCL_bagged_cookies

Happy Holidays! And don’t forget to have fun with your family, gingerbread and otherwise!
IDEA 35: SCHOOL PORTRAIT BINDER

School_pics_notebook

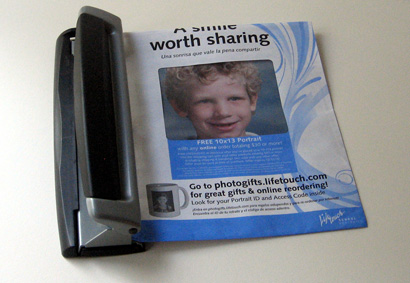
One of the classic mementos of childhood is the annual school portrait that comes home in a big envelope. If you are organized, you will be able to locate the envelope when it comes time to send the pictures to the rellies, such as in the holiday card. But how many of you can put your finger on the photos from last year, or the year before?

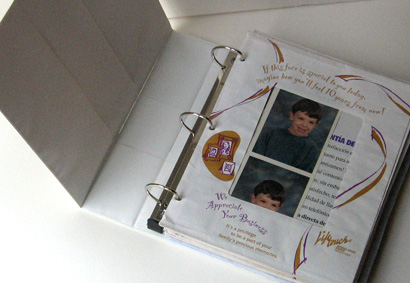
Miraculously, I have a full set of my own school portraits from my childhood, and I’ve always been grateful that these precious artifacts survived in tact. Possibly because of this, I decided I needed a solution to house all my kids’ school photos. Here’s what works for me. As soon as we get the school pictures I simply three-hole punch the edge of the envelope where the flap is. (Making sure to shake the photos away from that edge first).

School_pics_holepunch

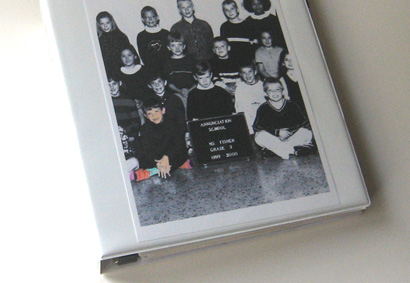
I purchased a 3″ (heavy duty) three ring binder. The picture envelopes of all my kids go into the binder, although if you prefer you could have a separate binder for each child. My binder has the option of slipping a photo under the clear plastic. So I made a black and white blow-up of a section of my son’s kindergarten class photo. Then I took some colored pencils and put color only on him. That picture slips in the front forming a sweet book cover!

School_pics_notebook_cover

I did the same for my other two children; one got the spine and the other got the back-side of the binder.

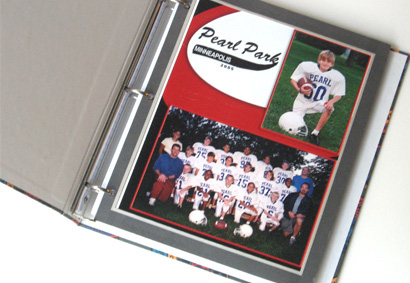
This system also works beautifully for team photos. Just hole-punch right through the cardboard frame that came on the photo. You can have a book dedicated to each child, or to each sport, or put them all in one, depending on the number of photos you’re collecting.

Team_photos_notebook

If you happened to see me demonstrate this idea on Twin Cities Live, and would like to see the rest of the projects I showed, click here, or click on the Twin Cities Live category to the right. And do let me know if you try any of them!

IDEA 20: JUNK DRAWER RESCUE

Kitchen_Drawer_org_2

Here’s a test for you: Open your kitchen junk drawer. Now, does it make you feel all happy and on top of things? Or is it just another reminder of the myriad of things that need your attention? My theory is that something as simple as organizing your junk drawer can have a halo effect on your general well being that will last you until spring.

So, how does one even begin this horrendous task? And even if you do, how will it STAY organized? We all know, the more people in your family, the quicker the organized junk drawer turns into chaos.

I’m at the time in my life that I need glasses, “readers” at every turn throughout the day. I tried to house a pair in the kitchen junk drawer for those moments when I needed to read a recipe, or the microscopic print on the back of a package. And inevitably they would end up on top of my head where they would travel to various parts of the house so that next time I opened the drawer they would not be there. So one day I bought a pair of red glasses. This is a color that looks fab in my kitchen, but not very good on my face. Amazingly, whenever I would begin to take the red glasses to another part of the house I would either stop and deposit them in the drawer, or, if I happened to see them, say, sitting on my desk, I’d bring them back to their place. And thus was born an inspiration. Like most junk drawers, ours was full of the miscellaneous bits and pieces people find and stash but never have a use for. What it did NOT EVER have was a working writing utensil, paper, tape, scissors, you get the idea. The junk drawer was a place you went to look for something, and never found it.

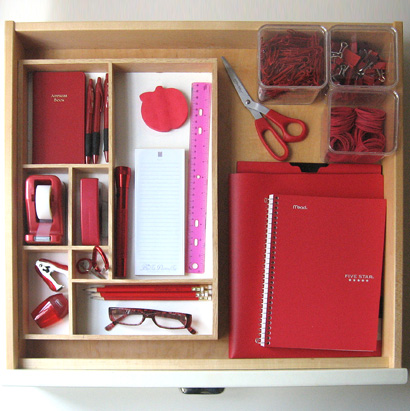
Try this and see if it makes life just a little better: First of all, empty the junk drawer and wipe it clean. If it doesn’t have dividers you may want to purchase an insert at one of those “get organized” stores. Now, (this is the fun part), whenever you are out at the grocery, drugstore, office supply or big box store, start collecting red stuff. Yes, you can choose a different color if you like. The point is that everyone in the family knows that that particular color stuff goes in the drawer. If you use the scissors, they go back. If you find them around the house, bring them back. You would be amazed at how this simple rule helps keep the drawer full of its useful stuff.

House_Key_org

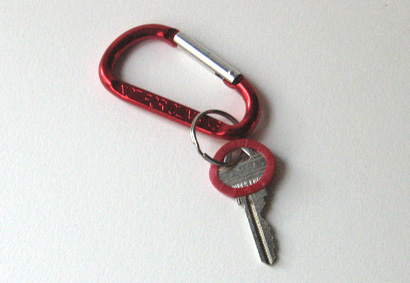
So, what did I find in red? Pens and pencils, scissors, tape dispenser, stapler and staple remover, paperclips, rubber bands, those gripper clips (great for closing chip bags) a ruler, flashlight, address book, key ring (and red plastic marker for spare house key), post-its, folder to hold rosters and school directories,  lined paper notebook, and last but not least…my glasses!


IDEA 18: BEDROOM WREATHS

Door_Wreath_1

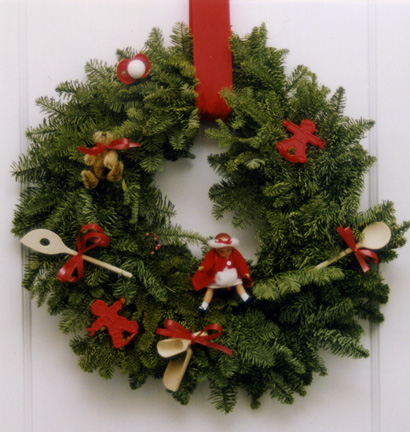
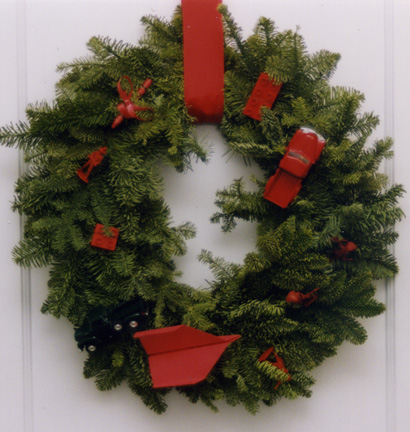
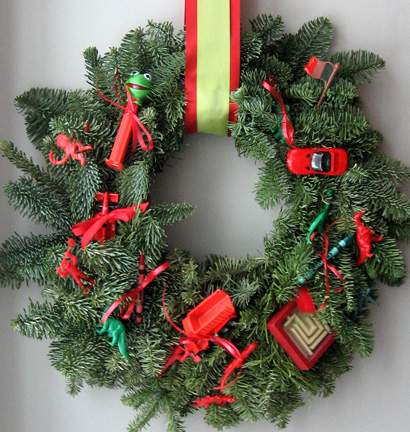
A simple and beautiful tradition to add to your holiday ready-making is the bedroom wreath. We do one for each child’s door. You’ll need a plain evergreen wreath, (you can use artificial wreaths if you prefer), about a yard and a half of 3” wide grosgrain ribbon per wreath, and some smaller, 1/4 inch wide red grosgrain or curling ribbon.

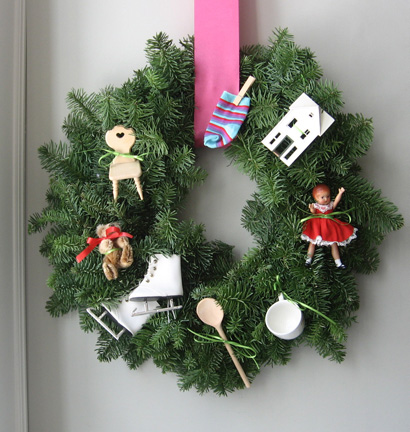
Gather a collection of small toys from each child’s stuff. From my son’s room I collected all red things: A building block, a red crayon, a truck, and red plastic army men. I even made a small red paper airplane. From my daughter’s room I collected tiny wooden spoons and a rolling pin, a small doll, a tiny bear, red plastic toys, even a red pacifier.

Using the narrow ribbon, tie the objects onto the wreaths. Loop the 3” wide ribbon through the center and line up the two raw ends. Thumbtack through both layers to the top edge (horizontal surface) of the door. Use very flat tacks so the door can open and close freely. If you like, embellish with a bow.

If you happened to have installed a hook as suggested in Idea #5 “Saving Private Places,” forgo the wide ribbon. Just hang the wreath right on the hook!

Door_Wreath_2

On December 7, I demonstrated this idea on Twin Cities Live, a local Minnesota show. The wreaths we did on the show are shown below.

Bedroom_Wreath_girl

Bedroom_Wreath_boy

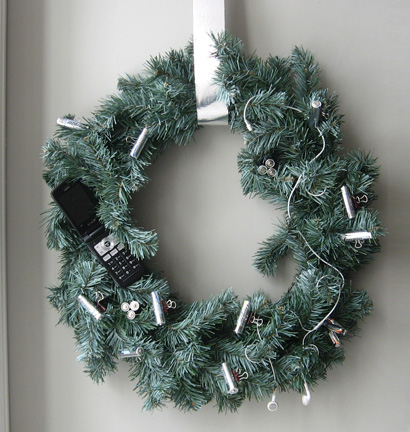
And one we didn’t get to is the “teen” wreath. I used old batteries, an old pair of “ear buds” and my son’s cell phone that went through the wash! Instead of ribbon it’s hung with silver duct tape.

Bedroom_Wreath_teen


IDEA 4: KID ART CALENDAR

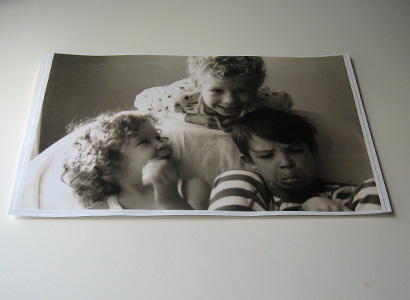
Artcal_three

Kids produce an amazing amount of art. You love, love, love it. But you can also get stressed out by it. How do you decide how much and how long to keep it? Here’s what we do:

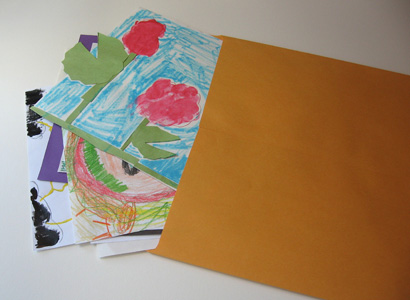
We have a dedicated drawer, but if you don’t have that, one of those big paper envelopes from the office supply or paper portfolio from the craft store will do just fine.

Artcal_folder

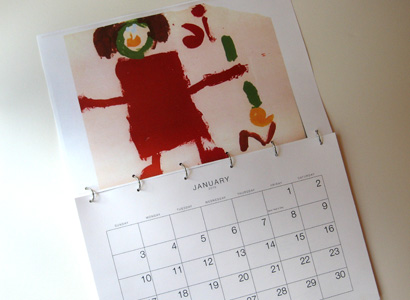
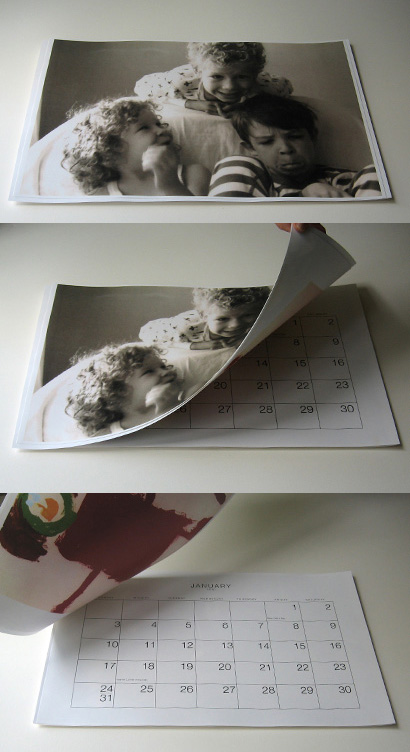
All year long, as the kid art comes home, display it if you like, but either right away or when you are done displaying it, put it in the big envelope. Keep as much as you want. At the end of the year go through all the art (with your kids, if they are old enough). Pick out the 12 best things, doing your best to represent each child equally. Now, download this large 2011 calendar. Once you download the calendar to your desktop, you can go online to FedEx Kinkos and upload to their site, print the pages in black and white on 11″ x 17″ card stock, and pick up your calendar pages at the shop. (For 8 1/2″ by 11″ size, download and print this small 2011 calendar). At the copy shop, color copy each piece of kid art onto 11” x 17” card stock (or of course, 8 1/2″ x 11″ card stock if you are making the small calendar). For the cover, print a blow-up of a photo of the kids.

Artcal_stack_1

Now stack the pages starting with the cover picture and the “January” art back to back. Remember, the art will be positioned upside down so you can “flip” the calendar open.

Artcal_stack_all

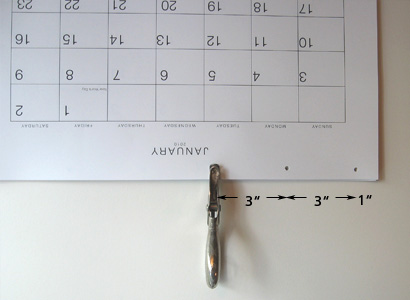
Once you have made the whole stack with calendar pages and artwork, use a hole punch to punch six holes along the “spine” of the calendar, in 1” from each edge and spacing holes every three inches.

Artcal_punch_1

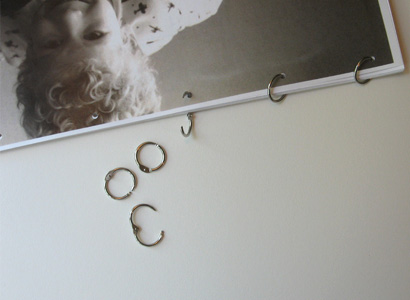
For the small calendar, punch just three holes, with a three-hole punch if you have one. Punch a single hole centered at the top of the other edge of the pages for a hanging hole. Now, just slip six 3/4” binder rings through the holes (for the small size, three rings) and your calendar is ready for service!

Artcal_rings

By the way, if you really have one of those engineer’s brains, you can have the copy shop print the calendar pages and art on opposite sides of the same card stock. But it helps to do it this way the first time so you have a template for how things need to be positioned.

We always make two copies of the calendar, one for our house and one for the Grandparents. As far as the big portfolio of art, you can either a) Empty it and start clean for next year, b) Keep the originals of the best 12, or c) Keep it all, put the year on the portfolio and buy a new one for next year. Art proliferation solved!

IDEA 3: WHAT’S IN HERE

drawer_two

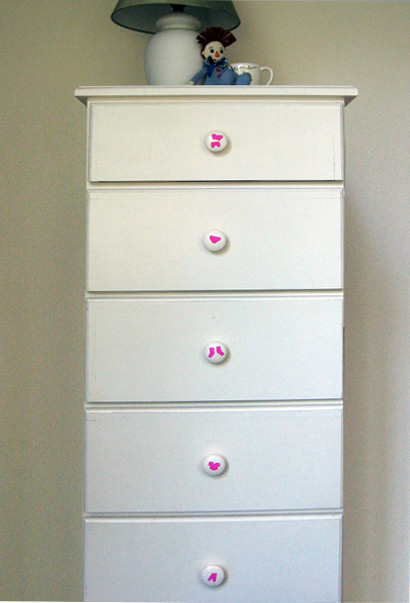
When my kids were small, I wanted a way for them to learn to put their clothes in their drawers. I really  didn’t want to write on the furniture, so I came up with this very simple idea.

drawer_one

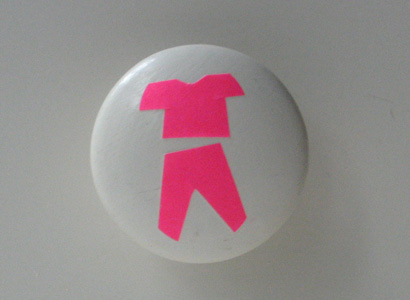
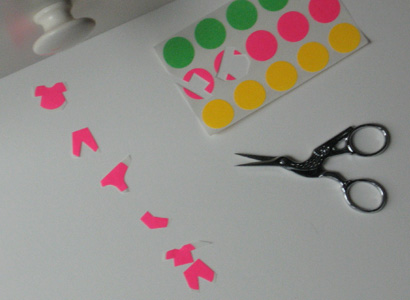
Using round colored stickers from the office supply store, I cut simple shapes of a top, pants, socks, underwear, and pajamas, and simply stuck them on the drawer knobs, or flat fronts, (depending on the furniture style).

The system worked, was simple and graphic, and when the kids outgrew the need, it was a cinch to peel the labels back off.

Dresser_5_drawers