Archived Ideas for ‘Projects’

IDEA 10: SCARECROWS

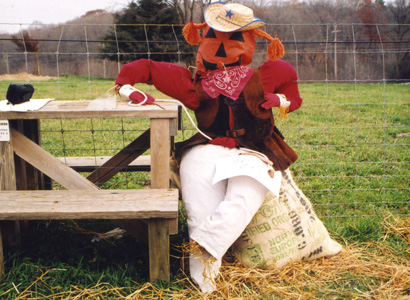
Scarecrow_1

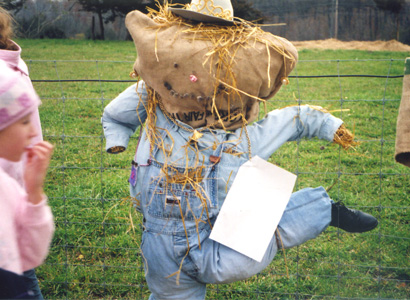
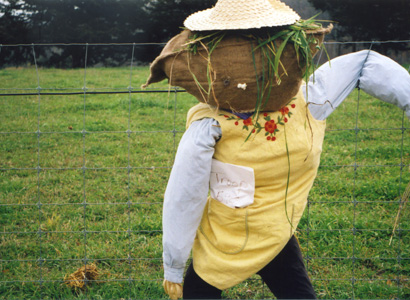
Autumn pulls you outside with such beautiful clear days it almost makes your eyes hurt. The annual activities of leaf-raking, piling and jumping-in, as well as general yard maintenance remain a top-notch family tradition.

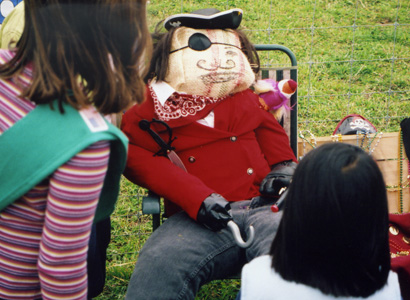
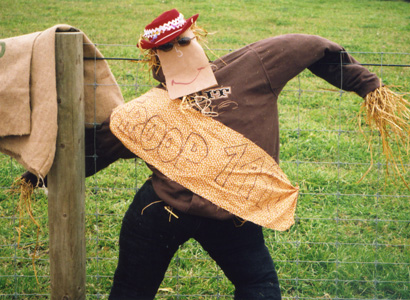
It is not a new idea to create a fall scarecrow from some of the fallen leaves. But recently my eyes were opened anew to this long standing autumnal routine. It had seemed to me, since Autumn ushers in Halloween, scarecrows had taken on a bit of a maudlin nature. OK, a lot of them are downright creepy. But my daughter’s scout troop participated in some autumn fun and games, and one of the activities involved making a scarecrow. I’m not biased, but leave it to nine year old girls to find a way to make scarecrows, well, anything but scary! I submit these beautiful examples of autumnal souls for inspiration in the hope that your family may adopt this sweet fall tradition. And maybe in the process you’ll also get some yard work done!

Scarecrow_3Scarecrow_4Scarecrow_5Scarecrow_6Scarecrow_2


IDEA 5: SAVING PRIVATE PLACES

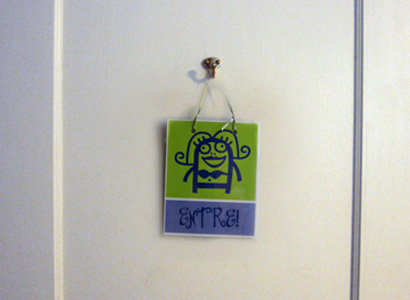
ENTRE

Once kids realize they can, it seems they begin to put signs on their bedroom doors. We live in an old house with painted woodwork, and taping things to these painted surfaces usually results in a large square chunk of paint coming off with the tape.

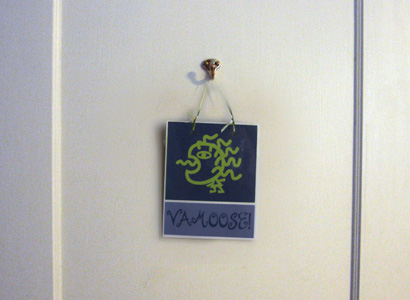
One day I repainted all the doors and installed a simple brass hook, right in the middle, on the outside (hall side) of the kids’ doors about 14 inches from the top. Then I made little two-sided signs that (in fun ways) said to come in on one side and keep out on the other. I had the signs laminated and punched at the copy shop, and strung a ribbon through. The sign hangs neatly on the hook. Now the kids can post their wishes depending on their mood. And no more worry about ruined paint!

VAMOOSE

IDEA 4: KID ART CALENDAR

Artcal_three

Kids produce an amazing amount of art. You love, love, love it. But you can also get stressed out by it. How do you decide how much and how long to keep it? Here’s what we do:

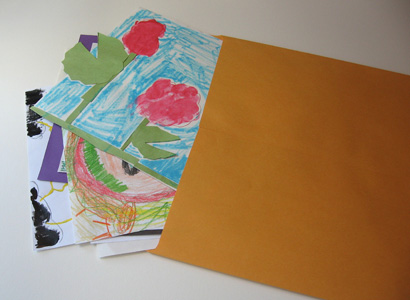
We have a dedicated drawer, but if you don’t have that, one of those big paper envelopes from the office supply or paper portfolio from the craft store will do just fine.
Artcal_folder

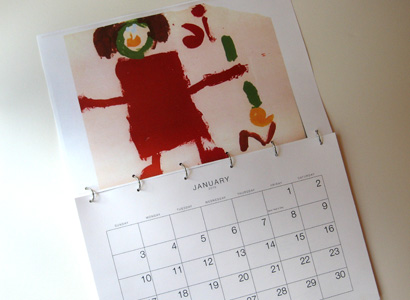
All year long, as the kid art comes home, display it if you like, but either right away or when you are done displaying it, put it in the big envelope. Keep as much as you want. At the end of the year go through all the art (with your kids, if they are old enough). Pick out the 12 best things, doing your best to represent each child equally. Now, download this large 2011 calendar. Once you download the calendar to your desktop, you can go online to FedEx Kinkos and upload to their site, print the pages in black and white on 11″ x 17″ card stock, and pick up your calendar pages at the shop. (For 8 1/2″ by 11″ size, download and print this small 2011 calendar). At the copy shop, color copy each piece of kid art onto 11” x 17” card stock (or of course, 8 1/2″ x 11″ card stock if you are making the small calendar). For the cover, print a blow-up of a photo of the kids.
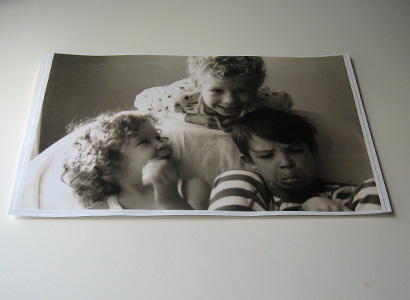
Artcal_stack_1

Now stack the pages starting with the cover picture and the “January” art back to back. Remember, the art will be positioned upside down so you can “flip” the calendar open.
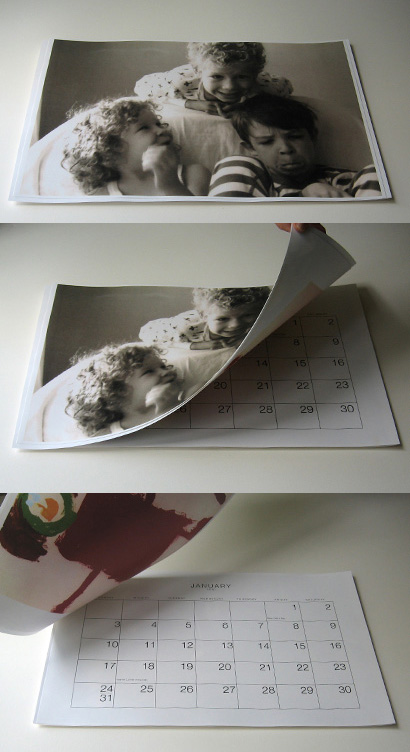
Artcal_stack_all

Once you have made the whole stack with calendar pages and artwork, use a hole punch to punch six holes along the “spine” of the calendar, in 1” from each edge and spacing holes every three inches.
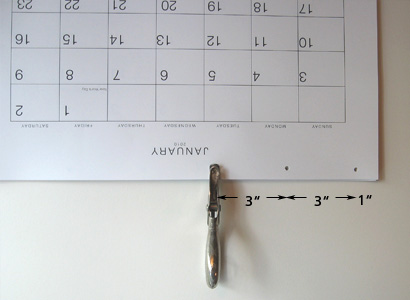
Artcal_punch_1

For the small calendar, punch just three holes, with a three-hole punch if you have one. Punch a single hole centered at the top of the other edge of the pages for a hanging hole. Now, just slip six 3/4” binder rings through the holes (for the small size, three rings) and your calendar is ready for service!
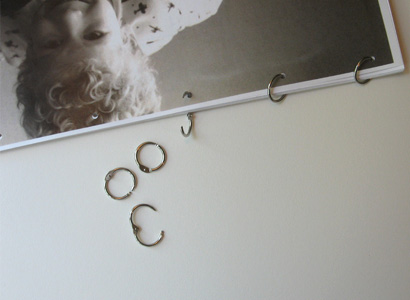
Artcal_rings

By the way, if you really have one of those engineer’s brains, you can have the copy shop print the calendar pages and art on opposite sides of the same card stock. But it helps to do it this way the first time so you have a template for how things need to be positioned.

We always make two copies of the calendar, one for our house and one for the Grandparents. As far as the big portfolio of art, you can either a) Empty it and start clean for next year, b) Keep the originals of the best 12, or c) Keep it all, put the year on the portfolio and buy a new one for next year. Art proliferation solved!
IDEA 1: SOLVING SUPPER

rec_book

No matter how many fabulous cookbooks there are in the world, it seems the best ideas for that elusive problem called supper come from magazines. I went for years tearing out pages and stuffing them in a fat folder. When I’d look for a recipe it seemed like it was always the one at the bottom, so I’d spend half my precious time looking for it. I tried three-hole punching the pages, but alas the paper is just too thin to hold up to page turns.

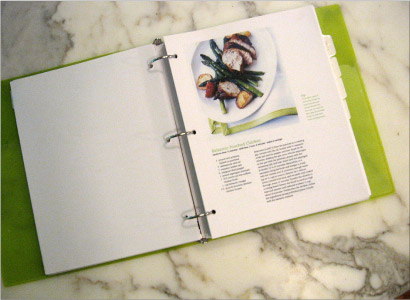
One day I took my favorite pages and printed them out on card stock paper. If you are not inclined to spend an evening scanning and printing, drop them off at the copy shop. Once the recipes (one each page) are on the card stock, three-hole punch them and put them in a binder. You can also purchase section dividers for organization. My binder has become the most used book in the kitchen. And of course it expanded to include more than supper. My categories are: Supper, Pasta, Pizza, Side, Soup, Sandwich, Bread, Sweet. But you can choose whatever works for what you have collected.