Archived Ideas for ‘08 August’

IDEA 87: MAKE IT EASY

Tea_Cake

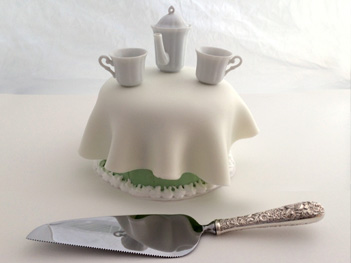
The idea for this cake came from a decorating disaster. But it came out so beautifully I just had to share. And the solution couldn’t be easier.

I had made a very tiny cake, the cake pans were just five inches in diameter. And the plan was to create a small pillow cake with quilted fondant. But the cake just hadn’t cooled enough and so, as happens when you try to rush, the frosting began to melt and crawl.

I just hate presenting a disaster cake, (even though we all know it tastes just as good). So I put the project in the fridge and ruminated on the problem, when the solution came to me.

I still had fondant, so I simply rolled out a sheet and draped it over the frosted cake, like a perfect little fondant tablecloth! Then it was just a matter of adding a tiny tea set to the top.

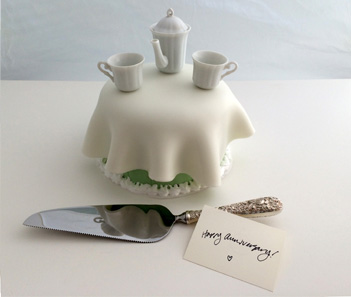
You don’t have to make a disaster cake to try this one. In fact you really don’t even have to make the cake. This idea could be added to a small store bought cake. I think it would be perfect for a child’s tea party. Or better yet, a perfectly sweet wedding anniversary!

Happy_Anniversary_full

IDEA 79: HONOR THE SURPRISE

Surprise_cake_2

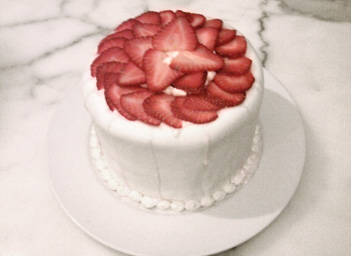
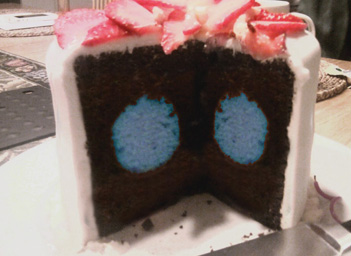
My daughter, the teenage baker, got an intriguing assignment from one of her teachers. This teacher has become pregnant and she has decided to find out the sex of the baby. But her plan is to have her doctor put the results in a sealed envelope. She will then deliver said sealed envelope to my daughter who will bake a tiny cake with a surprise inside. If the results are a girl, the filling will be pink. For a boy, blue. The teacher will then, with her husband, celebrate one evening by cutting the tiny cake, and thereby discovering if they are having a boy or a girl.

There are so many things about this that I love. First of all, the thought that this teacher is allowing my daughter, her 17 year old student, to see the news before she herself does. But even better, the fact that the discovery of this news is becoming a bit of celebration.

Believe me, I understand some of us just can’t stand waiting for baby to be born before decorating the nursery. But what a great way to make more of a deal about unveiling the surprise!

Surprise_boy

IDEA 73: SHARE

TallTales_crop_cover

When you are mom, you are so busy, it’s hard to even think about anything beyond this day, and the problem that’s in front of you right now. But somehow, maybe in the middle of nap time, take a moment to think back about something you loved as a child that you could share with your little one.

TallTales_inside_cov

Here’s the deal. One day they will be off to college, or otherwise moving away from you. At that time you may think to yourself, “Did I give them part of me?”

When my middle son moved out, I heard he served a “guest” canned peaches, still in the can, straight from the frige, with a fork sticking out of them. On hearing this, my first thought was NOT “Gee, why didn’t you put them in a dish?”  What I thought was, “Did I serve food that became part of this boy’s comfort?”

What are those things that you will share with your kids? Things that were part of you. Things that comforted you as a child, that you will give to them?

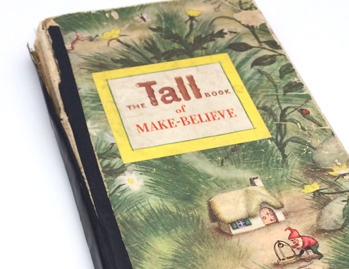
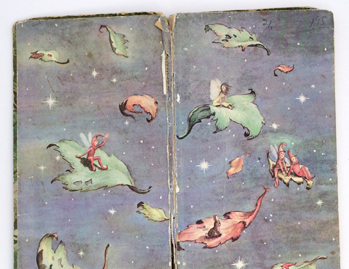
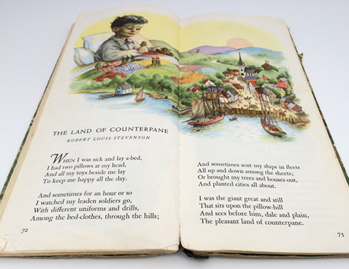
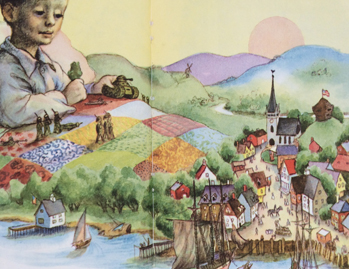
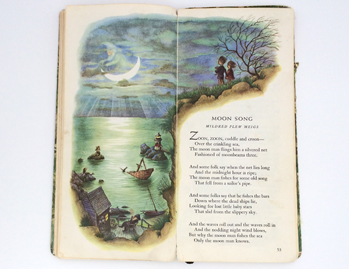
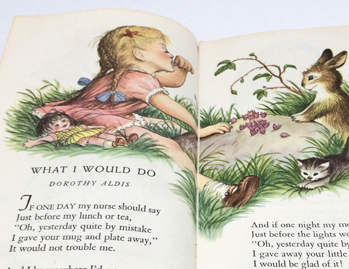
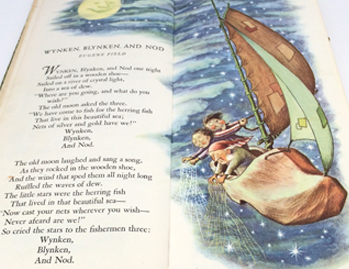
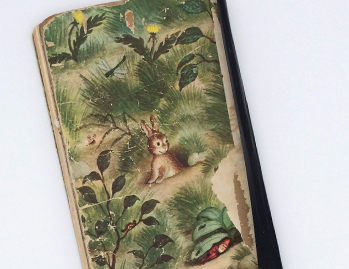
I had “Somewhere Over the Rainbow,” sung to me by my mom. And I had The Tall Book of Make Believe. Being the youngest of four kids, I didn’t have many things that were mine alone. But the “Tall Tales” book was one. My middle brother drew on some of the pages. And the spine has long been held together with electrical tape. But to this day I cannot read Moon Song or the Land of Counterpane without going straight back to a very safe and simple place.

So, if you have small children, I know. You are so busy. But it goes so fast. What’s something from your childhood that helped you? Bring that thing into their young lives. After all, you may not have had time to realize it yet, but that’s what it’s all about.

TallTales_L_of_C_3

TallTales_L_of_C_CU

TallTales_Moon_Song

TallTales_What_I_would_do

TallTales_Wynk_Blink_Nod

TallTales_Back

IDEA 54: MAKE A POSTCARD DIARY

Postcard_memoir_1

This sweet and very BellaPamella idea came from my dear friend April, with whom I have shared virtually every aspect of raising our collective children.

It’s no secret the family vacation is one of my favorite subjects. And the older my kids get, the more I treasure those special trips. So here’s a way to create a lasting memory of the trip, and keep the kids entertained all at the same time.

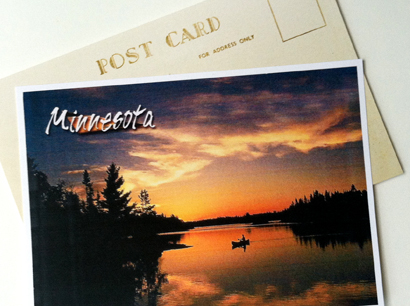
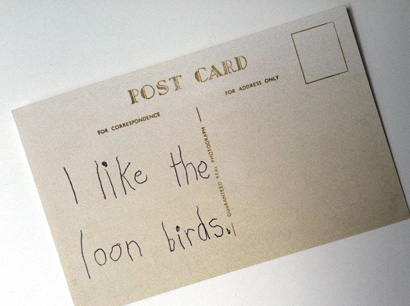
Next time you take a trip with your family, each stop you make, allow the kids to pick out a postcard. On the back of the postcard have them write their thoughts. It really doesn’t matter if it’s a gas station in the middle of Kansas or a wild animal preserve in Australia, your child will have an opinion about it that may surprise you.

Postcard_child

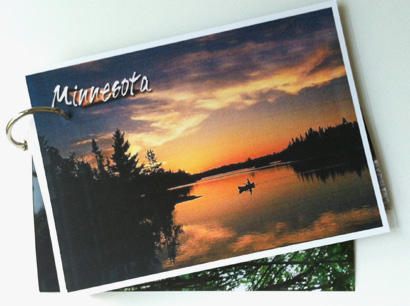
Along the way, or when you return, punch the cards with a paper punch and slide them all onto a binder ring (available at any drugstore, or of course, office supply).

Postcard_bookVoila! The perfect memoir of your trip, seen through the eyes of your children. (And yes, it’s okay for you to add your own thoughts on postcards too). Happy travels!

IDEA 46: MAKE YOUR YARD A MULTI-TASKER

Hanging_strawberries

On the radio one day I heard a master gardener suggest that if you live in the city and want to put something on a trellis, why not plant strawberries. The idea being, then you can have a snack every time you go out the back door. She must share a gene with my husband Mark who has made an art form out of using common growing things in an unorthodox way.

Bean_blossom_wall_cu

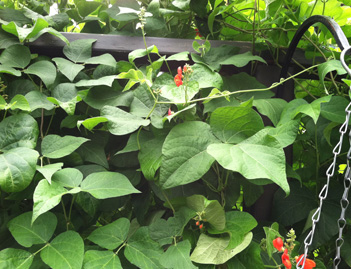
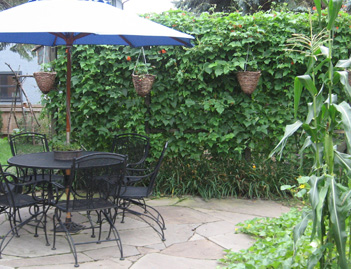
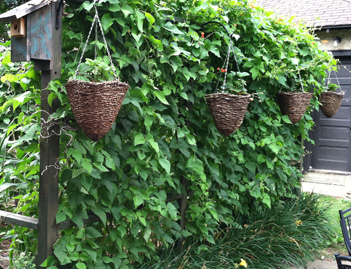
We thought our patio could use a sun/wind/privacy screen, but really didn’t want to build a wall or fence. Mark made a frame for a large piece of chicken wire and planted a mess of beans at the bottom. Very quickly our patio had a living fresh green backdrop.

Bean_garden_wall

Bean_blossom_wall

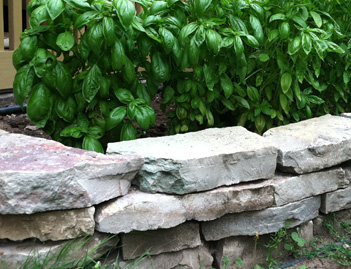
He planted basil in a stone wall nearby. This is a place that would normally be reserved for flowers, or something decorative. The basil is decorative, but it has also keeps us in fresh pesto all summer.

Basil_patio

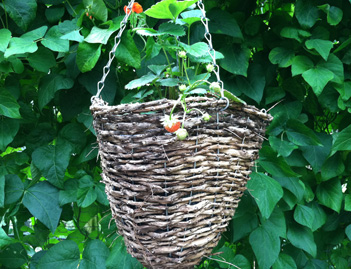
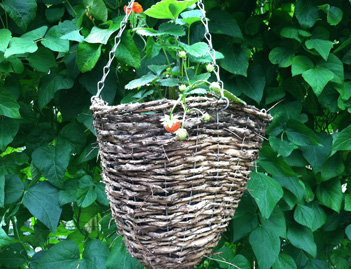
In our hanging baskets that last year housed Lobelia blooms, this year are brimming with strawberries.

Hanging_strawberries

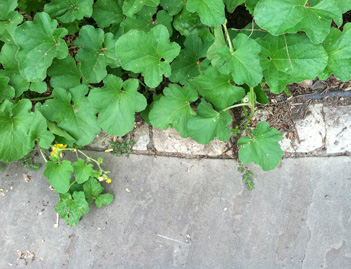
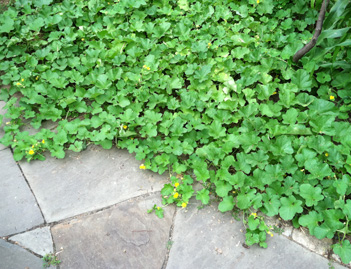
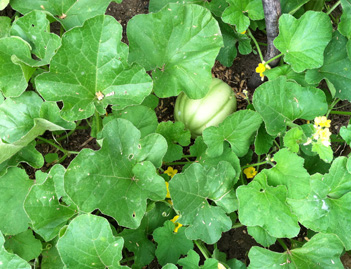
A sweet melon patch not only greens up the patio edge but provides a passel of mini cantaloupes.

Melon_patio_2Melon_patiomelon

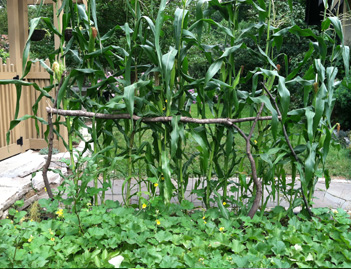
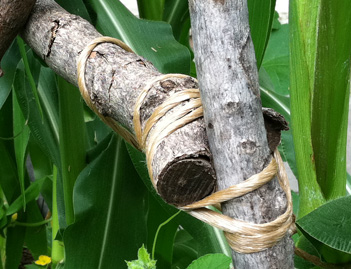
But maybe my favorite Mark innovation this year was the single row of corn forming an architectural element for the outside space. Held upright by one of his now signature tied stick trellises, the corn was well past knee hi by the 4th of July and heading on in toward an elephant’s eye.

Corn_trellis_backtrellis_joint

Of course, he likes to plant flowers too.

BellaPamella_redleaf_Mom_daughter

IDEA 32: MAKE HEALTHY WORK FOR YOU

Vitamin_organize_3

Our family has taken to trust supplements and vitamins in a big way. It’s a great solution when you have kids running everywhere and you want to make sure they are getting their fair share of the good stuff. But if your kitchen counter is like mine, it has a way of looking cluttered even when you tidy up. The myriad bottles of vitamins, fish oil capsules and kelp were one thing, but when we started buying the mega-jars of whey protein it was getting a bit unsightly.

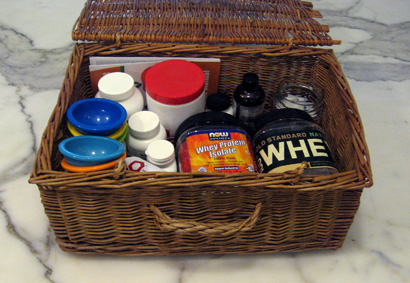
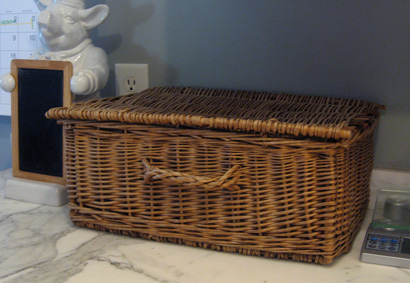
My solution? First, I found a sweet old basket with a lid at a tag sale. It used to be a picnic basket, I guess, but you could use any container with a lid that fits your decor.

All the little items went in without problem, then I found square jars that fit in the basket. I used peanut jars from Cosco. They are plastic and have large plastic lids. I cleaned the jars and removed the labels from the whey containers and taped them onto the smaller jars. Of course I had to cut the labels smaller to fit. I wanted to use the labels rather than just writing on the jars for two reasons: First, I wanted to keep the nutrition info, and second, I knew I would need the visual of the actual products so next time I would remember which one to buy! I scooped out enough of the whey to fill the smaller jars and the mongo ones went in the pantry.

Supplement_organizer_2

I used another empty jar to house small packets, and there was also room for a carb counting booklet. Everything fits inside and is easily accessible, then with a flip of the top, it’s all out of site!

Supplement_organization_1

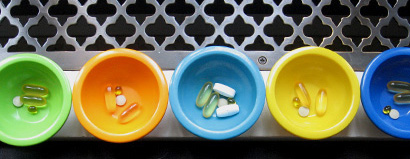
On the subject of ways to organize keeping the family healthy, we found a set of tiny, colored melamine bowls at the big box store. They came in a set of six, in six different colors. Since we have five in our family, we had each person pick their color. Now, in the morning, I divvy all the vitamins and supplements into the bowls. They sit there as a reminder to each family member whether or not they’ve taken their vitamins that day. By dinner time the last straggler has taken theirs and the next morning they all get refilled. An idea that not only beautifies your space but keeps you healthy? Now, that’s a very BellaPamella idea!

Vitamin_organization_5

IDEA 6: LUNCH BOX LOVE

lunch_love

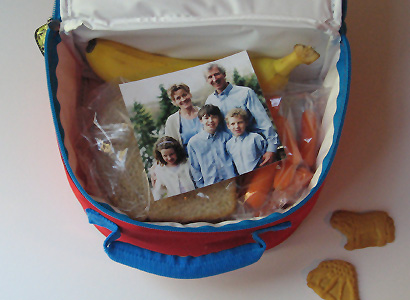
For young children the first day of school can be very exciting. It can also be very scary. Or maybe most common, a little of both. If you pack your child a lunch, slip a photo of you, your family or a favorite pet inside on top of the sandwich. When I did this in my kindergartner’s lunch box the report came back to me that he shouted “What’s this doing in here?!” But I know he loved it.

OK, maybe I was doing it for me!

IDEA 5: SAVING PRIVATE PLACES

ENTRE

Once kids realize they can, it seems they begin to put signs on their bedroom doors. We live in an old house with painted woodwork, and taping things to these painted surfaces usually results in a large square chunk of paint coming off with the tape.

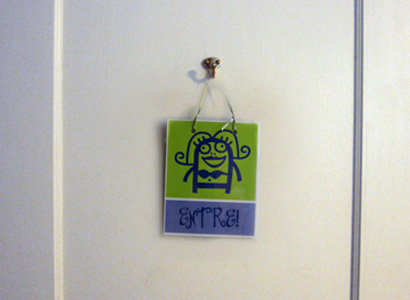
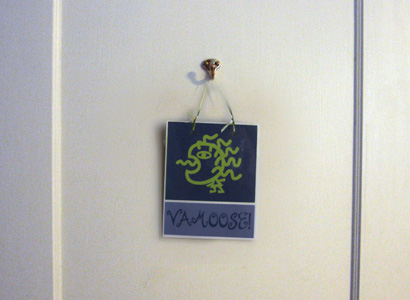
One day I repainted all the doors and installed a simple brass hook, right in the middle, on the outside (hall side) of the kids’ doors about 14 inches from the top. Then I made little two-sided signs that (in fun ways) said to come in on one side and keep out on the other. I had the signs laminated and punched at the copy shop, and strung a ribbon through. The sign hangs neatly on the hook. Now the kids can post their wishes depending on their mood. And no more worry about ruined paint!

VAMOOSE

IDEA 4: KID ART CALENDAR

Artcal_three

Kids produce an amazing amount of art. You love, love, love it. But you can also get stressed out by it. How do you decide how much and how long to keep it? Here’s what we do:

We have a dedicated drawer, but if you don’t have that, one of those big paper envelopes from the office supply or paper portfolio from the craft store will do just fine.
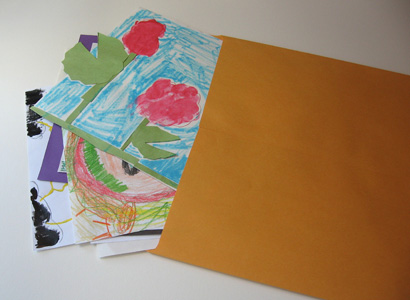
Artcal_folder

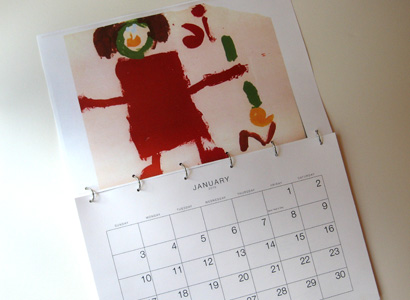
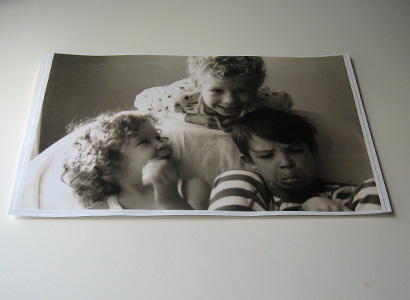
All year long, as the kid art comes home, display it if you like, but either right away or when you are done displaying it, put it in the big envelope. Keep as much as you want. At the end of the year go through all the art (with your kids, if they are old enough). Pick out the 12 best things, doing your best to represent each child equally. Now, download this large 2011 calendar. Once you download the calendar to your desktop, you can go online to FedEx Kinkos and upload to their site, print the pages in black and white on 11″ x 17″ card stock, and pick up your calendar pages at the shop. (For 8 1/2″ by 11″ size, download and print this small 2011 calendar). At the copy shop, color copy each piece of kid art onto 11” x 17” card stock (or of course, 8 1/2″ x 11″ card stock if you are making the small calendar). For the cover, print a blow-up of a photo of the kids.
Artcal_stack_1

Now stack the pages starting with the cover picture and the “January” art back to back. Remember, the art will be positioned upside down so you can “flip” the calendar open.
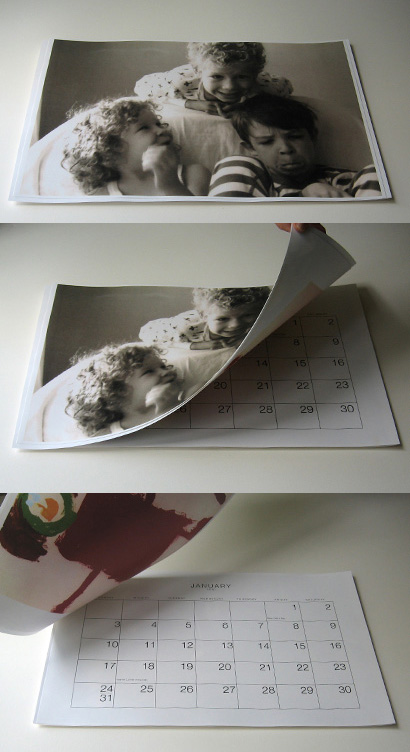
Artcal_stack_all

Once you have made the whole stack with calendar pages and artwork, use a hole punch to punch six holes along the “spine” of the calendar, in 1” from each edge and spacing holes every three inches.
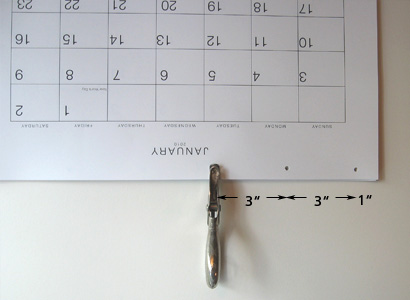
Artcal_punch_1

For the small calendar, punch just three holes, with a three-hole punch if you have one. Punch a single hole centered at the top of the other edge of the pages for a hanging hole. Now, just slip six 3/4” binder rings through the holes (for the small size, three rings) and your calendar is ready for service!
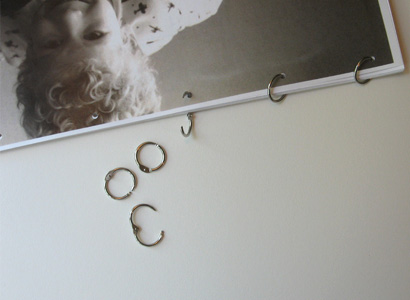
Artcal_rings

By the way, if you really have one of those engineer’s brains, you can have the copy shop print the calendar pages and art on opposite sides of the same card stock. But it helps to do it this way the first time so you have a template for how things need to be positioned.

We always make two copies of the calendar, one for our house and one for the Grandparents. As far as the big portfolio of art, you can either a) Empty it and start clean for next year, b) Keep the originals of the best 12, or c) Keep it all, put the year on the portfolio and buy a new one for next year. Art proliferation solved!