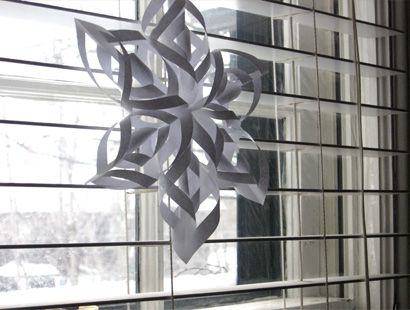
In many places across the nation, this winter has been one of the most, well, wintery on record. Some of us are having weather we’ve never seen before. Here in Minnesota the snow came early and stayed. Well, in true BellaPamella fashion, the following suggestion (on the order of “if you can’t beat ’em, join ’em”) is to embrace the weather. Celebrate the flakes.
Once we take down all the holiday stuff, the house takes on a certain simplicity, and I love that. For about a month. Then I start to wonder how long winter is going to linger. This year my daughter brought home a lovely snowflake project that she taught me how to do. We hung the flakes in the window in celebration (or was it defiance?) of a bright white yard that just refuses to melt.
It’s one of my favorite kinds of projects because it requires only things we already have around: 8 1/2″ x 11″ white paper (printer paper is perfect), scissors or a rotary cutter and mat, tape and/or glue, and string or ribbon. We have a supply of fabric ribbon and so we used red grosgrain. You will also need a pen with a smooth, even barrel on it to form the first loop. For this size snowflake, a pen that’s a little fatter than a pencil works well.
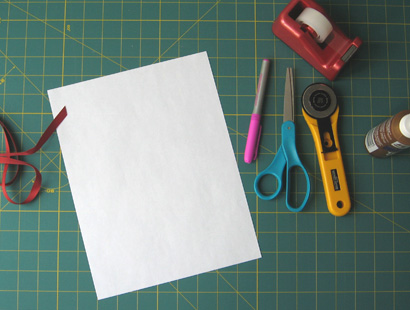
Start by cutting the paper into six 3 1/2 inch squares. Each snowflake will take one sheet of paper.
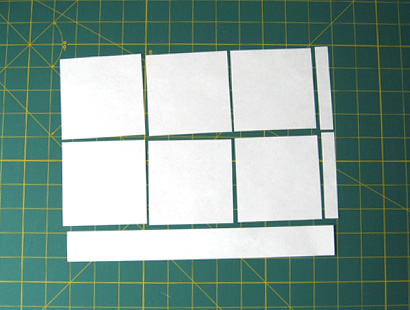
Fold each square in half diagonally, into a triangle.
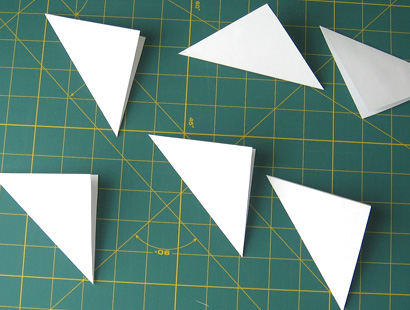
Then fold each in half again.
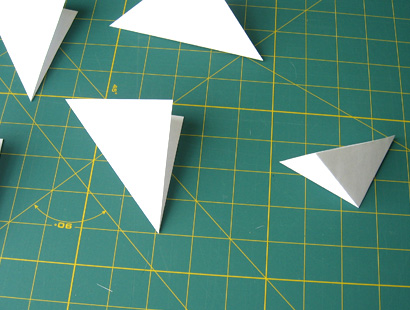
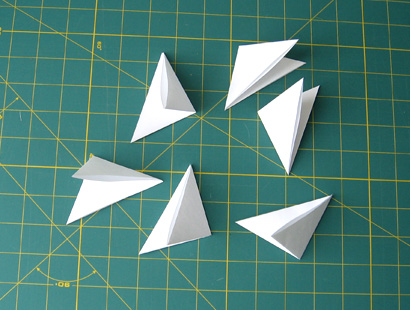
With scissors or the cutter, cut three slits on each triangle. Cut parallel to the cut edges (not the folded ones) and cut to about 1/4 inch before you reach the fold.
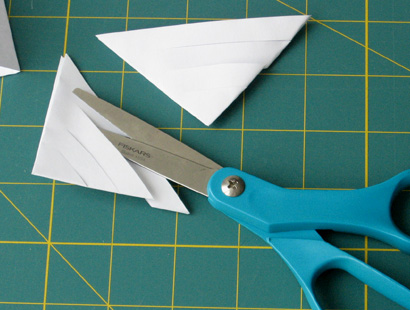
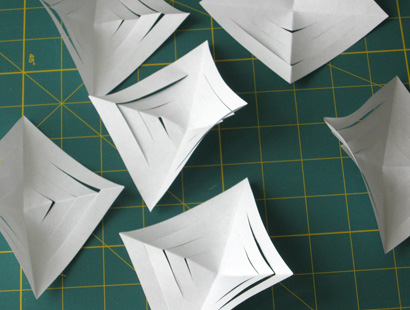
Carefully open the triangles back into squares. Each square should have six “V”s cut into it.
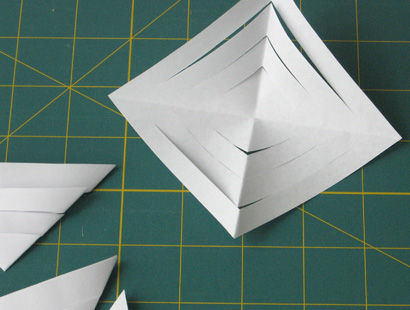
And gently smooth your finger along the middle crease to help flatten the paper. It’s best if you do the steps to each piece at the same time. You will have six squares for each snowflake.
Now, wrap the two corners of the innermost square around the pen and secure it with tape.
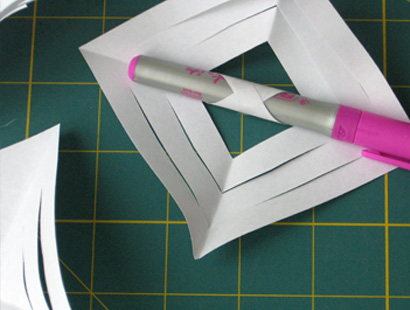
When you pull the pen out it looks like this.
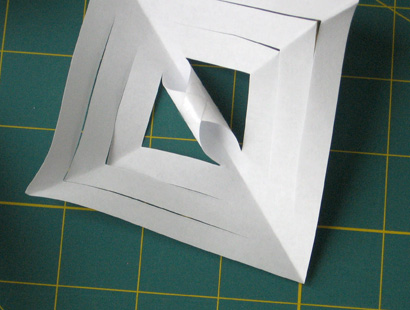
Turn the square over and loop the next two corners and secure with tape. This loop will be bigger than the first, AND FACING THE OPPOSITE DIRECTION AS THE FIRST.
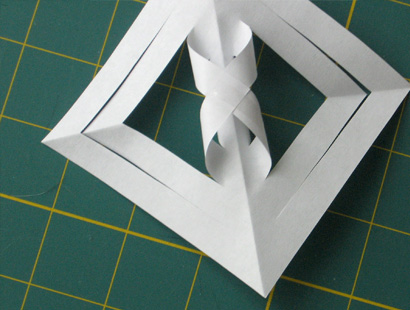
Turn over again, and tape the next corners the same direction you did the first loop.
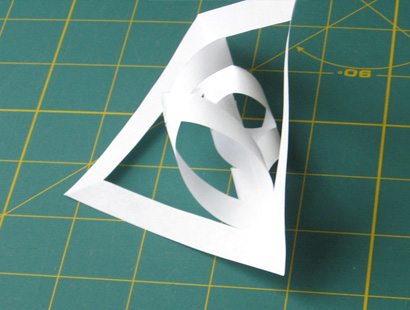
They now look like this.
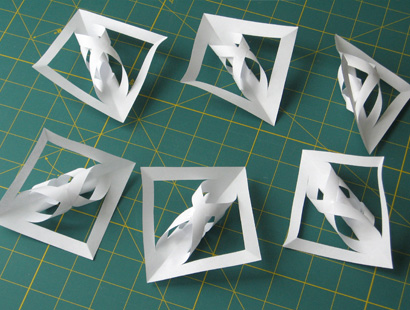
Now turn them over again and tape the last two (largest) corners.
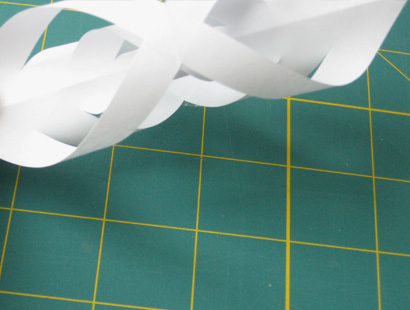
From the side, your squares should now look like this
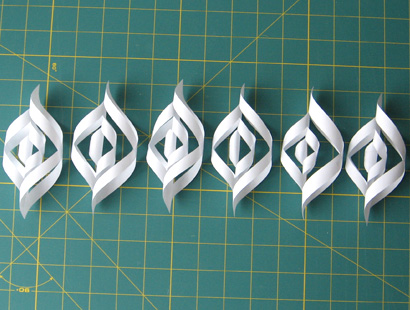
Notice how each piece has become a point of your flake. And also that each one has a large “V” on one side and a small “V” on the other side. Line up the six points with the large “V”s on the right. Now start to turn the points into a star. Make sure that each point is oriented the same way so that a large “V” is always next to a small “V”.
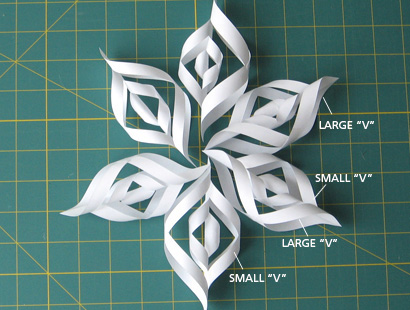
We found the easiest way to attach the points together was to first tape two “pairs” together as shown.
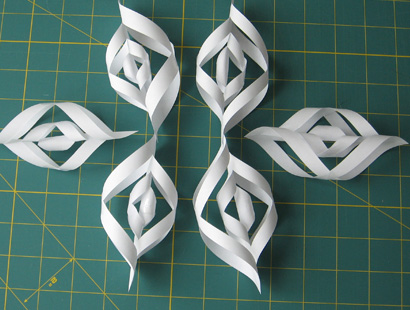
Fasten the pairs together.
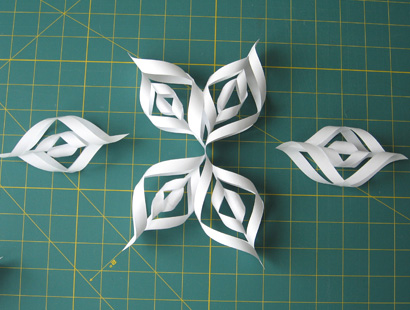
And then, tape on the last two points. You now have a full snowflake. But you will probably find if you try to hang it, gaps will form between the points that are pointing up. Hold the snowflake by it’s top point and let it hang. Where you see the gaps, put a dot of glue or a dab of glue stick, and pinch the spot together until it holds.
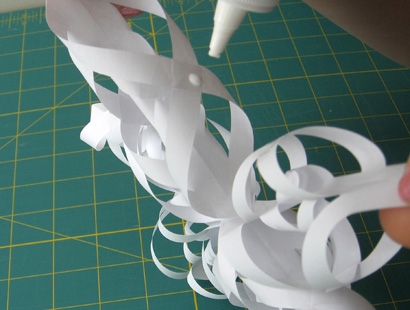
Finally, cut a small slit in the top point and lace your ribbon through.
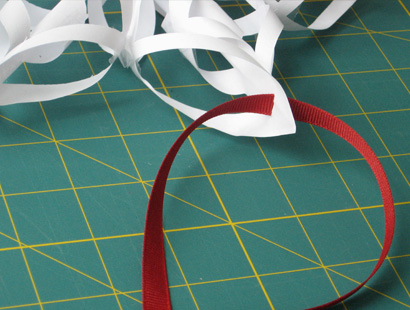
Make as many snowflakes as will brighten your room and stave off the winter blues!
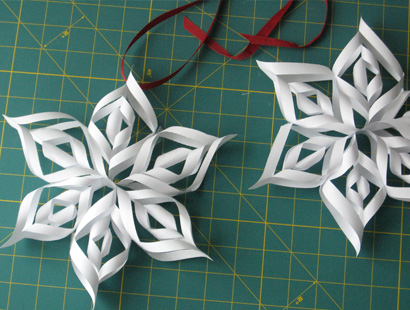
We have one snowflake hanging in each window. They make me smile every time I see them against that snowy yard. They serve as a reminder that there is beauty in all the seasons. You just have to look for it.
