Archived Ideas for ‘Farm Style’

IDEA 101: MUSICAL CHAIRS

Last winter was a long one in the midwest. And to keep myself from pining away for my Up North House project, I spent it figuring out the dining room. (If you’re curious about this project, click the “blog” button at the top of the page and back up and read the blog from Idea #96 “Honor a Memory”).

We decided for our big group we need a huge harvest table, so large we will have to make it, with (for now) 20 chairs. I say ‘for now’ because you have to start somewhere. But we will probably add a bench or two for those occasions when we need to squeeze in more.

Like most families we are not made of money. So solutions have to be clever, and often I find throwing more time than money at a problem is not just thrifty, but results in a much more creative and inviting space.

Case in point: the twenty chairs.

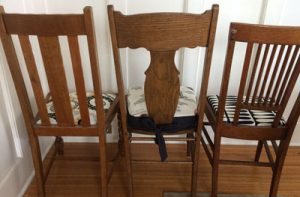
If you haven’t bought new dining room chairs recently, you would be in for sticker shock. Multiply that by 20 and I will tell you this is not something that fits into my budget. In a conversation with my daughter one day we came up with a plan. I began haunting Craig’s List for sturdy wooden chairs. I decided I would not even look at anything over $25 a chair. I was immediately inspired by what I found and began buying chairs. I didn’t buy if there were less than four of the same chair. I felt this amount of variety would work better than if they were ALL different. I ended up with five sets of four chairs. Two of the sets are almost identical but one has caned seats and the other, solid wood.

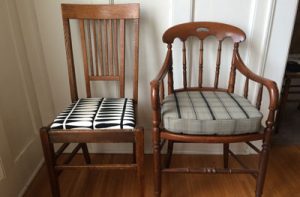
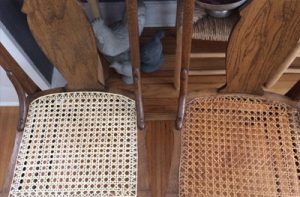
We set up the glue factory in the basement and glued/clamped and tightened all that needed it. I went on YouTube and learned how to cane so I could repair the few that needed that. This pic shows my newly caned version (left) next to an original. While the fresh cane is pale in color, it will darken naturally with age.
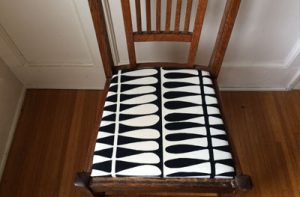
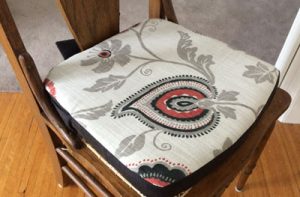
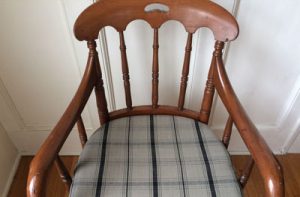
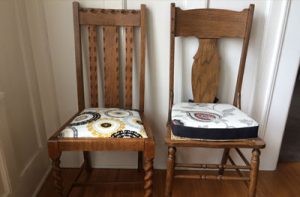
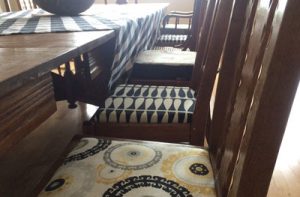
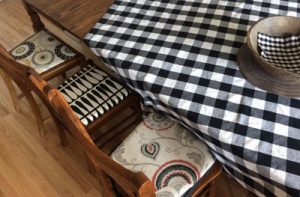
Then I spent the rest of the winter finding and sewing a lively/casual/interesting collection of fabric for seats and chair pads.
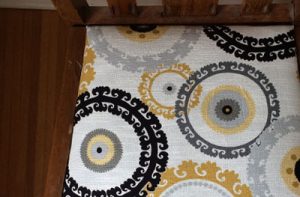
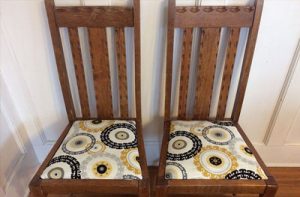
It was fun to figure out fabrics that did not match but were each special for the chair it went on, and somehow managed to live together just right. I bought 20 chairs and three tables from Craig’s List and since I wasn’t shopping for tables I figured I ended up spending an average of $18 per chair if you count the three tables as thrown in for free. Actually, the tables came in handy as we lined them up and pretended they were one long harvest table. This will do, until we can make that spectacular table of our own!

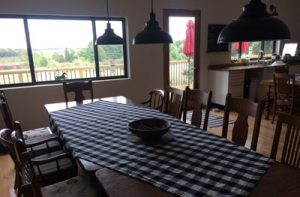
And here is how they look in the house.
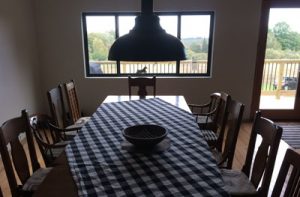
Now that we’ve shared many family meals I can report these are working just fine for our lively/casual/interesting group. And there’s always next year to work on the bedrooms!

Keep track of our house project by following #conboyhouseupnorth on Instagram.
IDEA 99: BE FLEXIBLE

It’s already October. The temps have been dipped long enough that it seems like they may not recover, and there have been more clouds and rain than sun in a very long time.

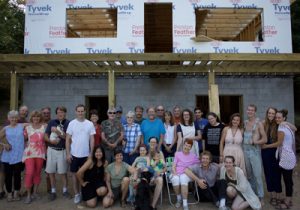
My mission starting the beginning of the year was to take a year off work and spend the summer working on our multi family vacation home. (This is my fourth post about it, if you want to go back and read!) Every August we have a big family reunion and while we enjoy doing most of the cooking and eating outside, finding places to sleep can be hard. A little tiny piece of me thought if the building was enclosed by then we could have a grand camp-out on the floor. Spoiler alert: that didn’t happen. In August the top floor of the house was still missing, so there were a lot of tents pitched.

We hired an amazing local contractor to build the shell and we were planning on taking it from there, thankyouverymuch. We reasoned we’ve (well, my husband has) put in electrical, we’ve (well, him again) has done lots of plumbing. As long as the big boys put up walls and a roof, we would spend (in my view) a magical, worry-free summer hanging and mudding drywall, laying wood floors, painting, tiling, etc, etc etc.

Obviously it didn’t quite turn out that way. In precious few weeks I will be forced to go back to civilization and furnace heat, and we haven’t laid a single tile, painted a single wall, placed a single floorboard.

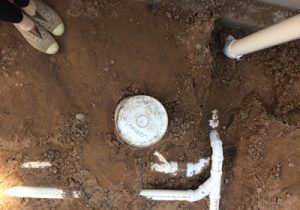
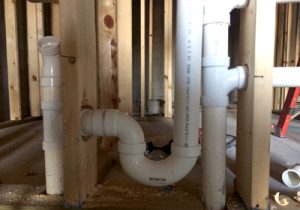
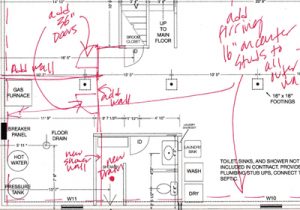
The first mishap happened when the site was still dirt. Since we wanted a shower in the basement, the plumber dug and buried the first pipes in the ground. Many weeks later, the walls went up around them and I could see that the drain pipe was not where it was supposed to be and now the drain wouldn’t be centered in the shower. It’s really important (to me, anyway) to have the drain centered. And one of the walls could not move as it had the stack in it. So, I asked for the other wall to move in and lost several inches of space in the shower (which we gained in the rest of the bathroom). By the time I finally saw the plumber again I mentioned the error and he said when he was digging he came upon a huge bolder that couldn’t be moved. So he put the pipe as far over as he could. In the end, I think improvising an alternative plan saved us all from a lot of stress and heartache.

So began the process of flexing.

My summer of DIY became my summer of watching DIY videos while being available if needed, and posting the progress on Instagram. 

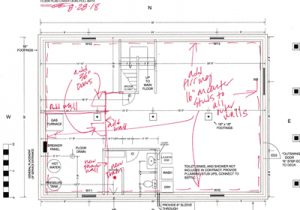
As the walls went up it was easier to see what I had designed. Occasionally, there would be something that just didn’t look right. Sometimes it was because the carpenters went off the plan. Sometimes it was that they stuck to the plan but it just didn’t work the way it was supposed to. Sometimes it was just because code said it had to be that way. With such a wonderful, professional crew, we had a lot of communication, and whether it was my boo-boo, theirs, or nobody’s, we talked it through and came up with solutions.

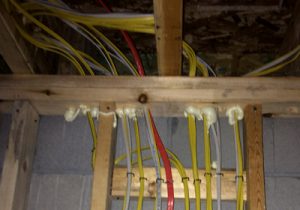
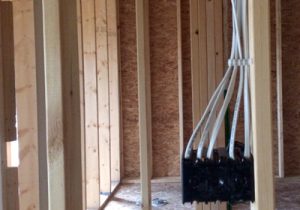
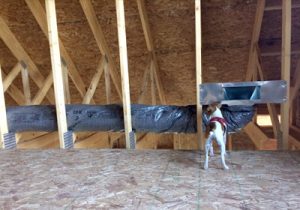
Probably the biggest turn was that I realized I was dreaming if I thought we could string the electric (or heating ducts and vents or plumbing pipes). OK I knew we couldn’t do the plumbing pipes-that was on the contractor’s list already. But since these other things were not included in our contract, I received a trial-by-fire education on how to be the contractor and hire subs.


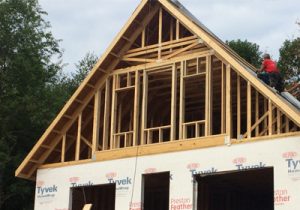
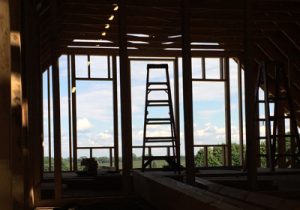
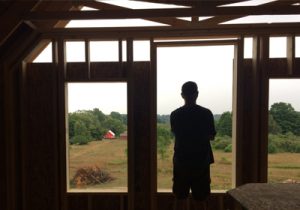
At one point, my brother climbed a ladder to look out the second floor and asked why the hell I hadn’t designed more windows in the front where the view was breathtaking. I had put big windows on the main floor below, but the upstairs had bedrooms so I had treated them more traditionally.

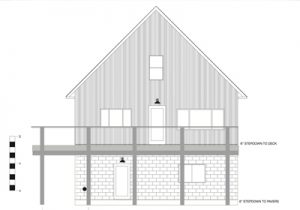
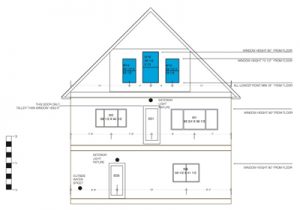
The original window plan:

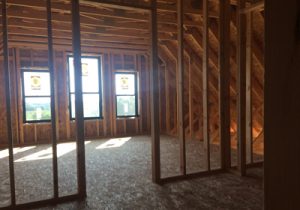
Fortunately, I had two windows I wasn’t planning on using. I had designed them in and then found out they came too close to the floor for code. The upper walls hadn’t been framed in yet, so I got back on the computer and found that I could create a pretty, and very window-fied wall by using one of the big windows flanked by what had been marked for the front and back bedrooms. With the shorter windows on each side I could raise the bottoms to fit within code and it didn’t look odd because the smaller windows justified the height of the lower edges. Then I used the other large one in the back where it neatly framed a giant oak tree. You don’t really notice it’s riding quite high in the room (almost to the ceiling). All you notice is the magnificent tree.

The new window plan:

The morning I went down to the build site to ask the carpenter about the change, I was pretty nervous. Even if I don’t have it all under control, I like to pretend I do, and to admit I was changing my mind on such a big thing felt kind of irresponsible at best, and indecisive at the worst. I brought down a loaf of zucchini bread and a copy of my new plan. Luckily the contractor had beat me to it (he texted the head carpenter after I had texted him). “It’ll work”. Is all my carpenter said to me, and then “We all wondered why the hell you didn’t design in bigger windows up there.”

So, instead of drywalling, painting, and putting in a kitchen and bathrooms this fall, I’ll be lucky if the subs’ portion gets finished so I can head back to civilization for the winter. And instead of putting on finishing touches in the spring it will be an all-out major do, pretty much starting from an empty shell. But I look forward to finally being able to put some of the things I learned in the DIY videos to use.

And, yeah, I’ll be taking another year off work.

IDEA 98: OUTWIT THE WEATHER

Weather_Light

Welcome to the continuing saga of the Up North House. This is the third post chronicling the inspiration, design and build of our multi family vacation house.

There’s one thing about building in the north. The weather is brutal. Winds to be reckoned with blow sand (in the summer) snow (in the winter) and ice, hail and rain all the other times of the year.

That’s why as we build a family place to last for many future generations, we are embracing materials that can withstand just about anything for just about forever.

The house will be sided in a material usually reserved around these parts for barns. It’s corrugated metal with a coating to resist rust. I read that it’s quite the thing in remote areas of Iceland. And why not use it?

Weather_siding

I love the rural aesthetic for up here, and the design of the house is based on the lovely barns dotting this landscape. It will be a house. But we will try our best to honor the bucolic, farm-y feel of the area.

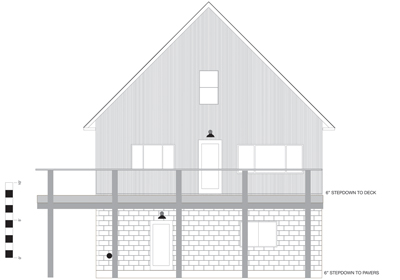
End view:

Weather_East


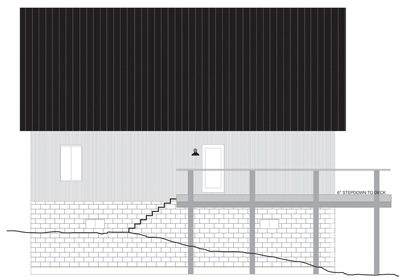
Side view:

Weather_South

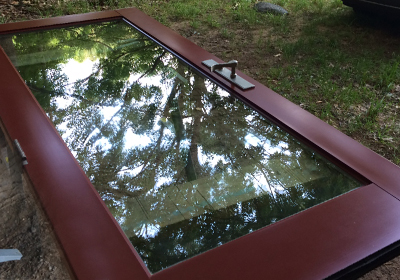
The very first things we purchased for the house were two beautiful full-view doors with Douglas fir on the inside and a natty overcoat of barn red cladding on the outside.

Weather_Door

We got these, used, for a song. And like everything about the design, they are simple, beautiful and since they will never need repainting, zero maintenance.

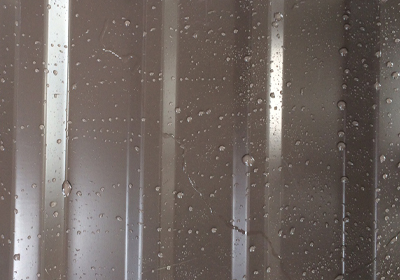
Typical for this area, our roof will be metal as well. You can see how the water beads right up, and with our 12:12 pitch roof, the snow will slide right off too.

Weather_roof_CU

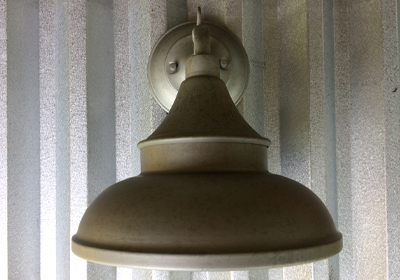
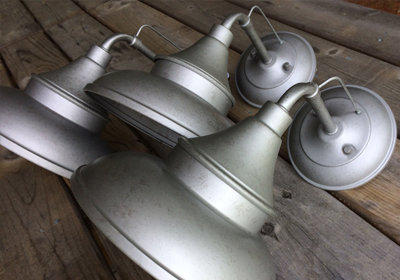
One of the favorite choices so far are these beautiful barn lights we bought for over the doors. The galvanized metal has the dual role of not just weathering the storms, but looking just right: serviceable, with sweet barn character.

Weather_Barn_Lights

We’ve only just started, but as we continue to work, you can follow the progress of the build on Instagram #conboyhouseupnorth.

Eunice_BlueDiamond_Ad2