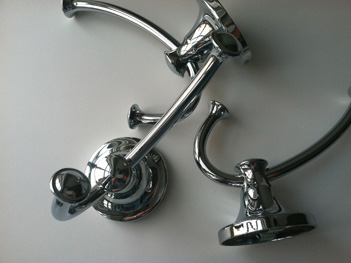
Once upon a time we had four people using a bathroom that had one towel bar. Those family members who lived on the edge simply used whatever towels were hanging on the bar and hung them back. Those more fastidious in nature used a clean towel every day and deposited it in the laundry. Neither solution was optimal. Who wants to dry off wondering where that towel has been? And who wants to launder towels that much? So, one day I hung four lovely hooks, one for each user of that bathroom.
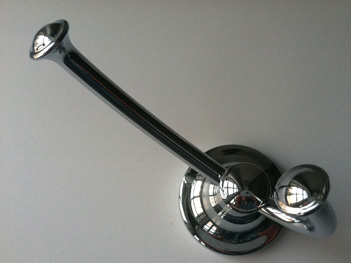
Even though we decided whose hook was whose, I often noticed my towel might be damp even if I hadn’t used it. Which led me to the obvious conclusion that people were confused about which hook was theirs. So I went on the hunt for a way to attach an initial to the lovely domed round at the center of the hook. I was inspired by the multitude of initial “buttons” available in the scrap-booking aisle. And if you happen to find hooks with a flat spot, this might be a great solution. But the flat buttons would not adhere to my domed hooks, so I made up this slightly more involved, but incredibly satisfying project.
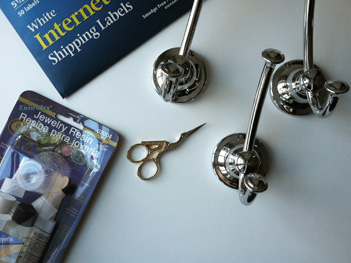
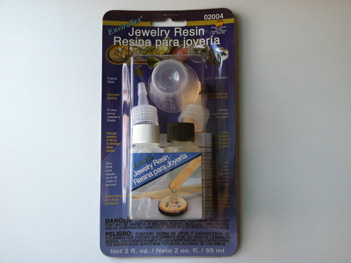
Here’s how I did it. You’ll need a printer and printing labels. I used my half-sheet shipping labels. You also need tiny scissors, like embroidery scissors and hooks that have a nice spot for an initial. Then at the craft store I bought this small “Jewelry Resin” kit.
I knew the general size and typeface I wanted for my hooks, but I typed out a variety of sizes and even an alternative typeface because I wasn’t sure EXACTLY what size or type style would work best.
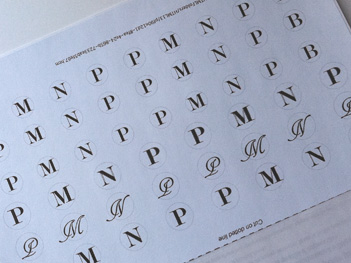
I also printed a pale circle around each letter so I would have a line to cut on.
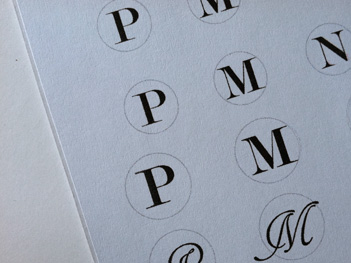
The absolutely trickiest part of the project is to cut the paper sticker in a smooth circle. Just take your time, use the tiniest scissors possible, and very small snips. Once you have your cutout, peel off the paper on the back and stick it to the hook. It tuned out it was good I tried multiple sizes. Because the spot was domed, the sticker had to be quite small or it creased and wrinkled when I tried to smooth it down. It took a little trial and error, but I was able to cut a very small round, and then “burnish” the edges down with the back of my thumbnail.
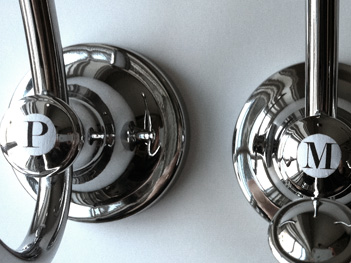
Next, comes the jewelry resin. Read the instructions in the kit. The one I had came with little cups that you mix the epoxy in. Once it was thoroughly mixed, I dropped the resin down onto the paper sticker using a flat wooden stick provided in the kit.
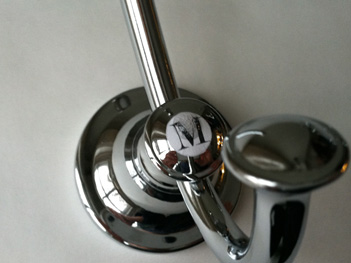
I dropped just a few drops, enough to make sure the paper sticker was covered. Don’t worry about the air bubbles trapped in the resin. They will find their way out by the time it dries. I made sure everything was covered down to the bottom of the dome, where there was a natural stopping point. I used a small paintbrush to help with this.
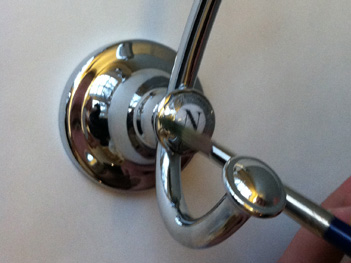
Once it looks like a thin coat of resin is covering everything, stop and leave it alone. It takes many hours for the resin to harden completely, and for all the bubbles to disappear.
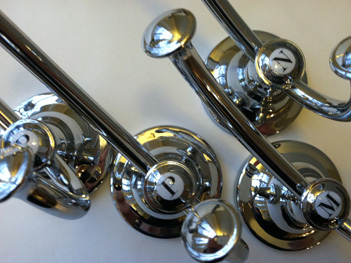
But look how pretty the finished hooks are!
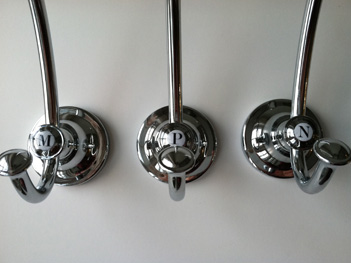
And just think how lovely it will be to know you have a clean towel without laundering seven loads of towels a week!
